10
GETTING STARTED
Mounting the PowerView
Surface:
1. Choose a location to mount the Surface.
2. Orient the Surface mounting plate so that the
Hunter Douglas logo is horizontal and level.
Mark screw holes.
3. If you are mounting the Surface onto drywall, use a
6mm drill bit to drill pilot holes. Tap drywall anchors into
the pilot holes until the flange of the anchor is flush
with the drywall.
4. If you are mounting the Surface onto wood, use a
3mm drill bit to drill the screw holes.
5. Attach the Surface mounting plate using the screws
provided.
6. Align the Surface ring with its mounting plate and twist
the Surface ring clockwise to lock it in place.
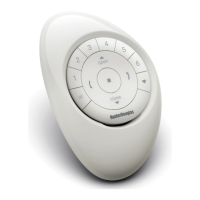
Inserting the remote module in the Surface:
1. Align the ribs on the remote module with the grooves
on the Surface.
2. Gently push the remote module into the Surface until
it is snug.
Ribs on remote
to be aligned
with the
grooves on
the Pebble
®
.
Centre logo
 Loading...