17
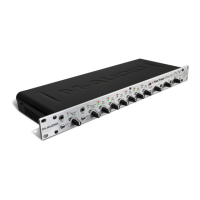
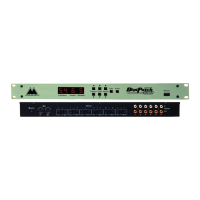
In all cases, DigiPatch units should be MIDI wired in a series. That
is, take the ‘MIDI out’ of you computer interface and plug it into the
‘MIDI in’ of the first DigiPatch unit. Take the ‘ MIDI out’ of your
first DigiPatch unit and connect it to the ‘ MIDI in’ of the second, and
so on. Finally, if you want to run the app in Two Way Mode, you
must connect the ‘ MIDI out’ of the final DigiPatch unit to the ‘ MIDI
in’ of your computer interface.
IMPORTANT: When you first fire up this program you may “get
silly” and create way too many Patchbay Windows (if you are in sin-
gle ended mode). There is no obvious way to destroy these buggers
— selecting ‘Close’ from the File menu only hides the window until
you select ‘Show All’ from the Windows menu.
TO PERMANENTLY ERASE A PATCHBAY WINDOW FROM THE
PREFERENCES FILE:
1) Hold down the OPTION key as you select ‘Close’ from the
File menu, or...
2) Press OPTION ‘W’.
You will be presented with a dialog asking you to confirm your
selection.
 Loading...
