14 15
MPWP2100-2 By MacAllister MPWP2100-2 By MacAllister
Getting Started . . .
Getting Started . . .
Your product Before you start
General
> Rated voltage:
220 - 240 V~, 50 Hz
> Rated input: 2100 W
> Rated pressure PN
110 bar (11 MPa)
> Max. permissible pressure PSmax
140 bar (14 MPa)
> Max. inlet water pressure
10 bar (1 MPa)
>
6 l/min
>
7.5 l/min
> Rated temperature T
50 °C
> Gun kickback force at maximum pressure
18 N
> Protection class/Protection degree
/ IPX5
> Weight 18.3 kg
> Dimensions
441 x 361 x 927 mm
High pressure hose
> Permissible pressure
160 bar (16 MPa)
> Maximum temperature
60 °C
> Length
9 m
> Inlet water hose (not supplied)
> Diameter min. Ø
12.7 (1/2”)
> Max. length
10 m
Sound level according to
EN 60704-1 and ISO 3744
> Sound pressure level L
pA
79 dB(A)
> Sound power level L
WA
86 dB(A)
> Uncertainty K
4 dB(A)
> Guaranteed power level L
WA
87 dB(A)
Vibration level according to
ISO 5349-1
> Hand arm vibration a
h
1.75 m/s
2
> Uncertainty K 1.5 m/s
2
The declared vibration value has been measured in accordance with a standard test
method and may be used for comparing one product with another. The declared vibration
value may also be used to evaluate the exposure for the user caused by vibration in
advance.
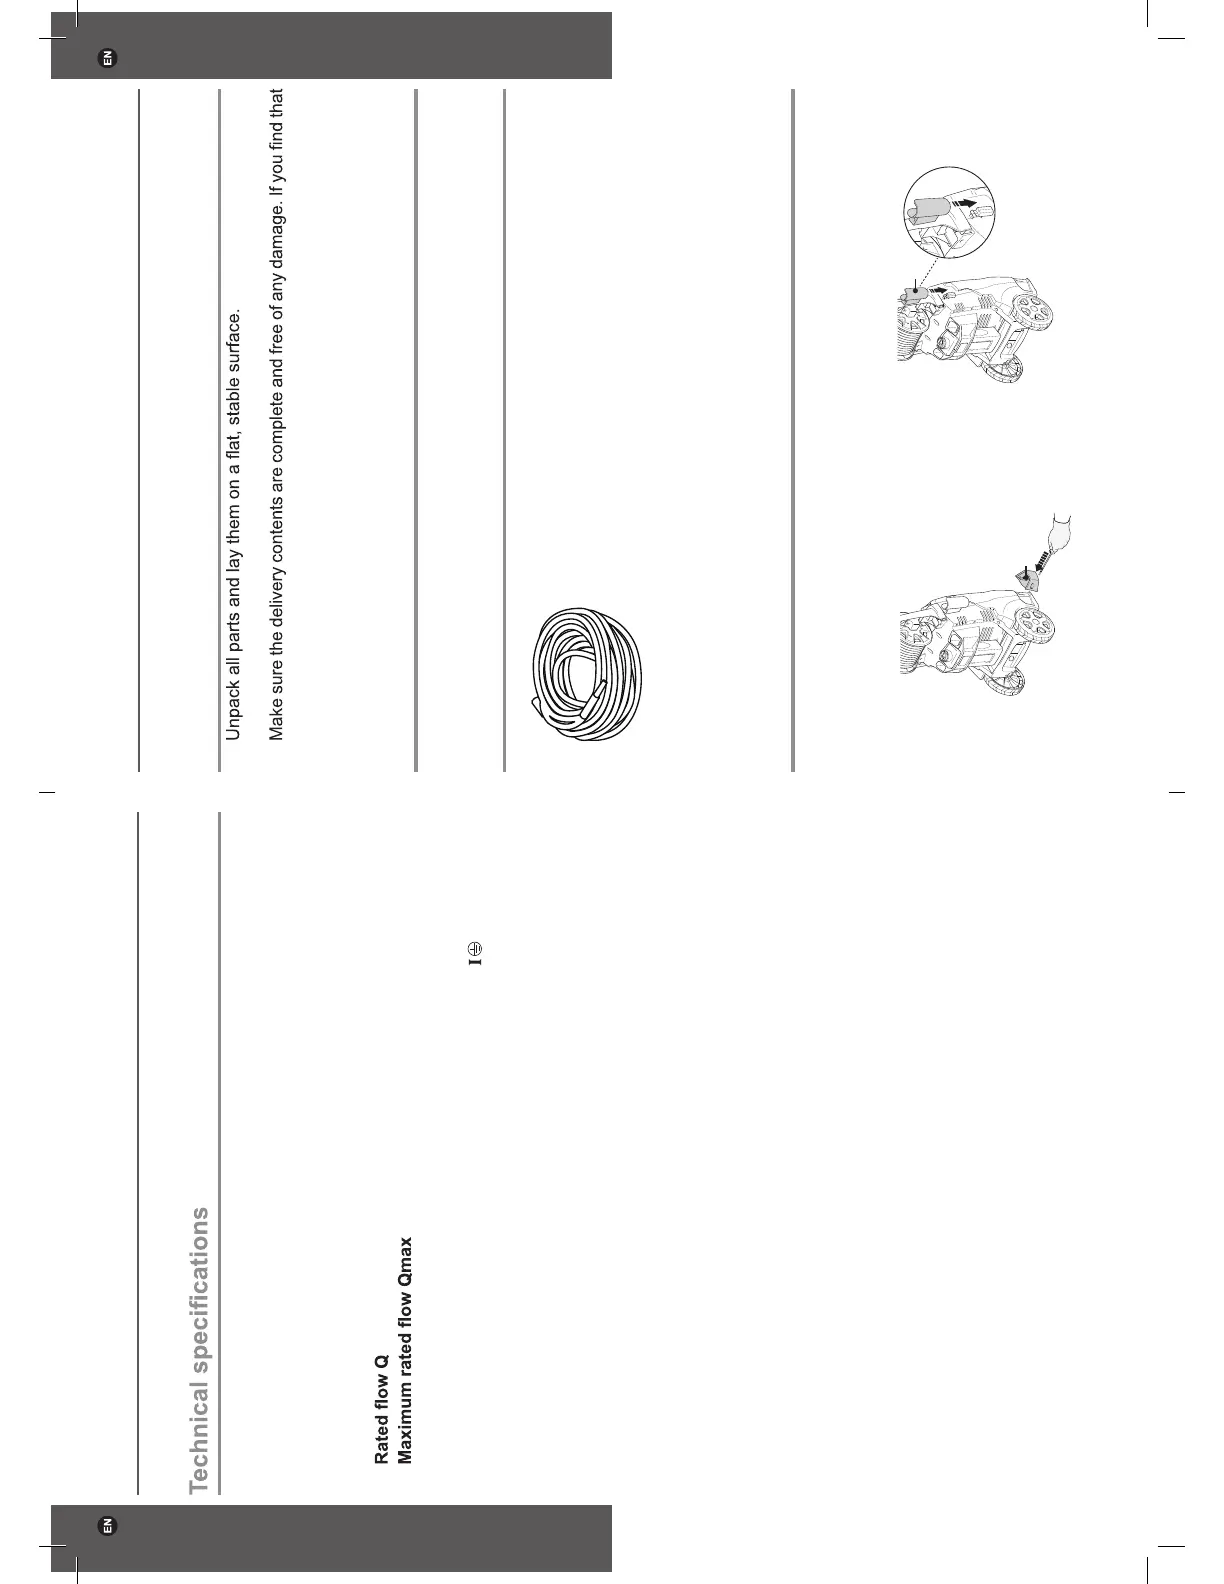
Unpack
1.
2. Remove all packing materials and shipping devices if applicable.
3.
parts are missing or show damage do not use the product but contact your dealer.
Using an incomplete or damaged product represents a hazard to people and property.
4.
Ensure that you have all the accessories and tools needed for assembly and operation.
This also includes suitable personal protective equipment.
Things to check before you start
Check the pack and make sure you have all of the part listed. If not,contact your local
store who will be able to help you.
You will need
> Water hose with suitable connectors
> Suitable personal protective
equipment
> Crosshead screwdriver
(items supplied)
> Spray gun
> High pressure hose
> Extension lance
> Vario Nozzle
> Rotary nozzle
> Rotary brush
> Patio cleaner
> Detergent spray nozzle
> Water inlet hose connector
> Cleaning needle
Assembly
1.
Assemble the product completely before use. Attach the accessories storage
compartment (9) to the lower side of the washer using one screw (22). Tighten the
screw using a suitable crosshead screwdriver. Then attach the accessories storage
compartment (9) to the upper side of the machine (Fig. 1).
Fig.
1
9
9
GP65-3663602939702-EN-V06.indd 14-15 11/2/16 6:05 PM
 Loading...