8
M•CASTER STUDIO LIVE STREAMING MIXER
M•CASTER STUDIO LIVE STREAMING MIXER
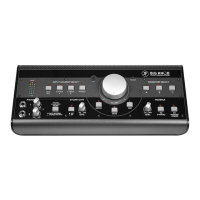
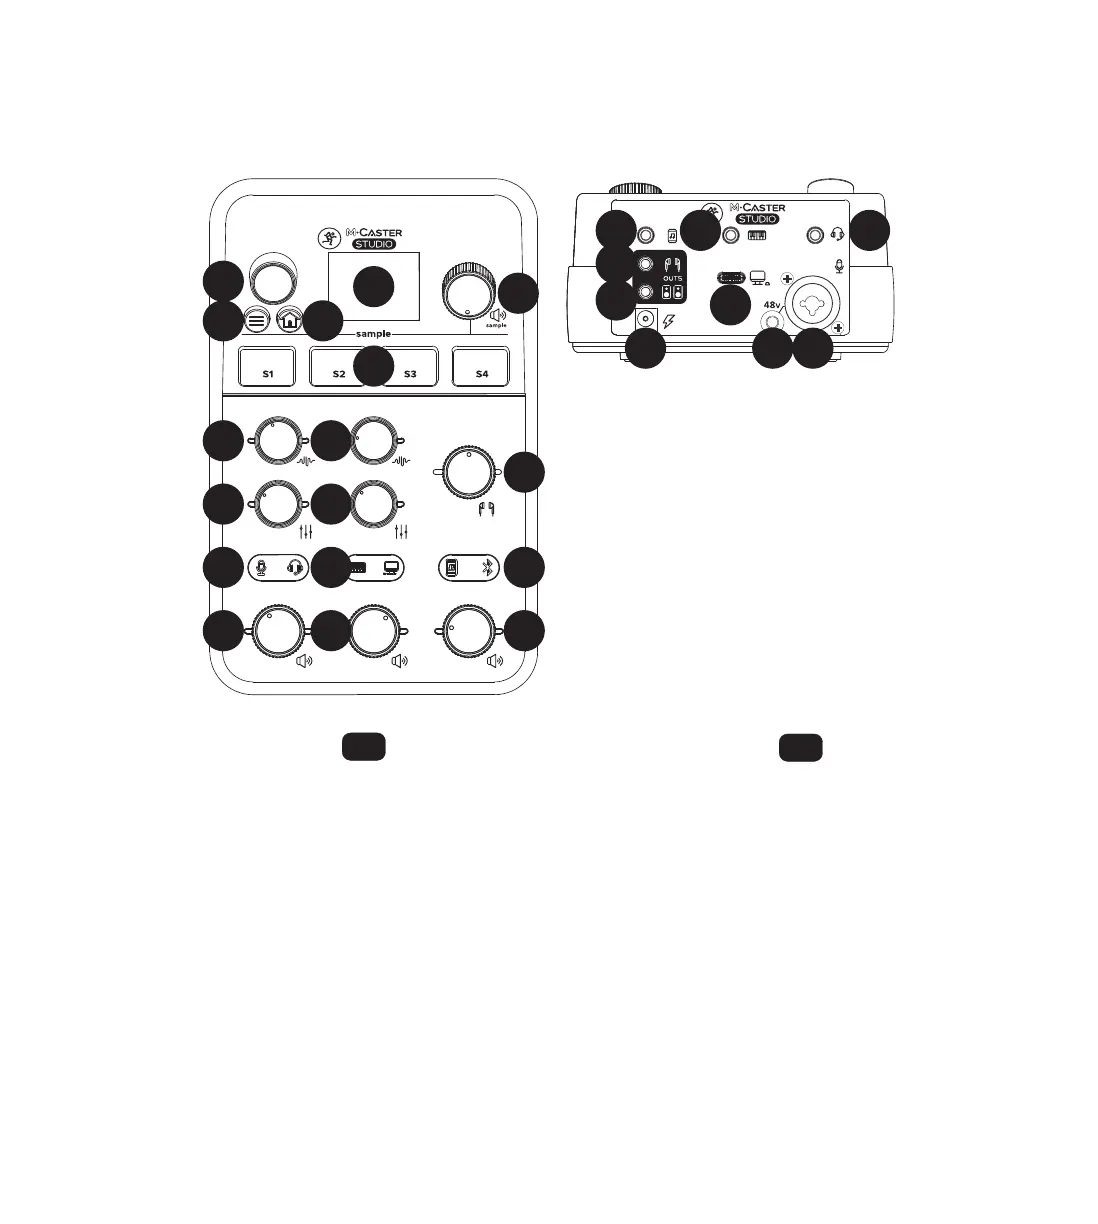
M•Caster Studio Front & Rear Panels • M•Caster Studio Panel frontal y trasero
. Read and understand the Important Safety Instructions
on page 2.
2. Turn down all knobs.
3. Push the included line cord securely into the M•Caster
Studio’s power connector and plug the other end into
an AC outlet.
4. Connect to headphones and/or to speakers.
5. Plug signal sources into the M•Caster Studio, such as:
• Microphone plugged into the mic input.
(Engage phantom power if needed.)
• Line-level sources such as a keyboard, headset
and/or smartphone plugged into the line-level
inputs.
• Computer plugged into the USB-C jack.
• Smartphone paired and connected via Bluetooth.
6. Confirm that the input selector switches have the correct
inputs selected.
7. Slowly raise the input and output volume knobs
to a comfortable listening level.
8. Add EQ, FX, samples, contour shaping, downlit accent color
(and more) to taste.
. Lea y tenga en cuenta las Instrucciones importantes
de seguridad de la página 3.
2. Coloque al mínimo todos los mandos.
3. Introduzca firmemente el cable de alimentación incluido
en la toma de alimentación del M•Caster Studio y el otro
extremo en una salida de corriente alterna.
4. Conecte unos auriculares y/o altavoces.
5. Conecte fuentes de señal al M•Caster Studio, tal como:
• Micrófono conectado en la entrada de micro.
(Active la alimentación fantasma
si es necesario).
• Fuentes de nivel de línea como teclados,
auriculares y/o smartphone.
• Ordenador conectado a la toma USB C.
• Smartphone sincronizado y conectado
vía Bluetooth.
6. Compruebe que los selectores de entrada tengan
las entradas correctas seleccionadas.
7. Suba lentamente los mandos de volumen de entrada
y salida hasta alcanzar un nivel de escucha confortable.
8. Añada EQ, FX, samples, modelado de forma, color de acento
de fin de compás (y más) de acuerdo a sus gustos.
Getting Started –
Puesta en marcha –
1G 2G 3G
1E 2E
4C
1F 2F 3F
1D
10
7
11
6
9 8
2D
4A
4B
3A 1A2B
1C
2A
5 1B