MAGSWITCH Pro Vertical Featherboard
P/N: 81101302
+ 1(303) 468.0622
magswitch.com
1101444 r01 For more information, contact our Application Engineers at +1.303.486.0622 or via magswitch.com Page 4
Getting Started
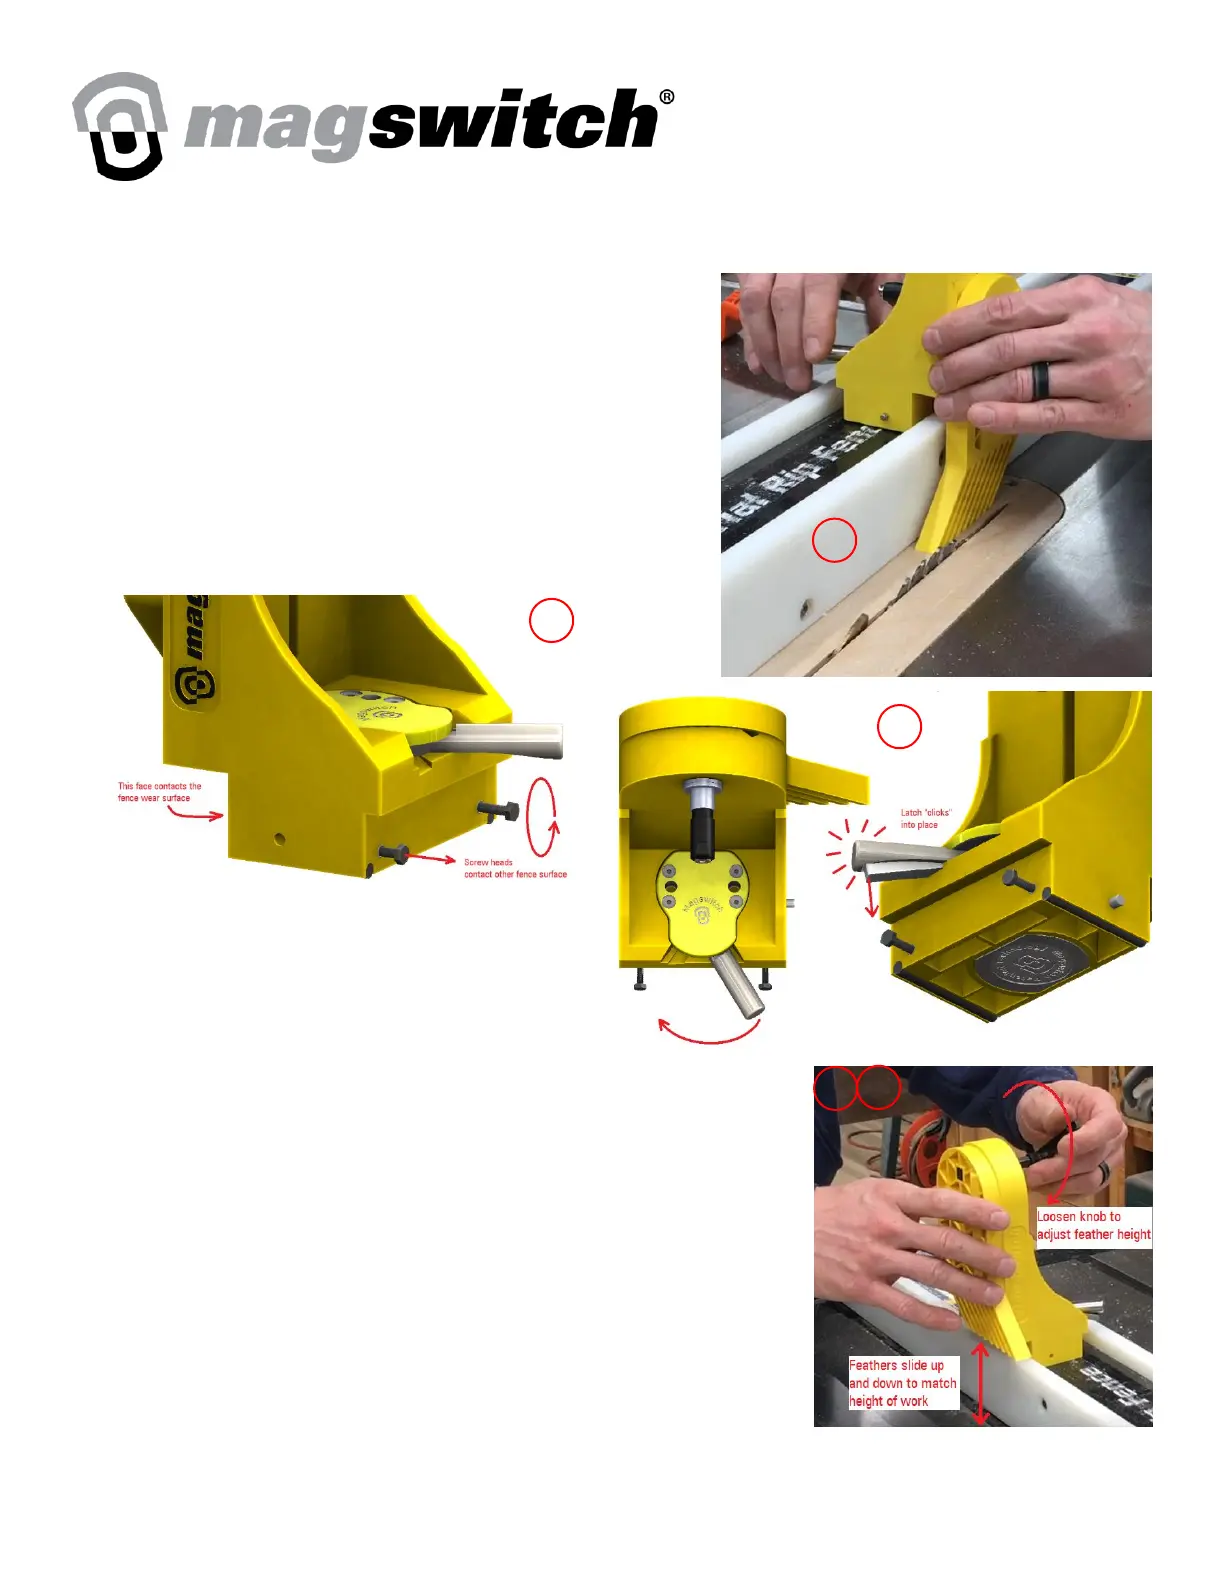
1. Position Vertical Featherboard on fence preceding table saw
blade. One side of the base should contact the back side of the
fence wear surface.
2. Thread/unthread the screws in the base of the vertical
featherboard so they contact back side of the opposite fence
wear surface.
WARNING: The base of the featherboard should not be free
to twist when inserted in the gap between fence surfaces.
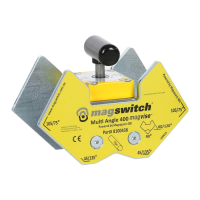
3. With the featherboard in position, rotate the handle
of the magnet clockwise 90° until the latch “clicks”
into place.
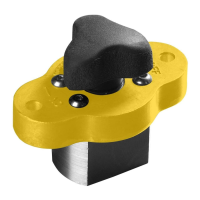
4. Loosen the black knob by rotating it
counterclockwise.
5. Lower the sliding feathers down to the table of the saw. The feathers
should compress at least ¼” or 6mm when the part passes underneath.
Avoid compressing the feathers more than ½” or 12mm or the feathers
may be damaged.
6. Tighten the black knob by rotating it clockwise to hold the sliding feathers
in place relative to the fence.
7. To remove the featherboard from the fence, press the latch on the rotating
handle and rotate the handle counterclockwise until the magnet is
disengaged. DO NOT tamper with the latch; it is a safety feature intended to keep the magnet engaged in the
event of kickback.