48
M2 ASSEMBLY GUIDE
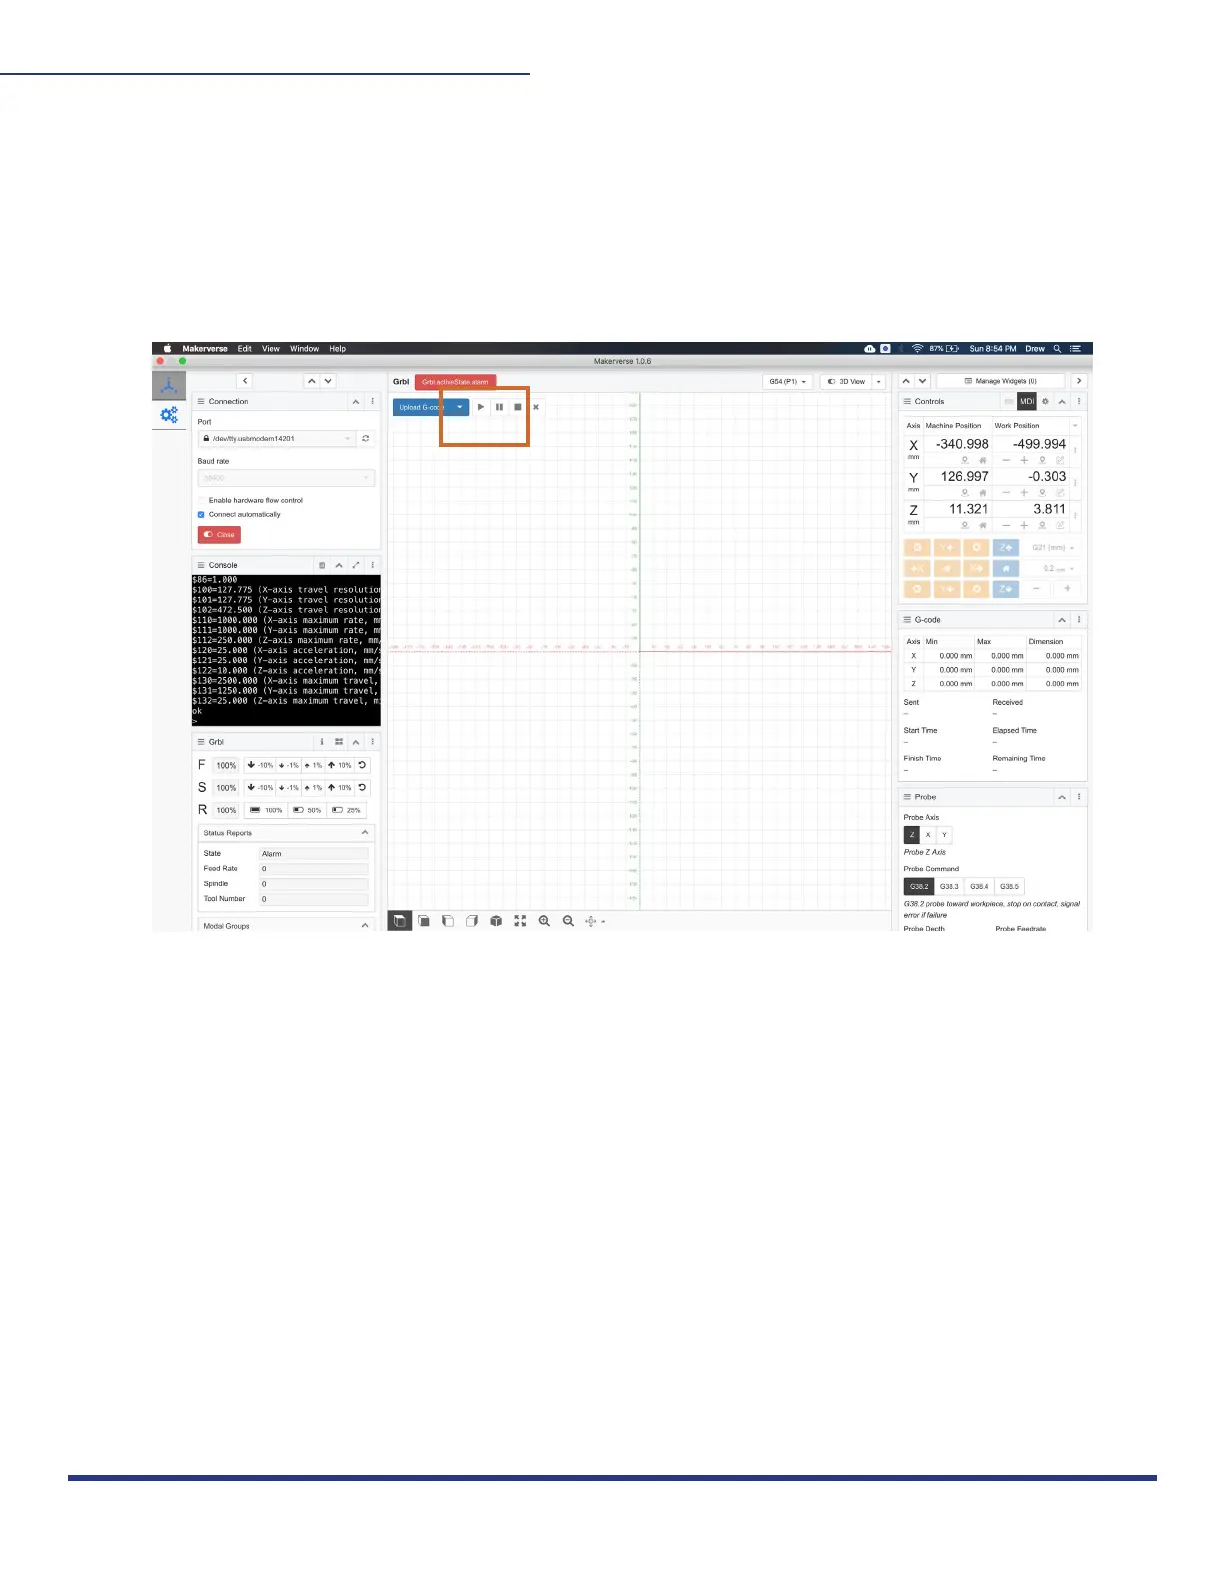
13. START:
Before you cut, raise the Z-Height 3mm above your print surface (so it doesn’t start touching
your material). Put on safety goggles, set your router RPM to the recommended cut speed
for the material, manually turn on your router so your bit is spinning, and click “Run” to begin
cutting out your project! We recommend running the first cut with the router off to ensure
everything is running properly.
When your M2 is cutting for the first time, be close to the power source to stop all
opperation if something goes awry. After your first test cut, you will measure and compare
the real values to the values of your Gcode for scaling, described in step 16.
This work is licensed under the creative commons Attribution
NonCommercial-NoDerivatives 4.0 International license. Last Updated 8.12.2020
Version 1.8