7 ENGLISH
NOTE: Depending on the conditions of use and the
Tool / battery protection system
-
Overload protection
This protection works when the tool is operated in a
-
-
turn the tool on to restart.
Overheat protection
-
Overdischarge protection
Switch action
CAUTION: Before installing the battery car-
tridge into the tool, always check to see that the
switch lever actuates properly and returns to the
"OFF" position when released.
CAUTION:
Fig.3: 1. Switch lever
Release the switch lever to stop.
Lighting up the front lamp
CAUTION: Do not look in the light or see the
source of light directly.
Fig.4: 1. Lamp
-
onds after the switch lever is released.
NOTE:
the lamp. Be careful not to scratch the lens of lamp, or
Reversing switch action
Fig.5: 1. Reversing switch lever
CAUTION: Always check the direction of
rotation before operation.
CAUTION: Use the reversing switch only after
the tool comes to a complete stop. Changing the
-
age the tool.
CAUTION: When not operating the tool,
always set the reversing switch lever to the neu-
tral position.
This tool has a reversing switch to change the direction
of rotation. Depress the reversing switch lever from the
-
terclockwise rotation.
When the reversing switch lever is in the neutral posi-
ASSEMBLY
CAUTION: Always be sure that the tool is
before carrying out any work on the tool.
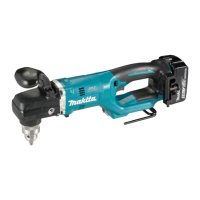
Installing side grip (auxiliary handle)
CAUTION: Always be sure that the side grip is
installed securely before operation.
convenient.
Fig.6: 1. Side grip
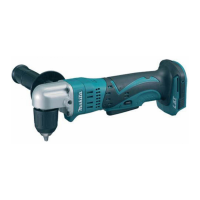
Installing or removing drill bit
Optional accessory
Fig.7: 1. Sleeve
-
sleeve clockwise to tighten the chuck.
sleeve counterclockwise.
Installing hook
CAUTION: When installing the hook, always
If not, the hook
Fig.8: 1. Groove 2. Hook 3. Screw
the hook, insert it into a groove in the tool housing on
either side and then secure it with a screw. To remove,
loosen the screw and then take it out.
 Loading...