P 6 / 9
Repair
[3] DISASSEMBLY/ASSEMBLY
[3] -3. Armature (cont.)
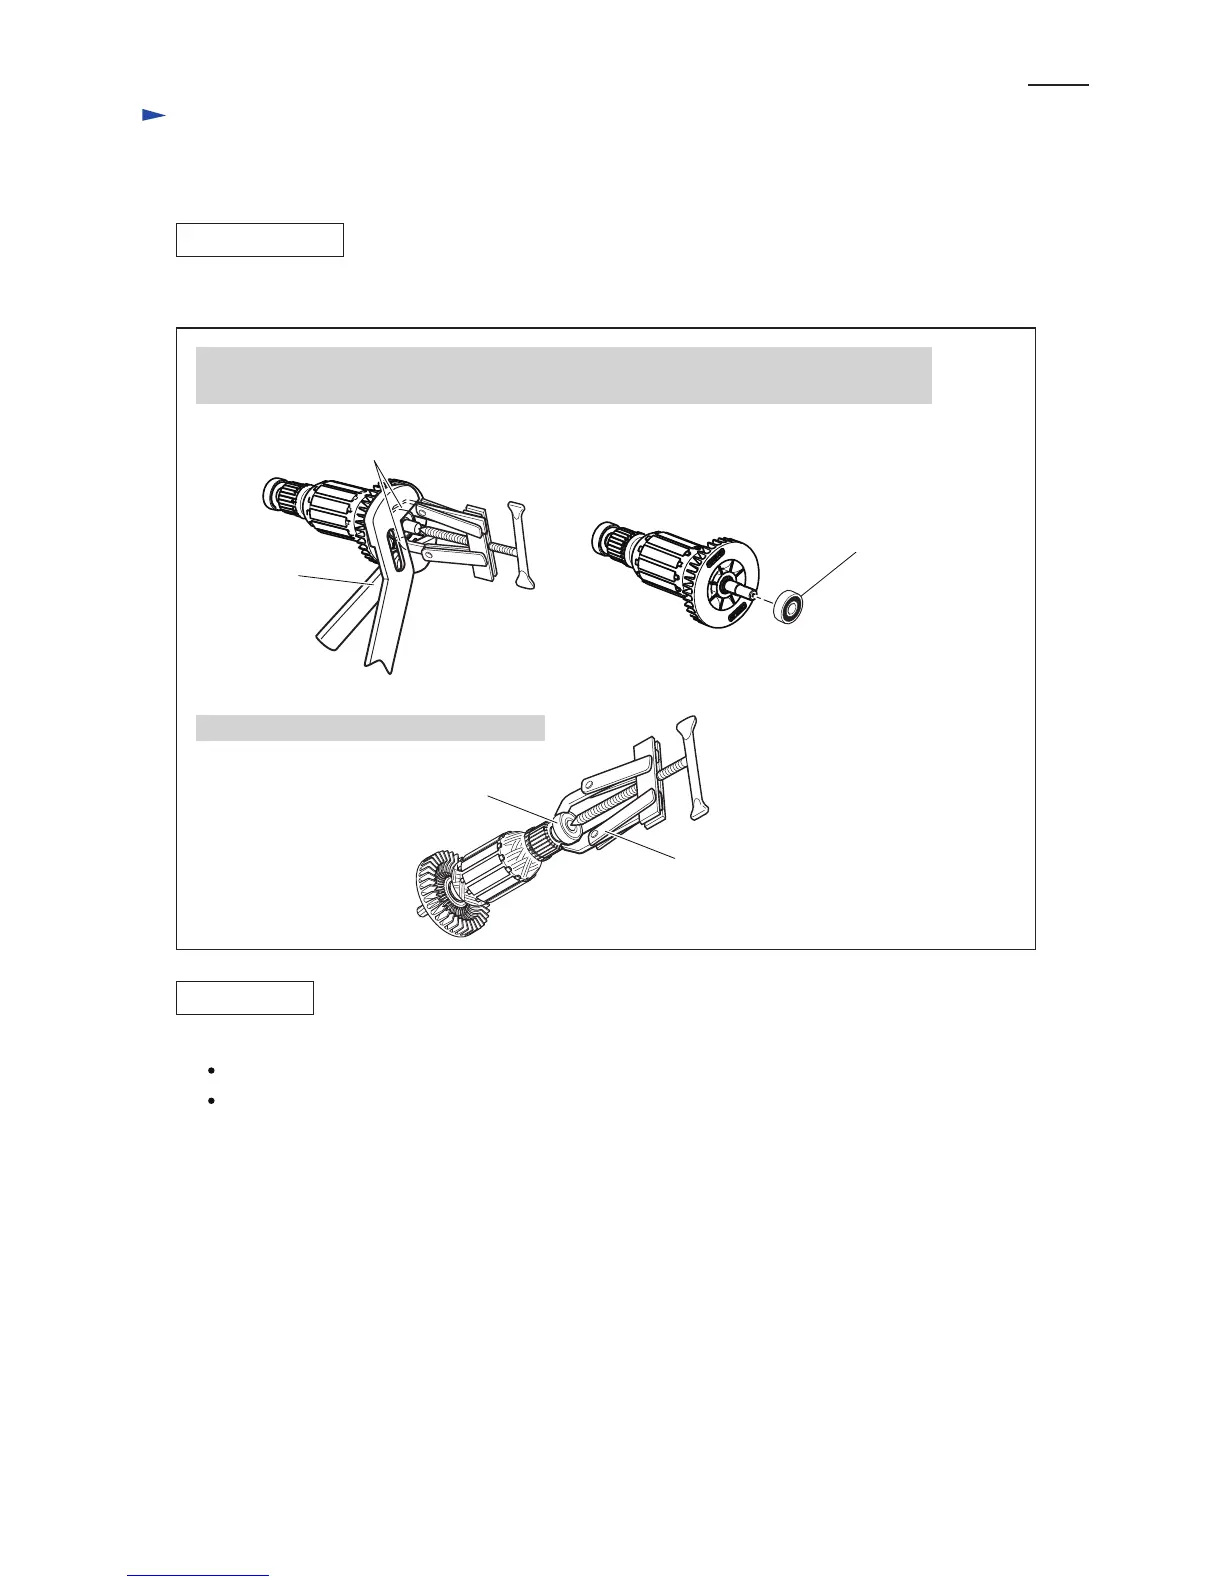
DISASSEMBLING
ASSEMBLING
Fig. 7
When assembling Ball bearings to Armature, pay attention to the following.
Ball bearing 607ZZ with Metal seals should be mounted on Commutator end.
Ball bearing 607DDW with Rubber seals should be mounted on Drive end (Fan side).
(3) Remove Ball bearings as drawn in Fig. 7.
Water pump
pliers
Claws of 1R269
Ball bearing 607DDW
with Rubber seals
Ball bearing 607ZZ
with Metal seals
1R269
1. Use Water pump pliers to secure the claws of 1R269 firmly so that 1R269 cannot be opened.
And remove Ball bearing 607DDW with 1R269.
2. Remove Ball bearing 607ZZ with 1R269.

 Loading...