P 3 / 9
ASSEMBLING
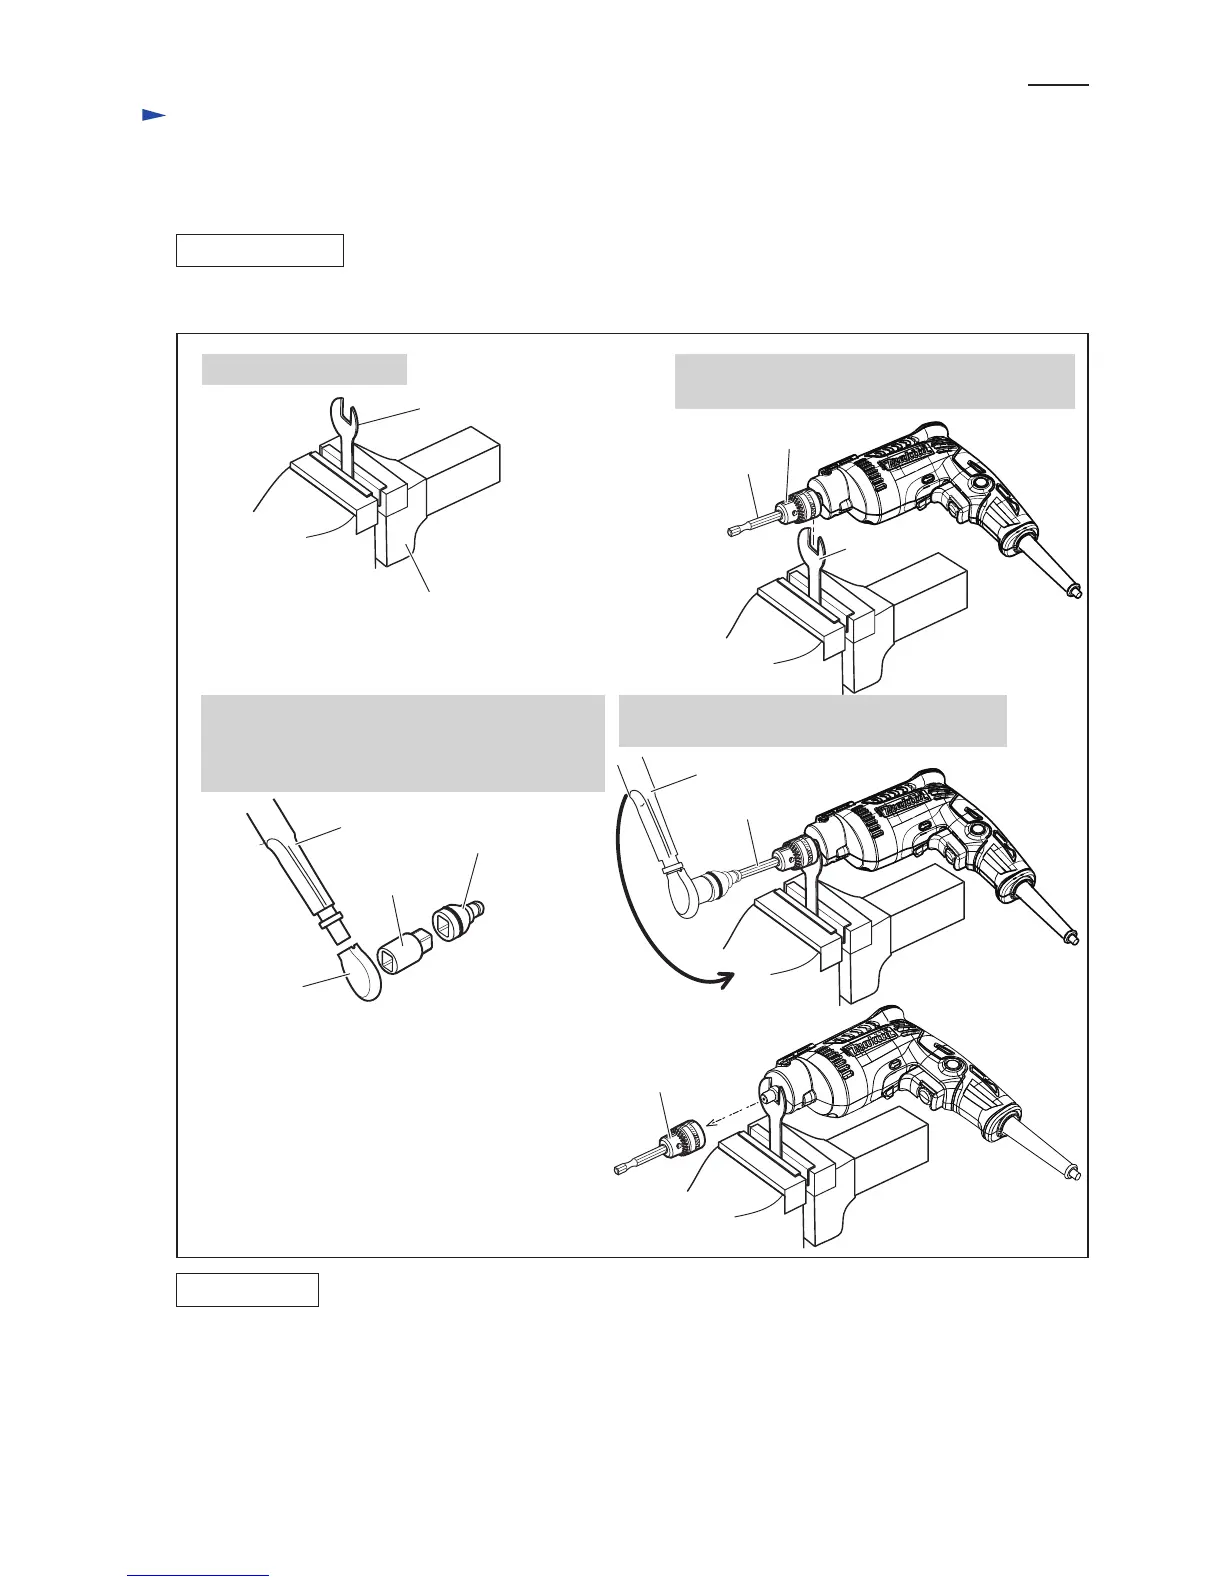
Assemble Drill chuck by reversing the disassembly procedure. (Refer to Fig. 2.)
Note: Set the fastening torque of 1R219 to 9.8 N·m to 14.7 N·m (100 Kgf·cm to 150 Kgf·cm) and turn 1R219 clockwise.
Repair
[3] DISASSEMBLY/ASSEMBLY
[3] -1. Drill Chuck
DISASSEMBLING
Bit adapter
Wrench 10
Wrench 10
Vise
1R222
1R231
Drill chuck
Drill chuck
1. Fix Wrench 10 to Vise.
(1) Remove Drill chuck as drawn in Fig. 2.
4. Turn 1R219 counterclockwise to remove
Drill chuck.
2. Insert 1R231 into Drill chuck and set Drill chuck
to Wrench 10.
Fig. 2
1R220
1R219
1R219
1R231
3. Attach 1R220, 1R222 and Bit adapter as follows:
(1) Attach 1R222 to 1R220.
(2) Attach 1R220 to 1R219.
(3) Attach Bit adapter to 1R222.

 Loading...