6
English
INSTRUCTIONS FOR USE
Q Always observe the safety instructions and appli-
cable regulations.
Q Use only one hand to hold the tool, do not place
your other hand over the air vents.
Prior to operation
Q Mount the correct accessory for the application.
Q Set the desired air temperature.
Switching on and off
Q To switch the tool on, set the on/off switch to
position 1/2/3. Some smoke may be emitted after
switching on, this does not indicate a problem.
Q To switch the tool off, adjust the lowest temper-
ature to cool off, then set the on/off switch to
position 0. Let the tool cool down before moving
or storing it.
Temperature setting
Q Turn ON/OFF switch to 1/2/3, depending on tem-
perature you need.
Detachable front cover
Q The front cover can be removed when working at
a narrow area.
Removing the front cover increases the
risk of burn with the bare hot nozzle.
Stripping paint
Q Mount an appropriate accessory.
Q Set a high air temperature.
Q Switch the tool on.
Q Direct the hot air onto the paint to be removed.
Q When the paint softens, scrape the paint away
using a hand scraper.
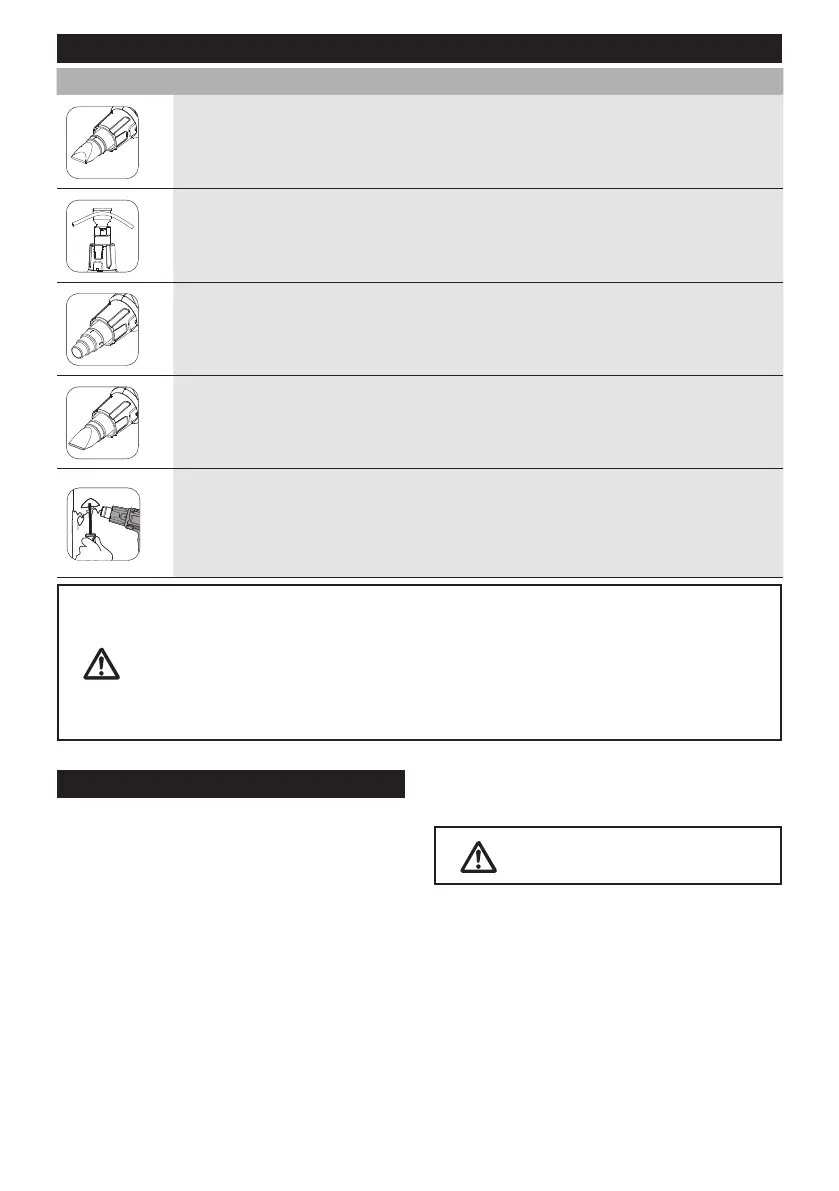
Purpose
Glass protection nozzle Protection windows when stripping frames
Reector nozzle Soldering pipes
Reduction nozzle Welding, sleeve shrinking (heat concentrated over small area )
Wide-slot nozzle Drying, thawing (heat spread over wider area )
Scraper Stripping paint and varnish
Q
Q
Q
Q
Q

 Loading...