Continuous Rating (W)
Voltage (V) Cycle (Hz)
Input Output
Max. Output(W)
110-120
DC 7.2 - 18
DC 2.6
NoDouble Insulation
2.0 (6.6)
0.7 (1.5)
220-240
50 - 60
50 - 60
65
65
Models No.
Description
PRODUCT
Current (A)
T
ECHNICAL INFORMATION
CONCEPT AND MAIN APPLICATIONS
Specification
P 1 / 3
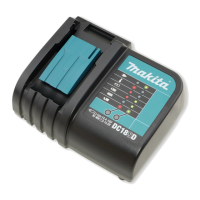
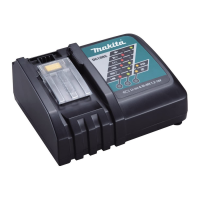
DC18SD
Charger
Dimensions: mm (")
Width (W)
Height (H)
Length (L)
183 (7-1/4)
151 (5-15/16)
88 (3-1/2)
W
L
H
Power Supply Cord: m ( ft )
Net weight: Kg (lbs)
Output voltage : V
Output current : A
Note: The above figures about charging time may differ from condition to condition on batteries' temperature
or room temperature.
Cost-effective charger DC18SD has been launched for worldwide owners
of Makita slide-on type 7.2-18V Li-ion and Ni-MH batteries.
1.5 Ah Li-ion Battery can be charged in 30 minutes. (3.0Ah: 60 minutes)
Innovative computer controlled charging system realized most suitable
charge by making the digital communication between charger and battery.
See detailed information as follows.
This charger contains trickle charging function.
Li-ion
BL1815
Cell Voltage: VCapacity: AhCharging time Battery
Approx. 60 min.
Approx. 30 min.
Approx. 40 min.
Approx. 70 min.
18
9.6
BL1415
14.4
1.5
12
BH1220 / C
BH1430 / A
BH1830
14.4
18
BH9020 / A
3.0
9.6
BH9033
Ni-MH
BH9033A
12
BH1233
3.3
BH1233C
14.4 BH1433
14.4
2.0
BH1420