8 ENGLISH
1
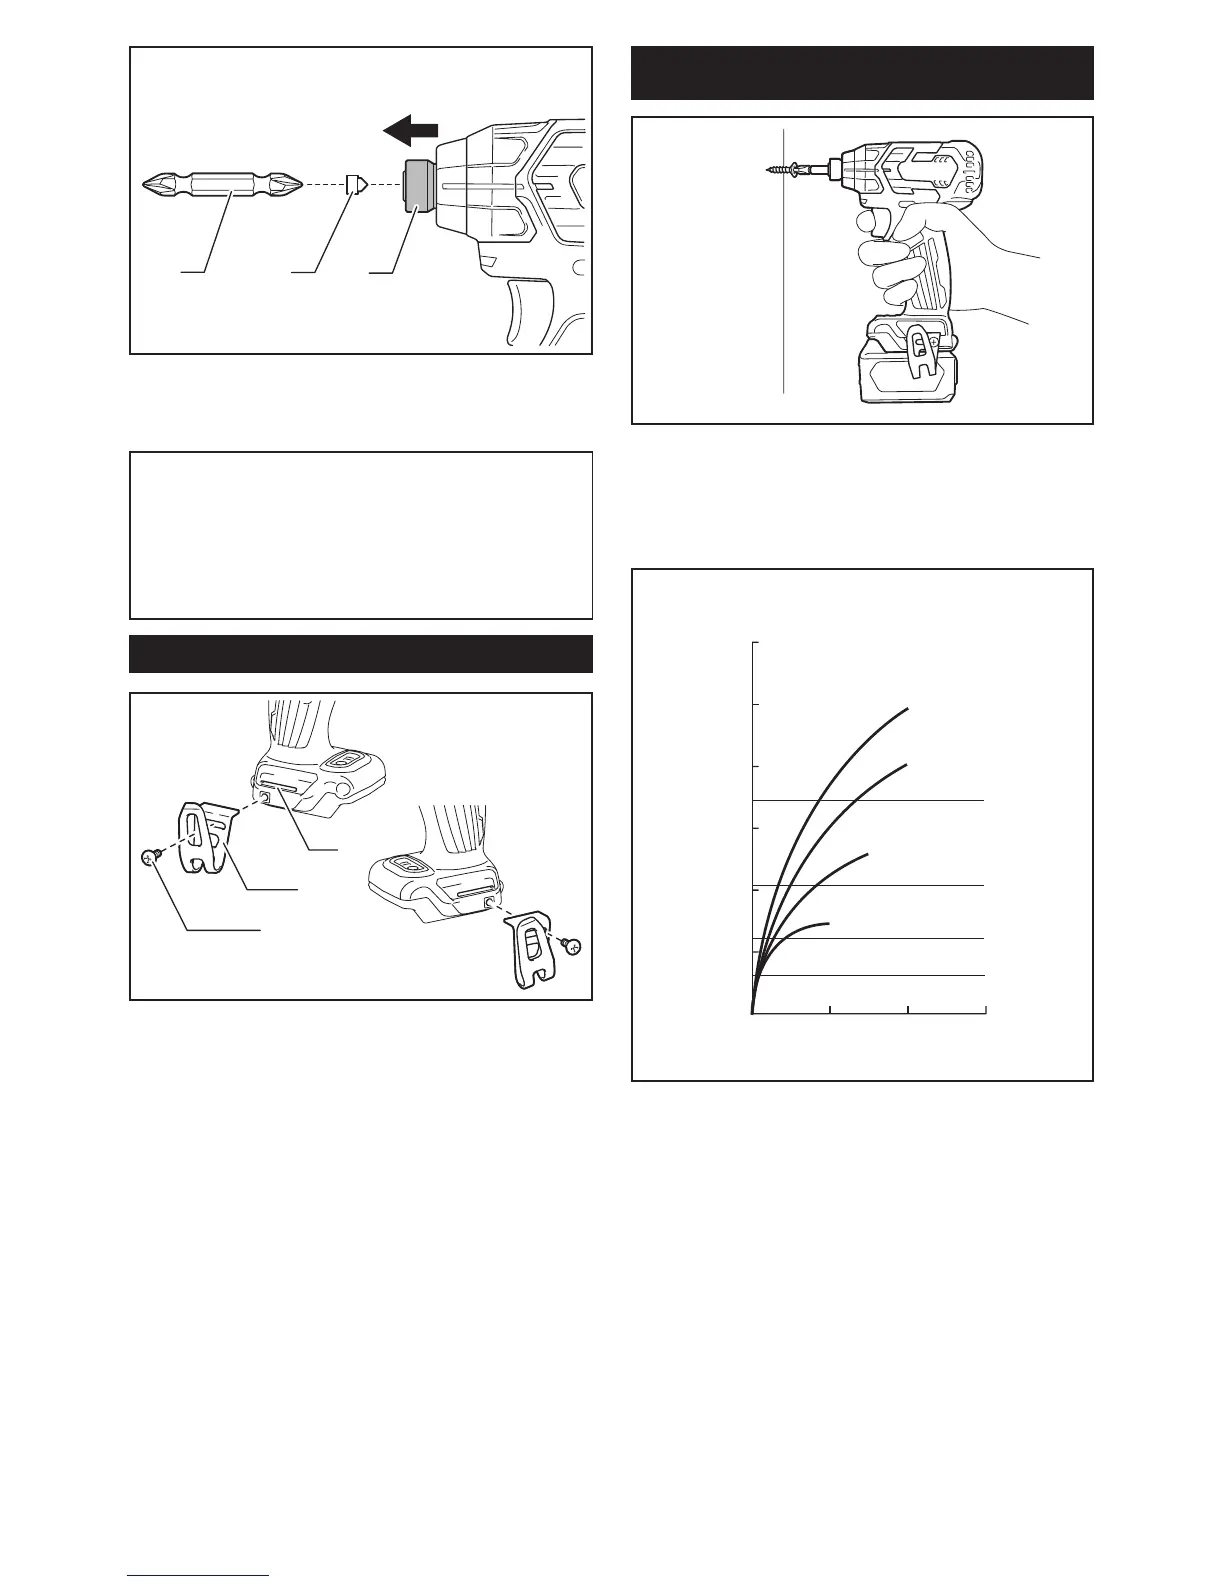
3
2
►1. Driver bit 2. Bit-piece 3. Sleeve
Toremovethedriverbit,pullthesleeveinthedirection
of the arrow and pull the driver bit out.
NOTE: If the driver bit is not inserted deep enough
into the sleeve, the sleeve will not return to its original
position and the driver bit will not be secured. In this
case, try re-inserting the bit according to the instruc-
tions above.
NOTE:Afterinsertingthedriverbit,makesurethatit
isrmlysecured.Ifitcomesout,donotuseit.
Installing hook
3
2
1
►1. Groove 2. Hook 3. Screw
Thehookisconvenientfortemporarilyhangingthetool.
Thiscanbeinstalledoneithersideofthetool.Toinstall
the hook, insert it into a groove in the tool housing on
eithersideandthensecureitwithascrew.Toremove,
loosen the screw and then take it out.
OPERATION
Theproperfasteningtorquemaydifferdependingupon
thekindorsizeofthescrew/bolt,thematerialofthe
workpiecetobefastened,etc.Therelationbetweenfas-
teningtorqueandfasteningtimeisshowninthegures.
Standard bolt
N•m
(kgf•cm)
2
1
2.01.
 Loading...