Do you have a question about the Makita XWT12RB and is the answer not in the manual?
Lists compatible Makita battery cartridges.
General safety guidelines for power tool operation.
Electrical safety precautions to prevent shock.
Safety measures related to the work environment.
Guidelines for using and maintaining the power tool.
Guidelines for using and maintaining battery tools.
Explains symbols used in the manual.
Key safety instructions for battery cartridges.
Advice on maximizing battery lifespan.
Steps for installing and removing the battery.
Explains the tool's protection systems.
How to check the battery level.
Guidance on choosing the right impact socket.
Steps for attaching and detaching impact sockets.
Instructions for attaching the tool hanger hook.
Chart showing torque vs. time for standard bolts.
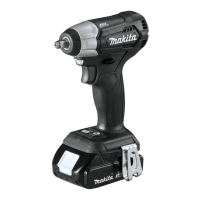
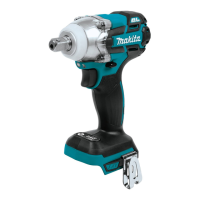
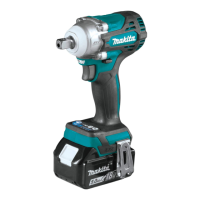
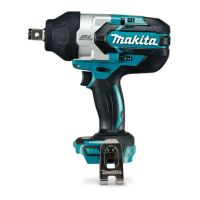
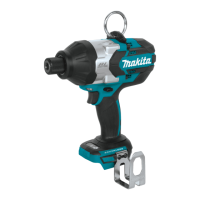
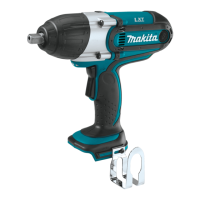
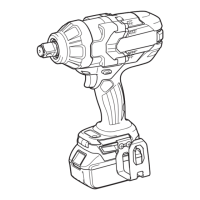
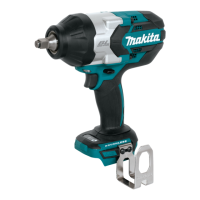
The Makita Cordless Impact Wrench XWT12 is a powerful and versatile tool designed for fastening and loosening bolts and nuts. It operates on a D.C. 18V battery and features an impact mechanism for efficient work.
The XWT12 is equipped with a tool/battery protection system that automatically cuts off power to the motor to extend both tool and battery life. This system activates under specific conditions:
The tool also features an electric brake, which quickly stops the tool after the switch trigger is released. If the tool consistently fails to stop quickly, it should be serviced at a Makita service center.
A front lamp is integrated into the tool to illuminate the work area. Users are cautioned not to look directly into the light source. The lamp can be turned on by pulling the switch trigger and turns off approximately 10 seconds after the trigger is released. To keep the lamp off, the user can pull and release the switch trigger, then press the mode button for one second within 10 seconds. To turn the lamp status back on, the button can be pressed again similarly. The lamp status (ON/OFF) can be confirmed by pulling the trigger. If the tool overheats, the light will flash for one minute before turning off, indicating the need to cool down the tool. The lamp lens should be kept clean with a dry cloth to maintain illumination.
Battery Cartridge Installation and Removal: To install the battery cartridge, align the tongue on the cartridge with the groove in the tool's housing and slide it in until it locks with a click. A red indicator on the upper side of the button should not be visible when the cartridge is fully inserted. Users are cautioned to always switch off the tool before installing or removing the battery cartridge and to hold both the tool and cartridge firmly to prevent injury or damage. Forcible insertion is not recommended, as it indicates incorrect alignment. To remove the battery cartridge, slide it from the tool while simultaneously sliding the button on the front of the cartridge.
Indicating Remaining Battery Capacity: For battery cartridges with an indicator, the remaining capacity can be checked by pressing the check button. Indicator lamps will light up for a few seconds, showing the charge level (75-100%, 50-75%, 25-50%, 0-25%). If the battery needs charging, the lamps will blink. If the battery is malfunctioning, the lamps will flash in an alternating pattern. The indication may vary slightly depending on usage conditions and ambient temperature.
Switch Action: The tool is started by pulling the switch trigger. Tool speed increases with greater pressure on the trigger and stops when the trigger is released. The tool automatically stops if the switch trigger is pulled for approximately 6 minutes continuously. Users are advised to always check that the switch trigger actuates properly and returns to the "OFF" position before installing the battery cartridge.
Reversing Switch Action: The XWT12 features a reversing switch to change the direction of rotation. Depressing the lever from the 'A' side enables clockwise rotation, while depressing it from the 'B' side enables counterclockwise rotation. When the reversing switch lever is in the neutral position, the switch trigger cannot be pulled. Users should always check the direction of rotation before operation and only use the reversing switch after the tool has come to a complete stop to prevent damage. When not operating the tool, the reversing switch lever should be set to the neutral position.
Changing the Impact Force: The impact force can be adjusted in three steps: hard, soft, and Reverse rotation auto stop mode. This allows for a tightening force suitable for various tasks. Each press of the mode button changes the number of blows.
Installing and Removing Sockets: Users should always use the correct size impact socket for bolts and nuts to avoid inaccurate fastening torque or damage. To install a socket, push it onto the square drive of the tool until it locks into place. To remove, simply pull it off.
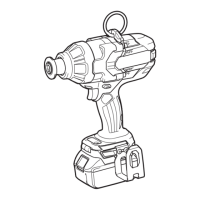
Installing the Hook: A hook is provided for temporarily hanging the tool and can be installed on either side of the tool housing. To install, insert it into a groove and secure it with a screw. To remove, loosen the screw and take it out.
Proper Fastening Torque: To achieve proper fastening torque, hold the tool firmly and place the impact socket over the bolt or nut, then turn the tool on for the appropriate fastening time. The required fastening torque varies based on the type and size of the bolt, as well as the material of the workpiece. It is recommended to perform a test operation before starting a job to determine the proper fastening time. After fastening, the torque should always be checked with a torque wrench. Factors affecting fastening torque include:
General Maintenance: Before performing any inspection or maintenance, always ensure the tool is switched off and the battery cartridge is removed. Users are cautioned against using gasoline, benzine, thinner, alcohol, or similar substances, as these can cause discoloration, deformation, or cracks. To maintain the product's safety and reliability, all repairs, maintenance, or adjustments should be performed by Makita Authorized or Factory Service Centers, using only genuine replacement parts.
Tips for Maximizing Battery Life:
Makita recommends using specific accessories or attachments with the XWT12, as listed in the manual. Using other accessories may pose a risk of injury. These include:
| Brand | Makita |
|---|---|
| Model | XWT12RB |
| Category | Power Tool |
| Language | English |