4
7. Be sure the blade installation bolts are
securely tightened before operation.
8. Hold the tool firmly with both hands.
9. Keep hands away from rotating parts.
10. Before using the tool on an actual workpiece,
let it run for a while. Watch for vibration or
wobbling that could indicate poor installation
or a poorly balanced blade.
11. Make sure the blade is not contacting the
workpiece before the switch is turned on.
12. Wait until the blade attains full speed before
cutting.
13. Always switch off and wait for the blades to
come to a complete stop before any adjusting.
14. Never stick your finger into the chip chute.
Chute may jam when cutting damp wood.
Clean out chips with a stick.
15. Do not leave the tool running. Operate the tool
only when hand-held.
16. Always change both blades or covers on the
drum, otherwise the resulting imbalance will
cause vibration and shorten tool life.
17. Use only Makita blades specified in this
manual.
18. Always use the correct dust mask/respirator
for the material and application you are
working with.
SAVE THESE INSTRUCTIONS.
WARNING:
DO NOT let comfort or familiarity with product
(gained from repeated use) replace strict adherence
to safety rules for the subject product.
MISUSE or failure to follow the safety rules stated in
this instruction manual may cause serious personal
injury.
FUNCTIONAL DESCRIPTION
CAUTION:
• Always be sure that the tool is switched off and
unplugged before adjusting or checking function on
the tool.
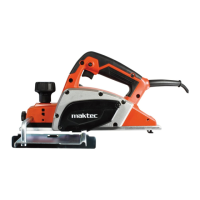
Adjusting depth of cut
1
2
011864
Depth of cut may be adjusted by simply turning the knob
on the front of the tool so that the pointer points the
desired depth of cut.
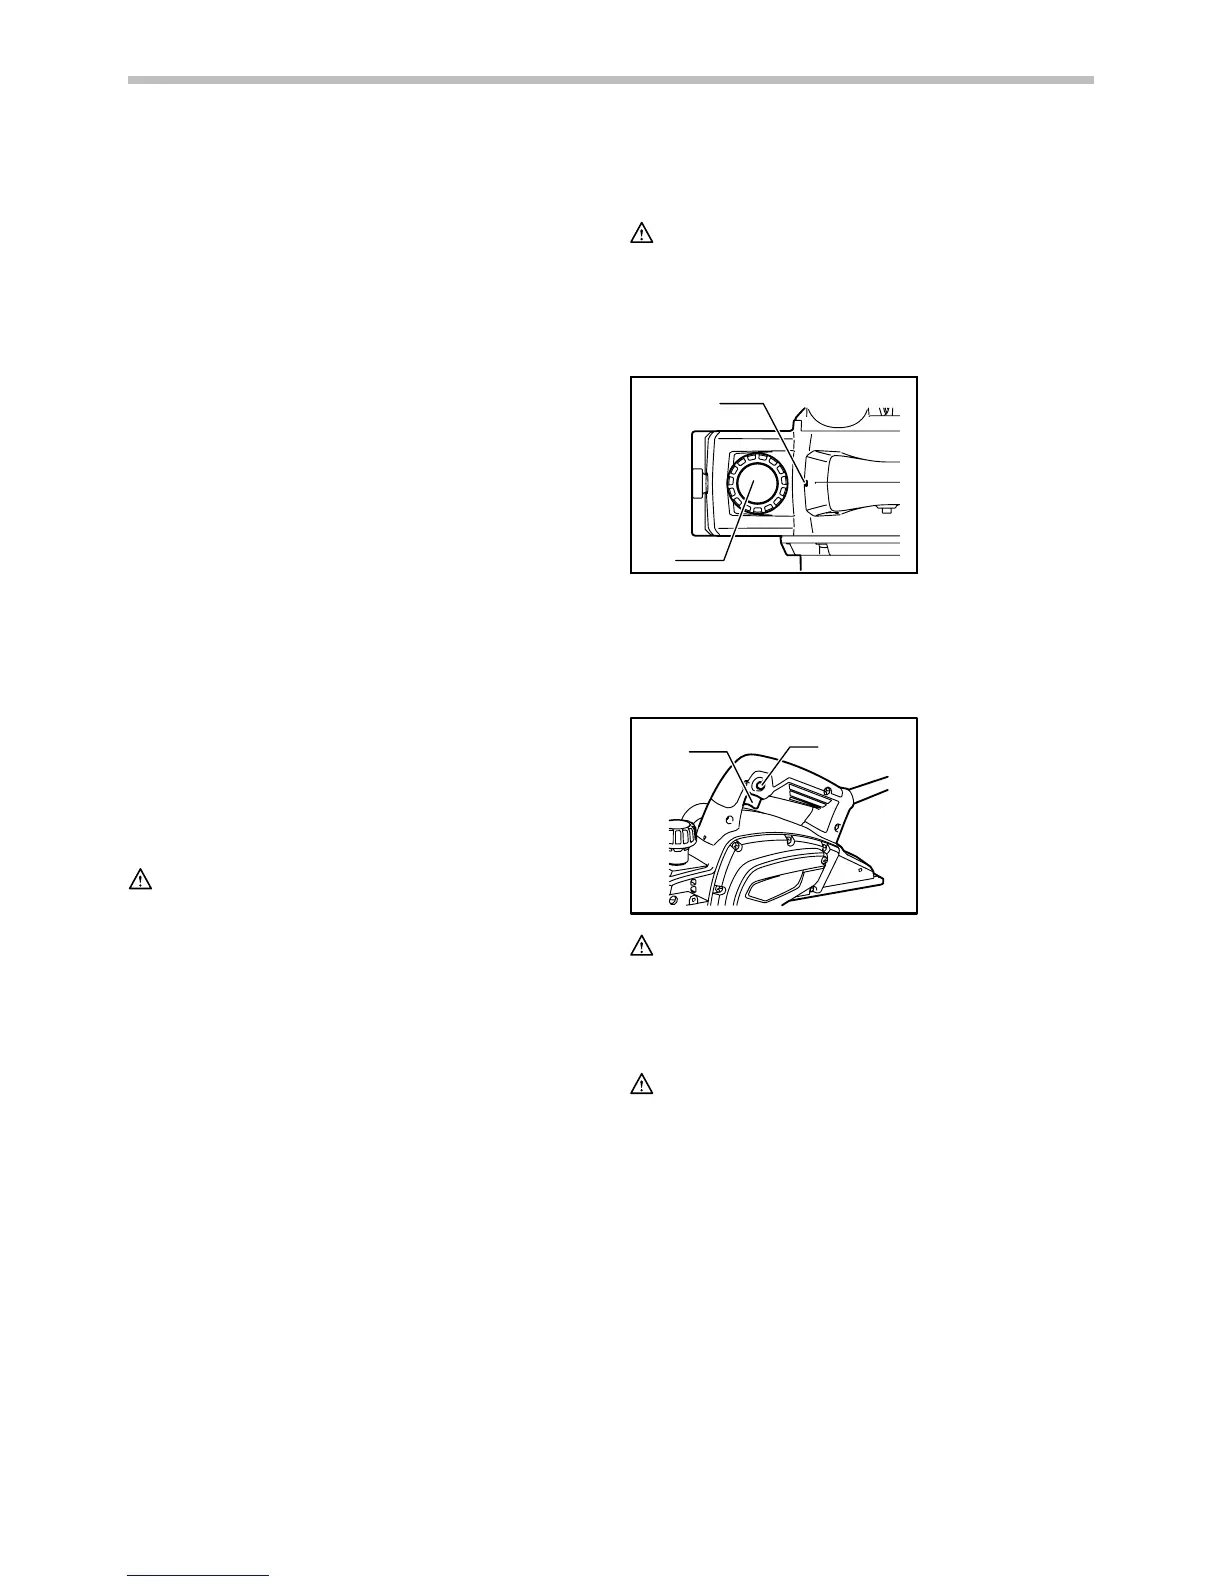
Switch action
1
2
011865
CAUTION:
• Before plugging in the tool, always check to see
that the switch trigger actuates properly and returns
to the "OFF" position when released.
For tool with lock button
CAUTION:
• Switch can be locked in "ON" position for ease of
operator comfort during extended use. Apply
caution when locking tool in "ON" position and
maintain firm grasp on tool.
To start the tool, simply pull the switch trigger. Release
the switch trigger to stop.
For continuous operation, pull the switch trigger and then
push in the lock button.
To stop the tool from the locked position, pull the switch
trigger fully, then release it.
For tool with lock-off button
To prevent the switch trigger from being accidentally
pulled, a lock-off button is provided.
To start the tool, depress the lock-off button and pull the
switch trigger. Release the switch trigger to stop.
1. Switch trigger
2. Lock button or
Lock-off button
1. Pointer
2. Knob
 Loading...