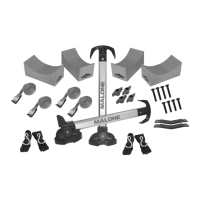
R
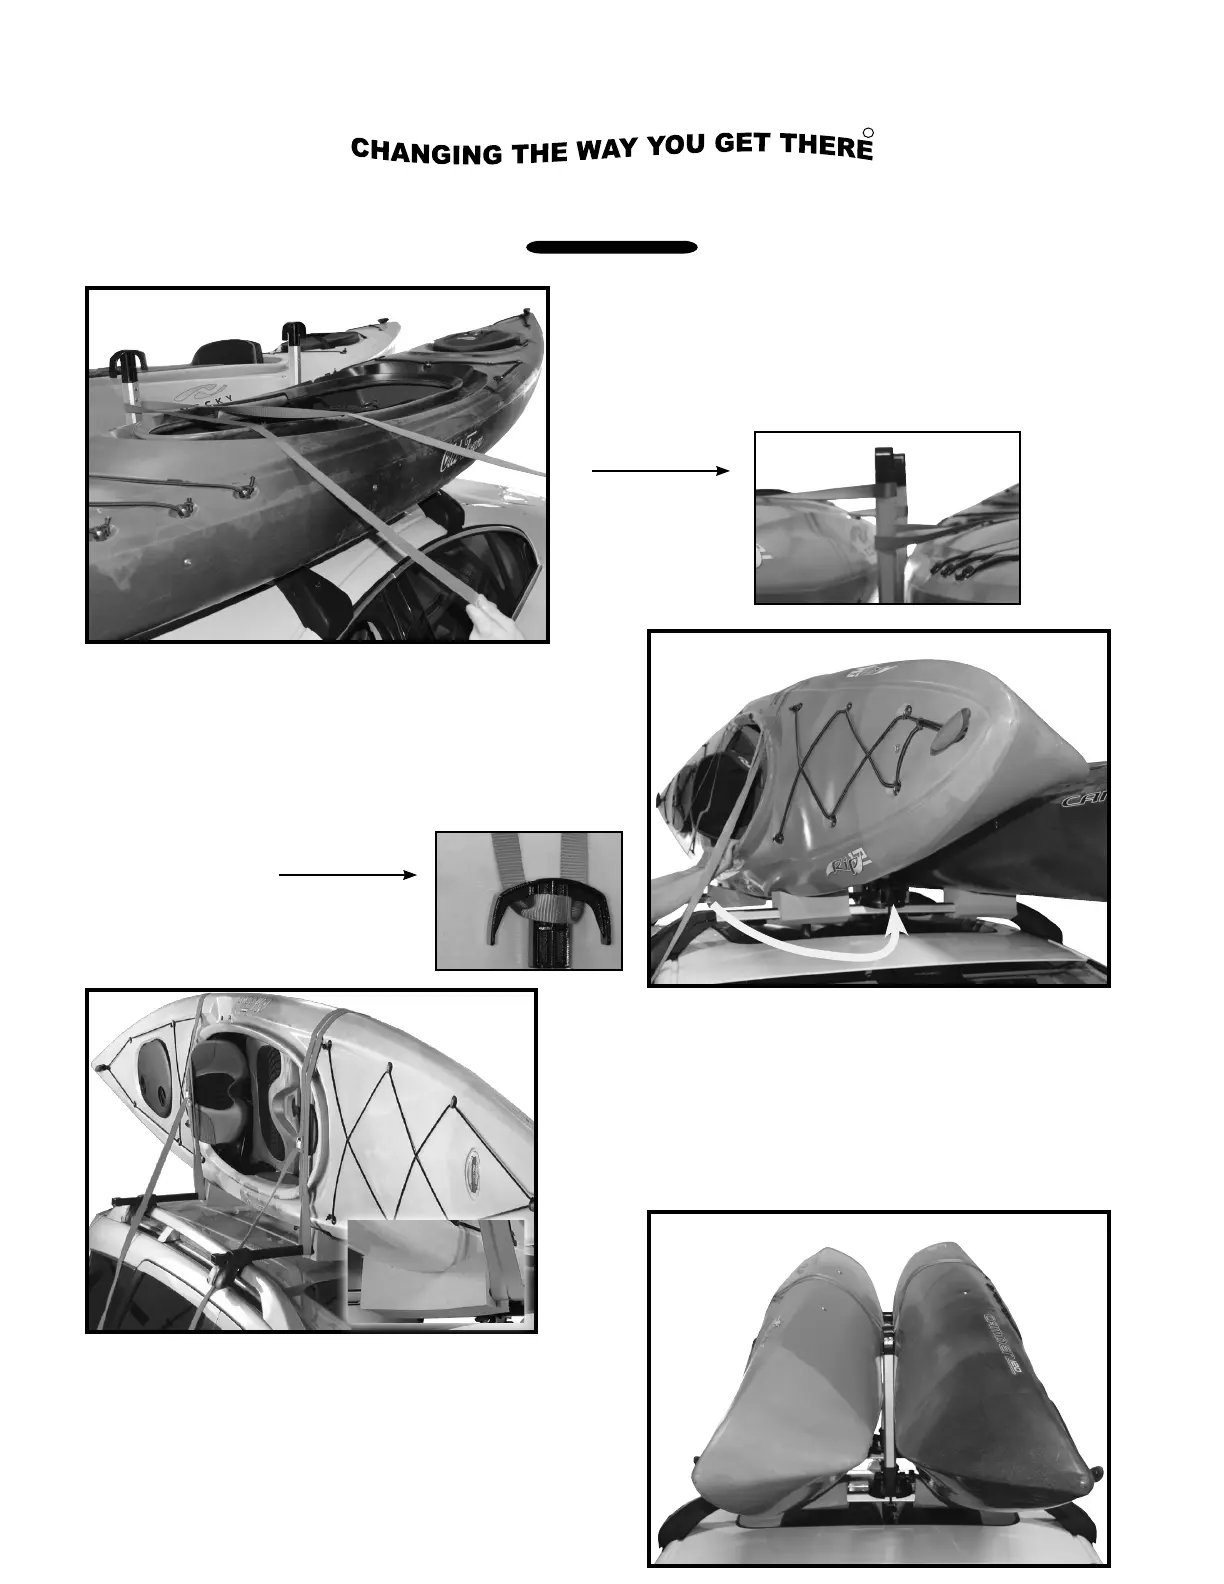
. Place the 1st kayak onto the foam
blocks and against the carriers. Place
the loops over the kayak. Dress the
free ends of the straps under the
cross bar and back up and through the
buckles. Pull down to tighten.
See image 13.
. Place the strap loops parallel to the carriers
with the front strap loop on the windshield
and the rear strap loop on the back of the
vehicle. See image 12. Note: If only one
kayak will be transported, route the free end
of each load strap under the cross bar (behind
the carrier) prior to placing the loop in image
12. This will engage the cross bar providing
more strength to the installation.
. Confirm that the kayak is evenly seated on
the foam blocks and securely strapped to
the carriers. See image 14.
Installation & Loading Instructions - MPG115MD Stax Pro2
TM
12
13
. Repeat steps 11-14 for loading the
second kayak. See image 15.
14
15
Holding the buckle in one hand, and the free end in
the other, toss or flip the 'loop' over the kayak and
around the front Stax post. See image 12. Repeat
for rear Stax, and then the second kayak. See image
12A
13
The boat can then be fully tightened down by
passing the free end under the crossbar and back
up through the buckles.Pull down to tighen. Confirm
that the kayak is evenly seated on the foam blocks
and securely strapped to the carrier(s). Repeat for
rear load strap. See image 14
12
The 'second' kayak will be rotated upwards
into position on its side and secured first. See
Image 13
This rotational action serves to pull the straps
loops up and into position under the Head of
the carrier. See image 13A
The 'first' boat is now rotated upwards into
position. Again, this process naturally pulls
the second set of loops up and under the first
set of already tightened straps. Repeat steps
12-14 to secure the 'first' boat. See image 15.
. Place the 1st kayak onto the foam
blocks and against the carriers. Place
the loops over the kayak. Dress the
free ends of the straps under the
cross bar and back up and through the
buckles. Pull down to tighten.
See image 13.
. Place the strap loops parallel to the carriers
with the front strap loop on the windshield
and the rear strap loop on the back of the
vehicle. See image 12. Note: If only one
kayak will be transported, route the free end
of each load strap under the cross bar (behind
the carrier) prior to placing the loop in image
12. This will engage the cross bar providing
more strength to the installation.
. Confirm that the kayak is evenly seated on
the foam blocks and securely strapped to
the carriers. See image 14.
Installation & Loading Instructions - MPG115MD Stax Pro2
TM
12
13
. Repeat steps 11-14 for loading the
second kayak. See image 15.
14
15
14
. Place the 1st kayak onto the foam
blocks and against the carriers. Place
the loops over the kayak. Dress the
free ends of the straps under the
cross bar and back up and through the
buckles. Pull down to tighten.
See image 13.
. Place the strap loops parallel to the carriers
with the front strap loop on the windshield
and the rear strap loop on the back of the
vehicle. See image 12. Note: If only one
kayak will be transported, route the free end
of each load strap under the cross bar (behind
the carrier) prior to placing the loop in image
12. This will engage the cross bar providing
more strength to the installation.
. Confirm that the kayak is evenly seated on
the foam blocks and securely strapped to
the carriers. See image 14.
Installation & Loading Instructions - MPG115MD Stax Pro2
TM
12
13
. Repeat steps 11-14 for loading the
second kayak. See image 15.
14
15
12A
15
13A
 Loading...