Do you have a question about the Mamas & Papas Ocean cot-bed and is the answer not in the manual?
This product requires two people for safe and correct assembly.
Read all instructions carefully before starting to assemble your product.
Identify all parts listed with their respective part numbers and quantities.
Identification and quantity of all fittings required for assembly.
List of necessary tools for assembly, including screwdrivers.
Assemble drawer sides, back, and centre rail using cams and screws.
Slot drawer bases and attach the drawer front using cam studs and cams.
Secure the drawer front by tightening cams with the allen key.
Attach the back rail to the head end using rail inserts and short bolts.
Attach cot sides and the foot end using long bolts and short bolts.
Tighten frame bolts and slot base brackets into cot sides.
Attach the base and insert drawer runners into the cot.
Check all fittings are tightened before use.
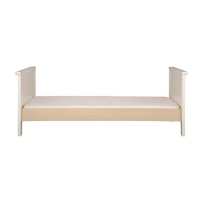
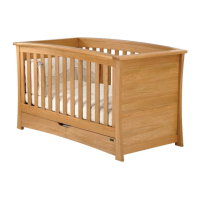
Partially dismantle cot by removing drawer, front side, and base.
Half loosen long bolts in cot sides and short bolts in the back rail.
Attach the front rail to the cot ends using rail inserts and short bolts.
Fully tighten cot side bolts and back rail bolts for the day bed.
Slot base brackets into cot side and front rail at the bottom height.
Attach the base to the base brackets using base bracket nuts.
Screw blanking bolts into cot ends to cover construction holes.
Check all fittings are fully tightened before use.
Key safety advice on cot positioning, preventing hazards, and regular checks.
Recommendations for mattress fit, thickness, and cleaning methods.
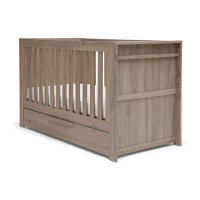
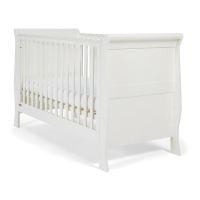
| Brand | Mamas & Papas |
|---|---|
| Model | Ocean |
| Color | White |
| Convertible | Yes |
| Converts to | Toddler Bed |
| Mattress Included | No |
| Type | Cot Bed |
| Mattress Size Required | 140cm x 70cm |
| Age Suitability | From birth to approximately 4 years |
| Safety Standards | BS EN 716-1:2017 |