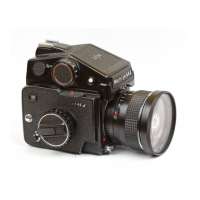
Self-timer
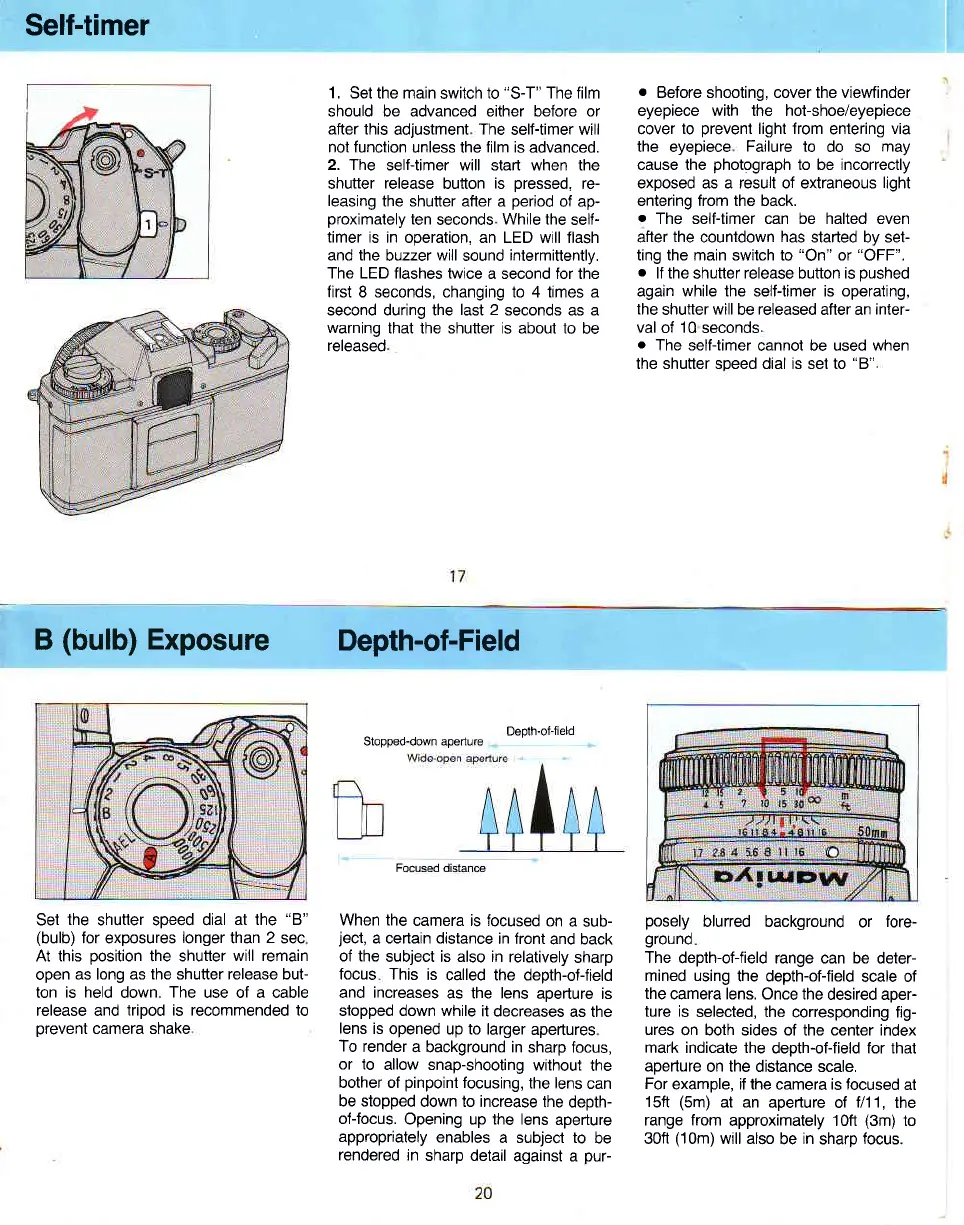
1. Set the main
switch
to
"S-T"
The film
should be advanced either belore or
after this
adjustment
The
self-timer will
not function
unless the
film
is advanced.
2. The
self-timer
tlvill
start when the
shutter
release
button
is
pressed,
re-
leasing
the shutter after a
period
of ap-
proximately
ten
seconds
While the
self-
timer is
in operation, an LED will flash
and the
buzzer
will
sound
inlermittently.
The LED flashes twrce
a second for the
first 8 seconds, changing to 4 times a
second during the
last 2
seconds as a
warning
that the shutter is about to
be
released
.
Before shooting, cover the vieMinder
eyepiece with the hofshoe/eyepiece
cover
to
prevent
light from
entering
via
the eyepiece
Failure
to do so
may
cause the
photograph
to be incorrectly
exposed as a resull of extraneous
light
entering from the back.
o
The self-timer can be halted even
after
the
countdown
has
started by sef
ting the main switch to
"On"
or
"OFF".
.
lf the
shutter
release
button
is
pushed
again while the self-timer is operating,
the
shutter
will
be
released
afler an
inter-
val
of
10
seconds
o
The self-timer
cannot be used
when
the shutter soeed dial is set to
"B''
B
(bulb)
Exposure
Depth-of-Field
Deolh'ot-lield
Stopped-down aperture
Focused distance
Set
the
shutter soeed dial
at the
"8"
(bulb)
for exposures
longer
than
2
sec
At this
position
the shutter
will remain
open
as long as the shutter release but
ton
is held
down
The
use of a cable
release and
triood is recommended to
orevent
camera shake
When the
camera is focused
on
a sub-
ject,
a cenain distance
in front
and back
of the
subject is also in
relatively
sharp
focus This
is
called the depth-of-field
and increases
as the lens
aoerture is
stopped down while
it decreases
as the
lens
is
opened up to larger
apertures
To
render
a background in
sharp focus,
or to
allow snap-shooting
without
the
bother of
pinpoint
focusing,
the lens
can
be stopped
down to increase
the depth-
of-focus.
Opening up the lens
aperture
appropriately
enables
a subject to
be
rendered in
sharp detail
against a
pur-
posely
blurred background
or
fore-
ground
The
depth-of-field range can be
deter-
mined using
the depth-ofifield
scale of
the
camera lens. Once the
desired aoer-
ture is
selected, the
corresponding fig-
ures
on both sides of the center index
mark indicate the
depth-of-field for that
aperture
on the distance scale.
For
example. if the
camera
is focused
at
15ft
(5m)
at an
aperture of
f/1 1,
the
range from
approximately 10ft
(3m)
to
30ft
(10m)
will also
be
in
sharp
focus.