Do you have a question about the M&S Systems dmc3-4 and is the answer not in the manual?
Keep cables at least 18 inches from fluorescent light fixtures, dimmer controls, and other wiring to prevent interference.
Avoid stapling cables to prevent shorts and do not splice cables as splices are unreliable and defeat signal isolation.
A qualified electrician must run the 120V AC line to the dmc3-4 retrofit transformers.
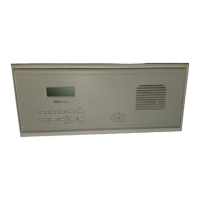
Install room stations away from dimmers, fluorescent lights, security wiring, and cordless phone units to avoid interference.
Do not install room stations within 10 feet of other stations or the master unit to prevent acoustic feedback.
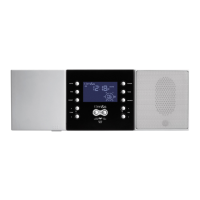
Connect the dmc3-4 master unit and perform a comprehensive test of the system's functionality.
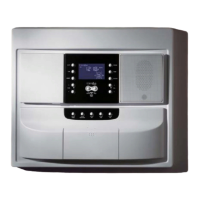
Remove the master to check for non-standard installations like wiring in wall housing or unusual stud spacing.
Ensure power is off before removal and carefully label each wire with its corresponding room location.
If 120VAC is found in the wall housing, have a qualified electrician reroute it around the housing.
Connect a dedicated 120VAC/60Hz line with ground from the power panel to the wall housing for proper operation.
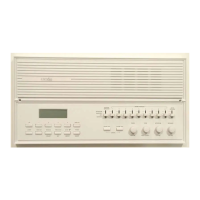
After removing the old room station, verify the integrity of the wire run before installing the new components.
Change the jumper setup on the dmc3-4 master to configure for a 4-wire system before connecting cables.
Suspend the master unit from the wall housing by looping the green wire over the hook at the top.
Connect green wires from room stations to corresponding green terminals on the master for station selection.
Connect volume controls to the amplifier, then run MS2SXSC cables from controls to each respective satellite speaker.
Insert the dmc3-4 power plug and secure the master to the wall housing without overtightening screws.
| Brand | M&S Systems |
|---|---|
| Model | dmc3-4 |
| Category | Intercom System |
| Language | English |