3
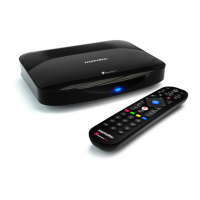
Connect Up
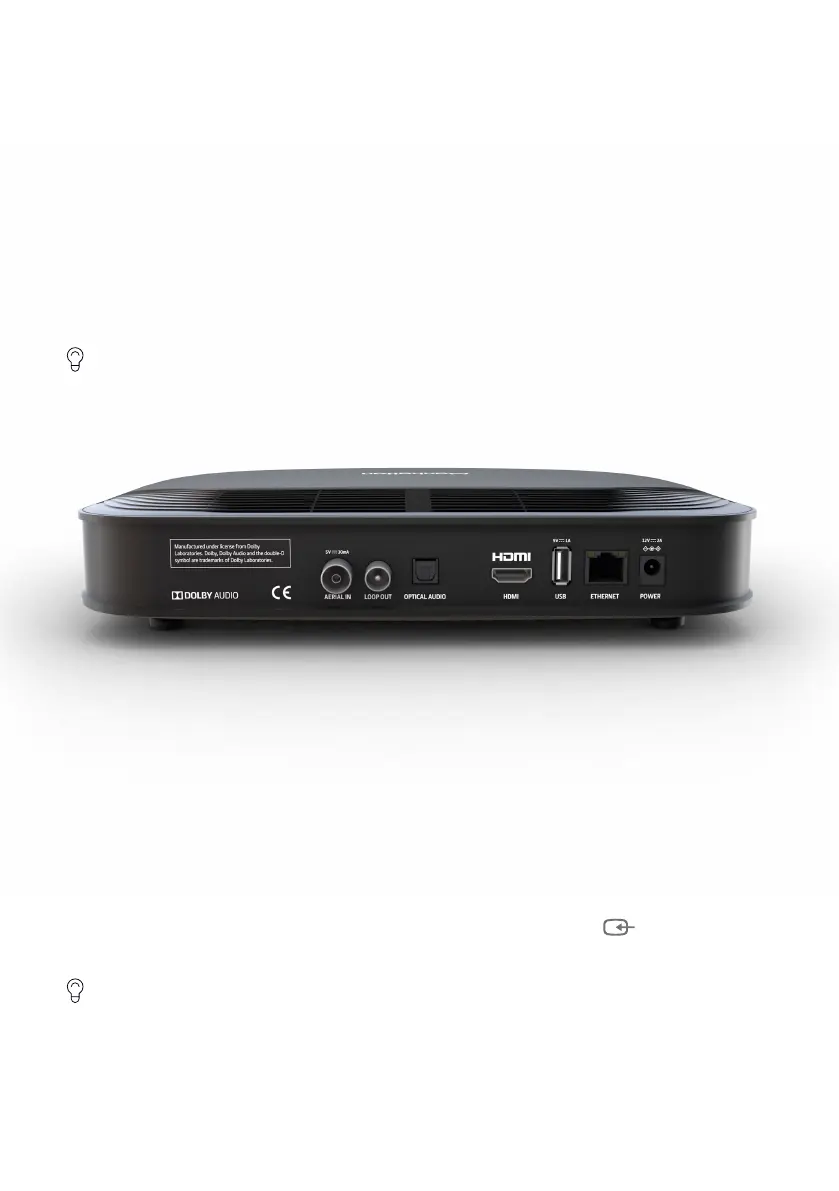
• Connect the aerial cable from your aerial wall socket to your T3•R.
• Next, connect the T3•R to your TV using the HDMI cable provided.
• An internet connection is required for apps, Freeview Play features and to receive
software updates over the internet. Wi-Fi can be selected during initial setup but for
high-bandwidth 4K content we recommend you connect your T3•R to your internet
router using an Ethernet cable (not included).
• Finally, plug the AC power adapter into a wall socket that is turned o, then connect the
other end to the T3•R.
If you want to use your TV’s tuner, connect an aerial cable from the T3•R’s Loop Out socket
to the aerial input of your TV. Please note that to conserve energy the Loop Out socket is
unpowered in standby by default. See page 18 for details.
Switch On
• Open the battery compartment cover on the back of the remote by sliding the cover.
Insert the batteries, matching the + and – symbols to what is marked on the inside of
the compartment. Replace the cover.
• Turn on the wall socket you connected your T3•R to and the T3•R will switch on.
• Turn on your TV set and choose the HDMI input you connected your Manhattan T3•R to.
Most TV remotes use a button labelled ‘AV’, ‘SOURCE’, ‘INPUT’ or , with each press
cycling through the TV’s inputs.
Your Manhattan remote can be easily programmed to control your TV’s input, adjust its
volume and turn it on and off. See page 21 for details.
Follow the on-screen instructions to set up your T3•R. It takes about 5 minutes, which is
the perfect amount of time to read the rest of this Guide!
 Loading...