4
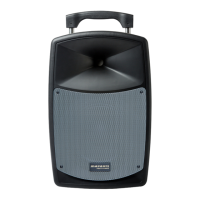
Features
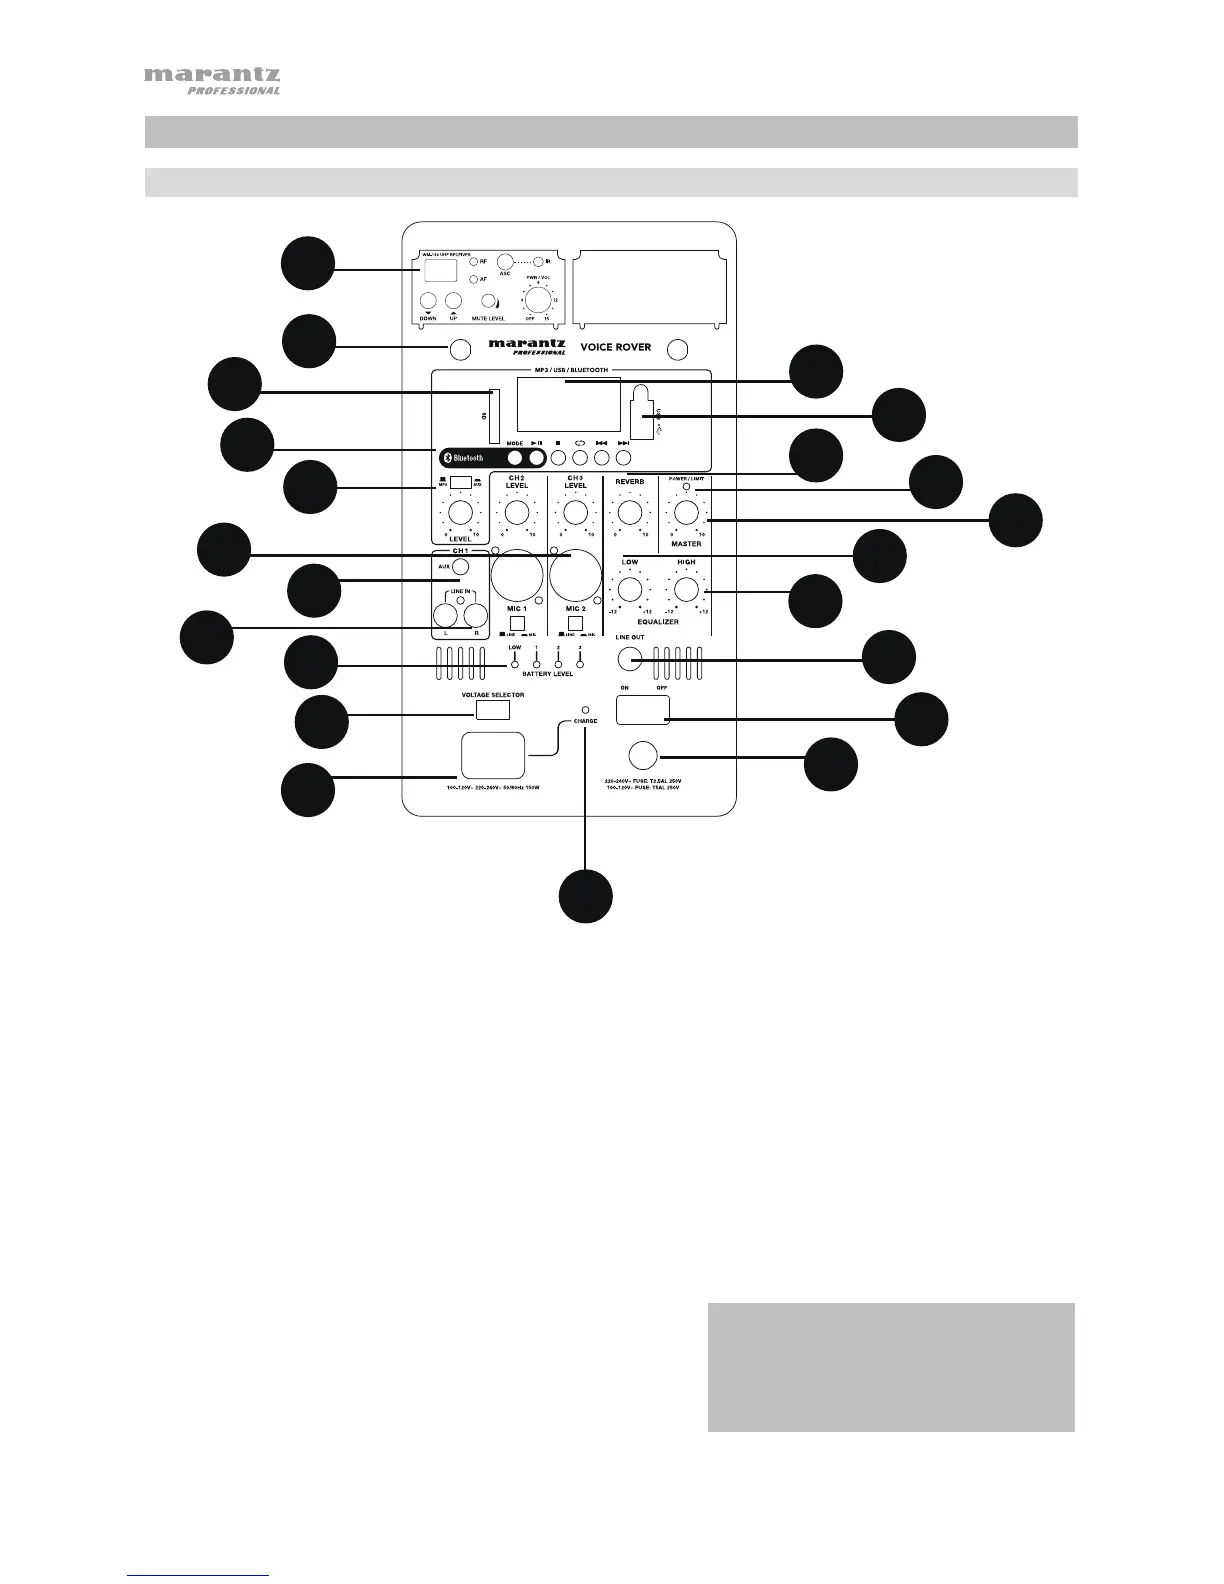
Rear Panel
1. Display: Displays the Media Panel modes for Bluetooth, USB, and SD.
2. USB Port: Connect your USB flash drive to play MP3 and WMA music files.
3. SD Card Slot: Insert your SD card here to play MP3 and WMA music files.
4. Media Panel: Controls for the Bluetooth, SD, and USB sources. The Media Panel Mode source symbol will
illuminate when that source is playing.
5. Mic Input (1/4" / 6.35mm and XLR): Connect a dynamic microphone to the 1/4” (6.35mm) or XLR inputs.
Control the volume of these inputs using the Mic Input volume knob. When connecting a microphone, make sure
the Line/Mic button is pressed down for Mic mode. When connecting a line-level device, such as a keyboard,
drum machine, CD player, etc, make sure the button is in the raised position for Line mode.
6. Aux Input (1/8" / 3.5mm): Connect a CD player, digital media player, or other audio source to this 1/8” (3.5 mm)
stereo auxiliary input. Control the output volume using the Aux/MP3 Level knob (with the switch in the Aux
position).
7. RCA Inputs: Connect a CD player, digital media player, mixer, or other media source to these inputs. Remove
the rubber covers on the inputs to attach your cables.
8. Line Output (1/4" / 6.35mm): Connect this 1/4" (6.35mm) output to another active (powered) speaker. The level
of the output is controlled by each channel’s Level knob and the Master Volume knob.
9. High EQ: Increases or decreases the high (treble) frequencies
at a range between -12dB to +12dB.
10. Low EQ: Increases or decreases the low (bass) frequencies at
a range between -12dB to +12dB.
11. Power/Clip LED: This LED will be solid green when powered
on. The LED will flash red if the signal from the inputs or Media
Panel source is clipping. If this happens, decrease the setting
of the Mic Input volume knob, Line Level volume knob, or
Media Panel volume knob.
IMPORTANT: When the battery light
indicator illuminates red, this indicates that a
charge is required. For a full charge, turn off
the device and charge for 8 hours, or until
the green light indicates full charge.
2
1
3
4
5
6
7
8
9
10
11
12
13
14
15
16
18
19
20
21
22
17