DCF time signal reception
After the clock receives and displays the outdoor temperature-humidity
reading, it will start searching for the DCF time signal. The clock will start to
search for the DCF time signal with the icon ashing. The rst reception
will last for around 7 minutes. If the rst attempt of signal search fails, the
clock will automatically search for the signal again every 3 hours.
NOTE: signal reception is normally better at night and when the weather is
clear. The radio-controlled signal generally takes a few hours to synchronize, so
it is important to manually set the time and date after powering up the clock.
The clock will start searching for a signal every night at 1:00 am, 2:00 am
and 3:00 am. If no reception, it will try again at 4:00 am and 5:00 am. During
reception, do not press any buttons for the best results.
During reception, the clock does not take temperature or humidity
measurement. The temperature and humidity reading will become stable
and accurate after your clock is powered up for approximately 30 minutes.
Once the clock receives the signal, the time and calendar will be updated
and your clock is ready to use.
It is important to set the clock with the correct time zone and DST (on/off)
in accordance with where you live in order to get the correct time after a
successful DCF signal reception.
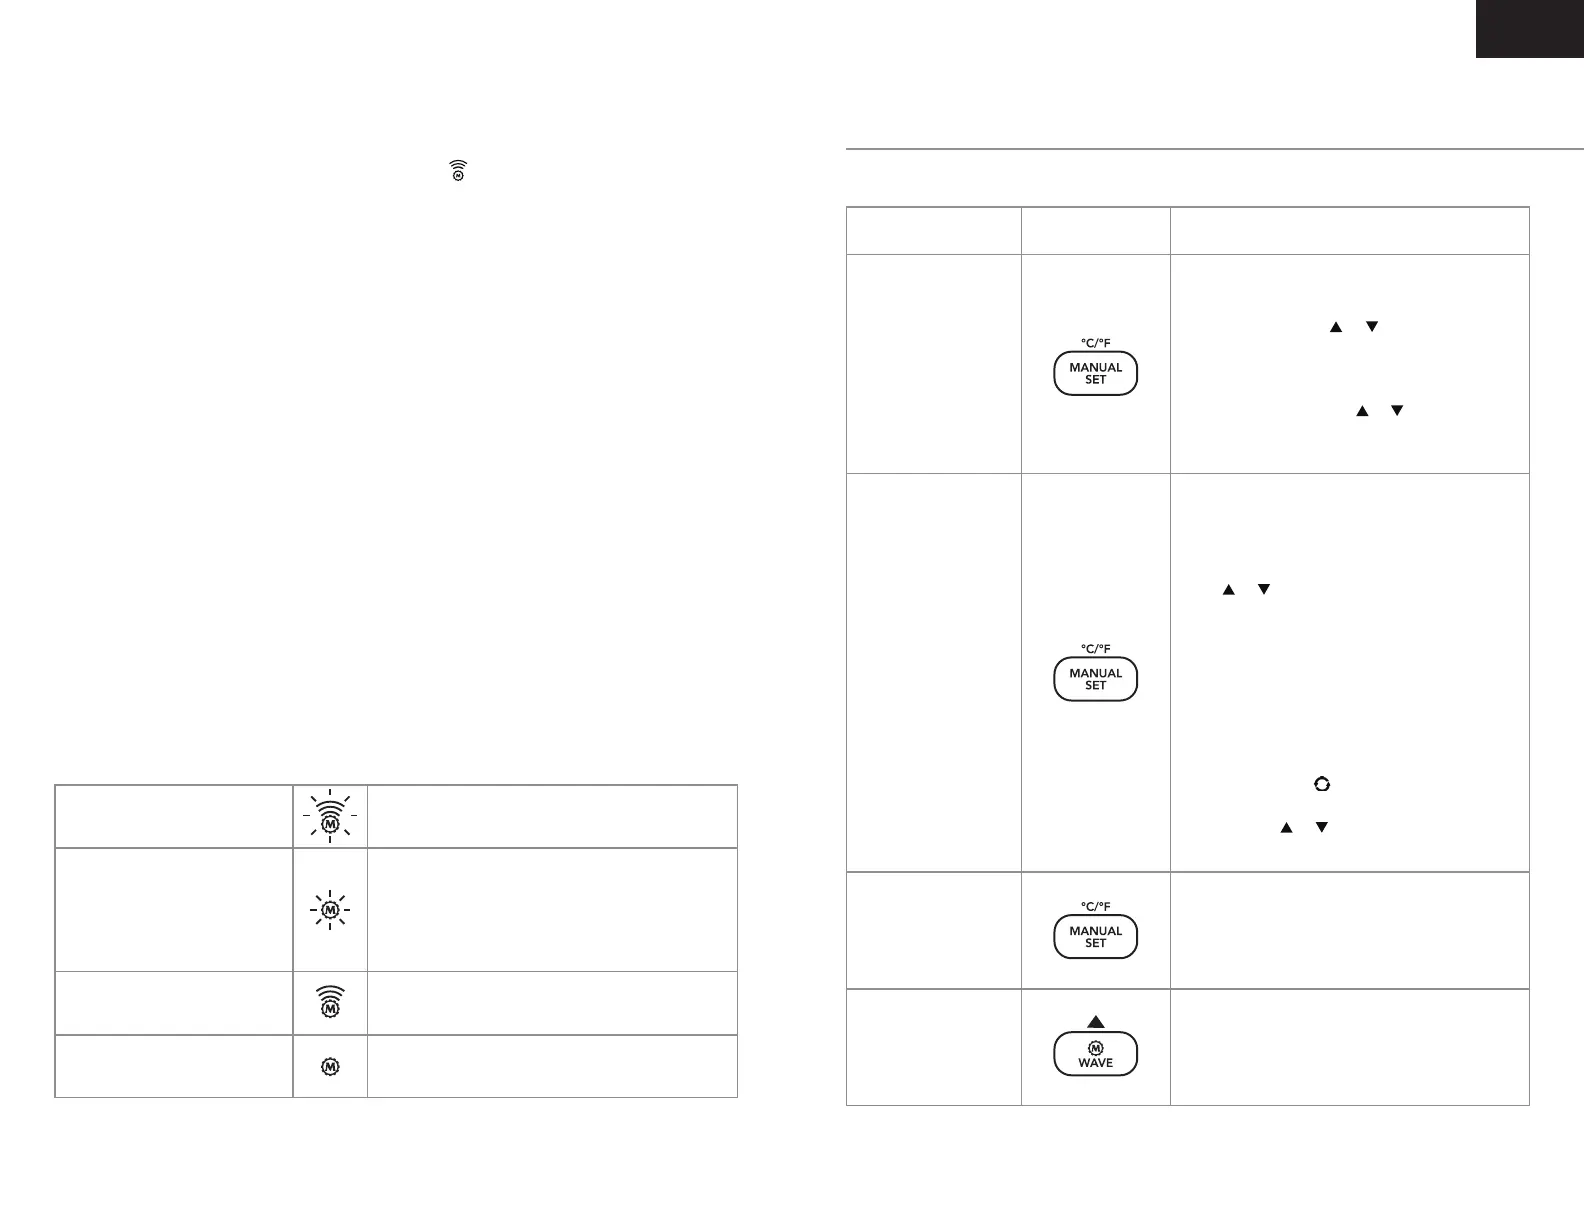
Both the “M” icon and the wave bars are
blinking
Searching for signal
(signal is strong)
Searching for signal
(no signal or weak signal)
Received signal successfully
Fail to receive signal
Only the “M” icon is blinking. Place your clock in
another location with a stronger signal if it keeps
failing to receive the DCF time signal overnight
e.g. closer to the window or away from other
electronic devices.
Time and date are set and both the “M” icon
and the wave bars become static.
The “M” icon becomes static and no wave
bars appear.
To set the clock manually
Function Button Steps
Set Hour
Press and hold MANUAL SET button, the hour
digits 24 ash, press or to set hours.
Set Minute
Press MANUAL SET button once again, the
minute digits ash, press or to set minutes.
Press and hold + or – to accelerate setting.
Set The Weather Icon To The Current
Weather Outside
Press MANUAL SET button once again, the
weather icon Partly Sunny (default) ashes, then
press or to select a weather icon with
reference to the local weather forecast on TV.
This setting will help to calibrate the built-in
barometric sensor and enable the clock to
display the relevant weather forecast faster.
Set The Time Interval Of Auto-Scroll Display
Of Different Outdoor Sensors
Press MANUAL SET button once again, the
auto-scrolling icon appears and 5S (5
seconds) shows at the outdoor temperature
section. Press or to select 10s (10
seconds), 20s (20 seconds) or 30s (30 seconds).
Press MANUAL SET button once again to
complete your set up and quit to normal
time display or leave the clock for 10 seconds
without pressing any key.
At normal time display mode, press and hold
WAVE button to activate the manual reception.
Press and hold WAVE again to stop and
disable the manual reception.
Set Time
Set Weather
Complete Set Up
DCF Time Signal
Reception
EN
 Loading...