3
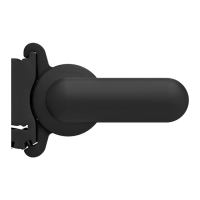
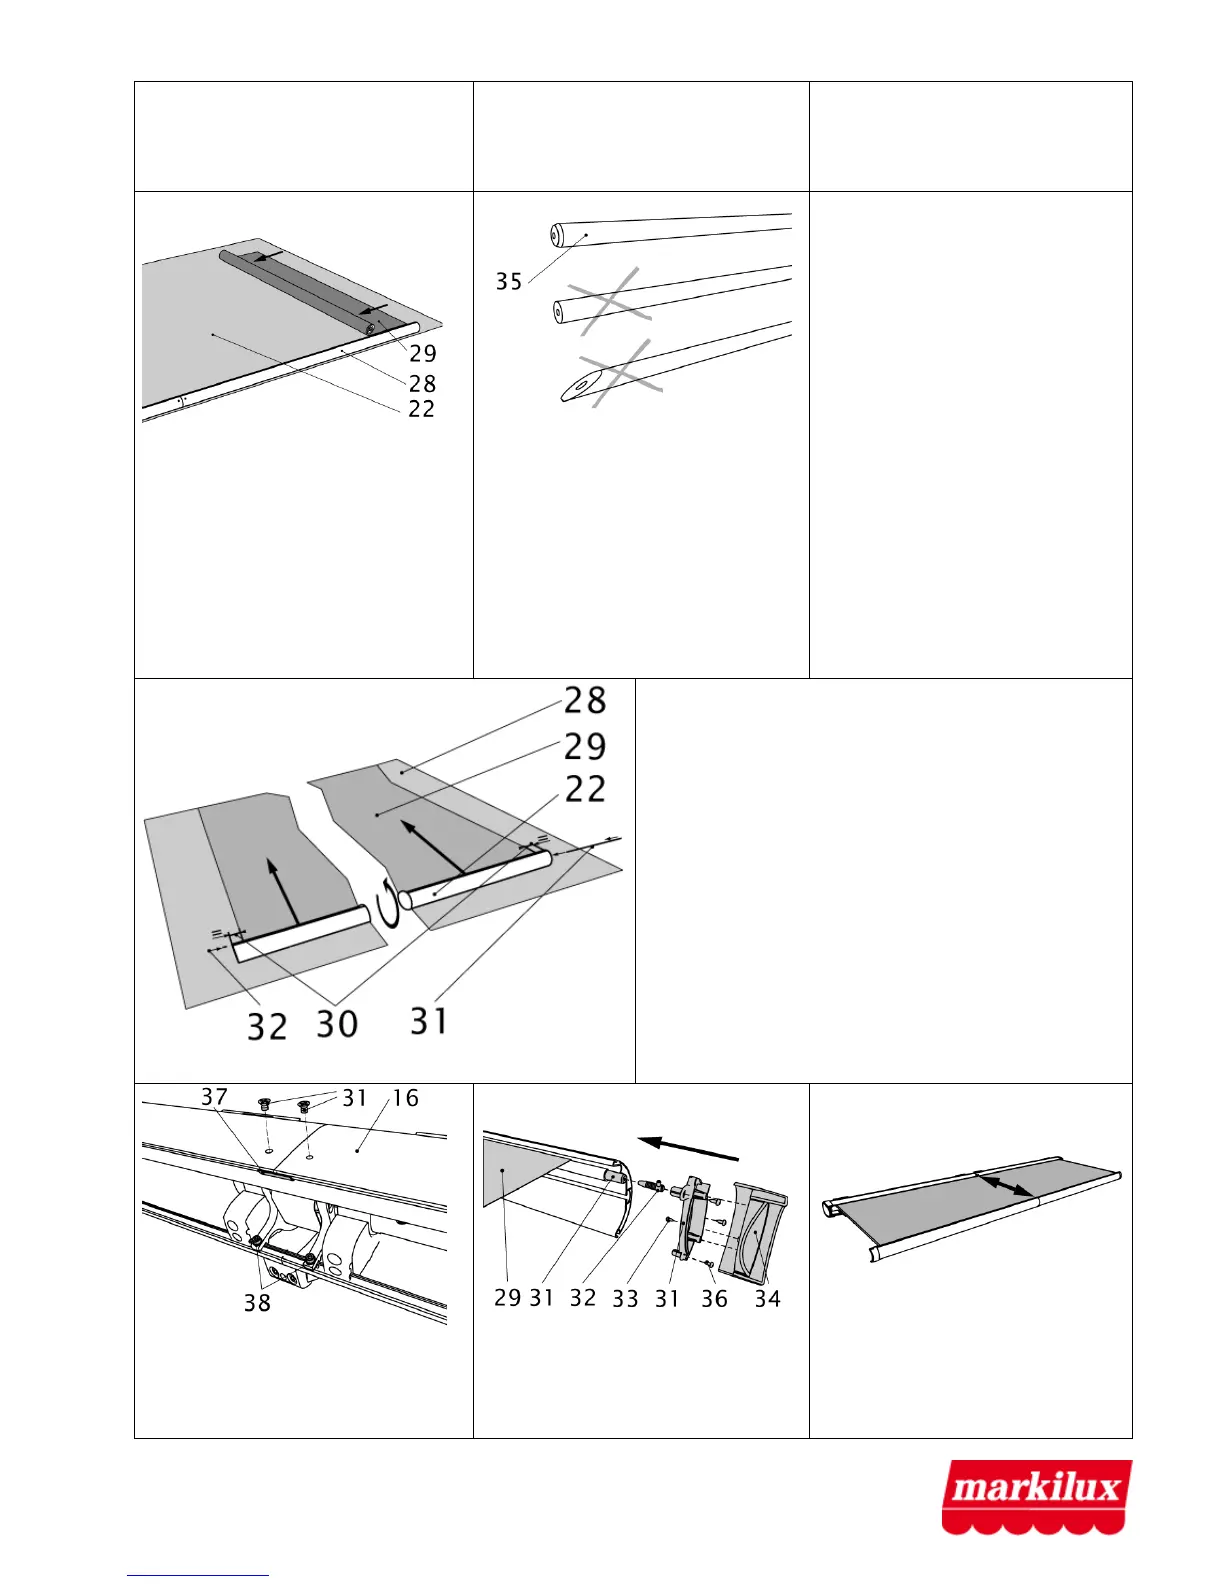
front profile end cap (34). Unscrew
the self-tapping mushroom head
screws (36) from the inner section
of the front profile end cap and
remove it.
(27).
Then remove the roller tube (22).
vided.
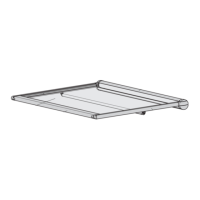
19. Cover the assembly area (22)
with foil or something similar to
prevent the awning fabric from
becoming soiled. Place the roller
tube on the assembly area. Unroll
the awning cover (29) with the top
pocket tape towards the roller
tube. The stitching of the bottom
cover pocket and the sewn-in label
should point upwards.
20. Round off the sharp edges on
the ends of the cover spline (35)
(e.g. with a pencil sharpener).
Never push the cover spline
through the top tape pocket (fab-
ric roller) or bottom cover pocket
(front profile) if it has sharp edges
or has been cut off at an angle.
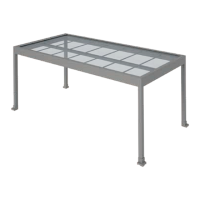
21. Place the top tape pocket (29) into the roller
tube (22), insert the spline (31) and ensure that the
distance (30) from the fabric to the end of the roller
tube on both sides is the same. Insert the fabric
bullets (32) on both sides of the fabric roller into
the keyway and screw them tight so that the spline
is fixed in place.
Roll the cover up on the roller tube.
Assemble the roller tube and the cassette cover
(see steps 5-8).
22. Fix the top cassette profile (16)
with countersunk screws (31).
Tighten the Allen screws (38) in
the Rolltex bearing.
Affix the front profile guide (37).
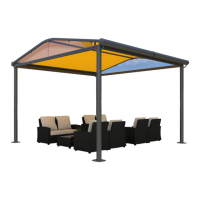
23. Insert the fabric spline for the
right side of the awning into the
keyway in the front profile and
push it to the other side of the
awning. Extend the awning fabric
 Loading...