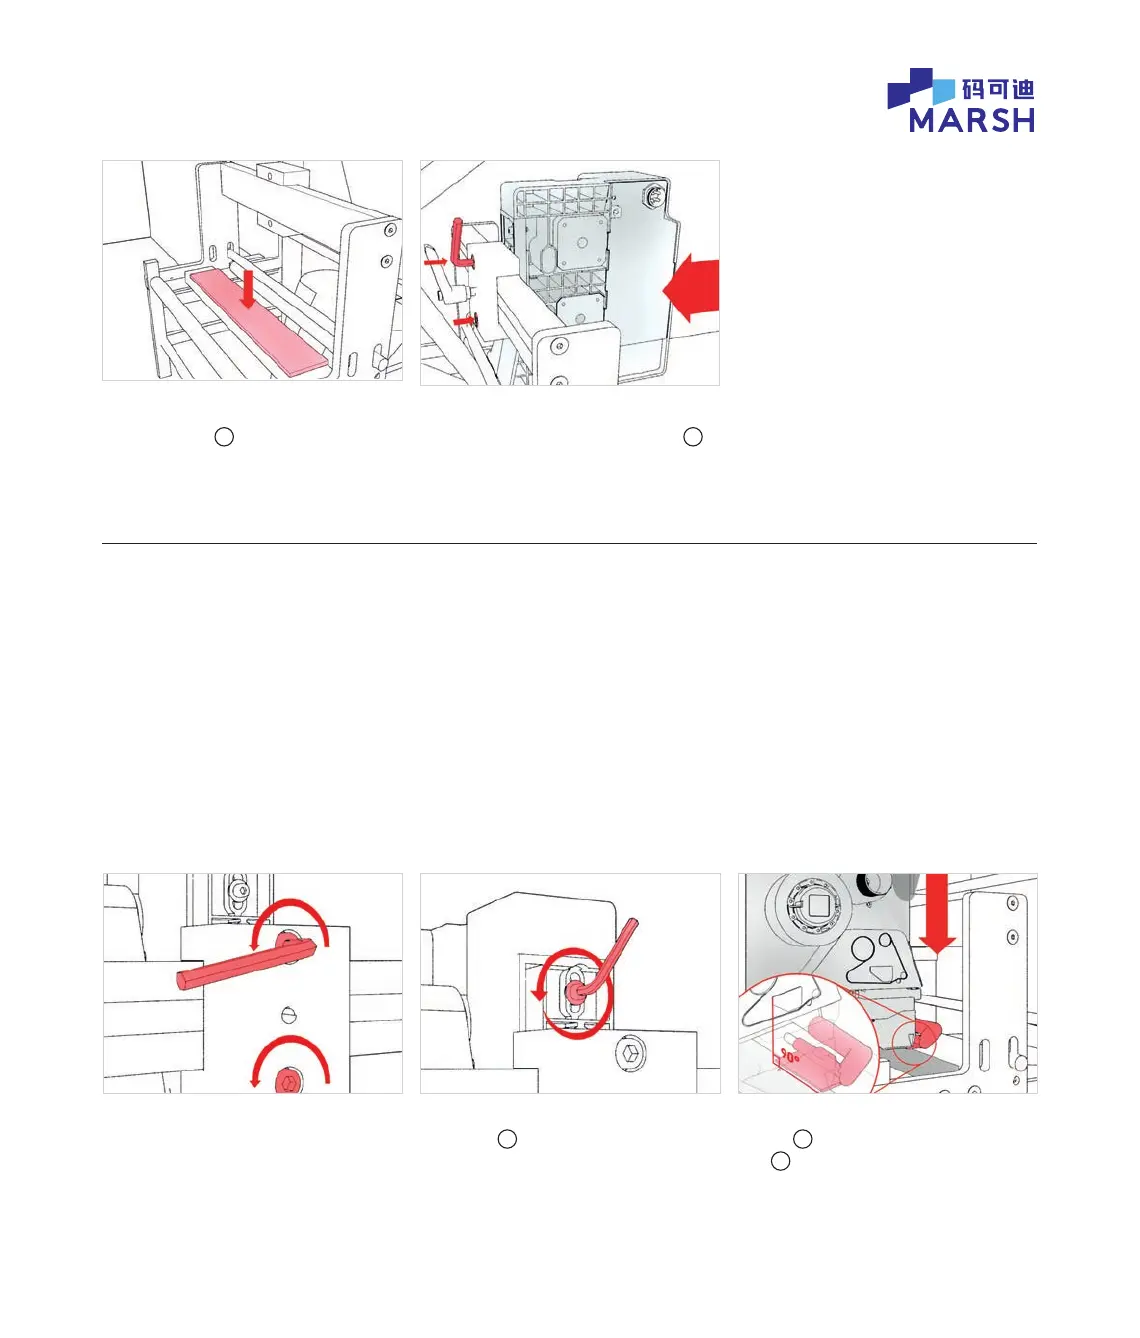
3. Fix Marsh 241D to the correct print position
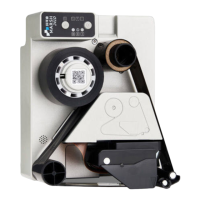
2. Fit Marsh 241D to bracket
3.1 Undo the 2 screws ½ turn. 3.2 Using smaller end of the supplied
Allen key
a
, loosen the gap
adjustment screw 1 full turn.
2.1 Fit new Marsh adhesive backed
platen rubber
b
in place of old
platen rubber.
2.2 Fit Marsh 241D to bracket clamp
using the 2 new mounting screws
c
from the Marsh 241D box. Tighten
the 2 screws.
3.3 Push the printer towards the platen
rubber
b
to make sure the gap setting
tool
d
is pressing against, and in square
alignment with, the platen rubber.
© 2020 All rights reserved. We reserve the right to alter design and/or specifications without notice.