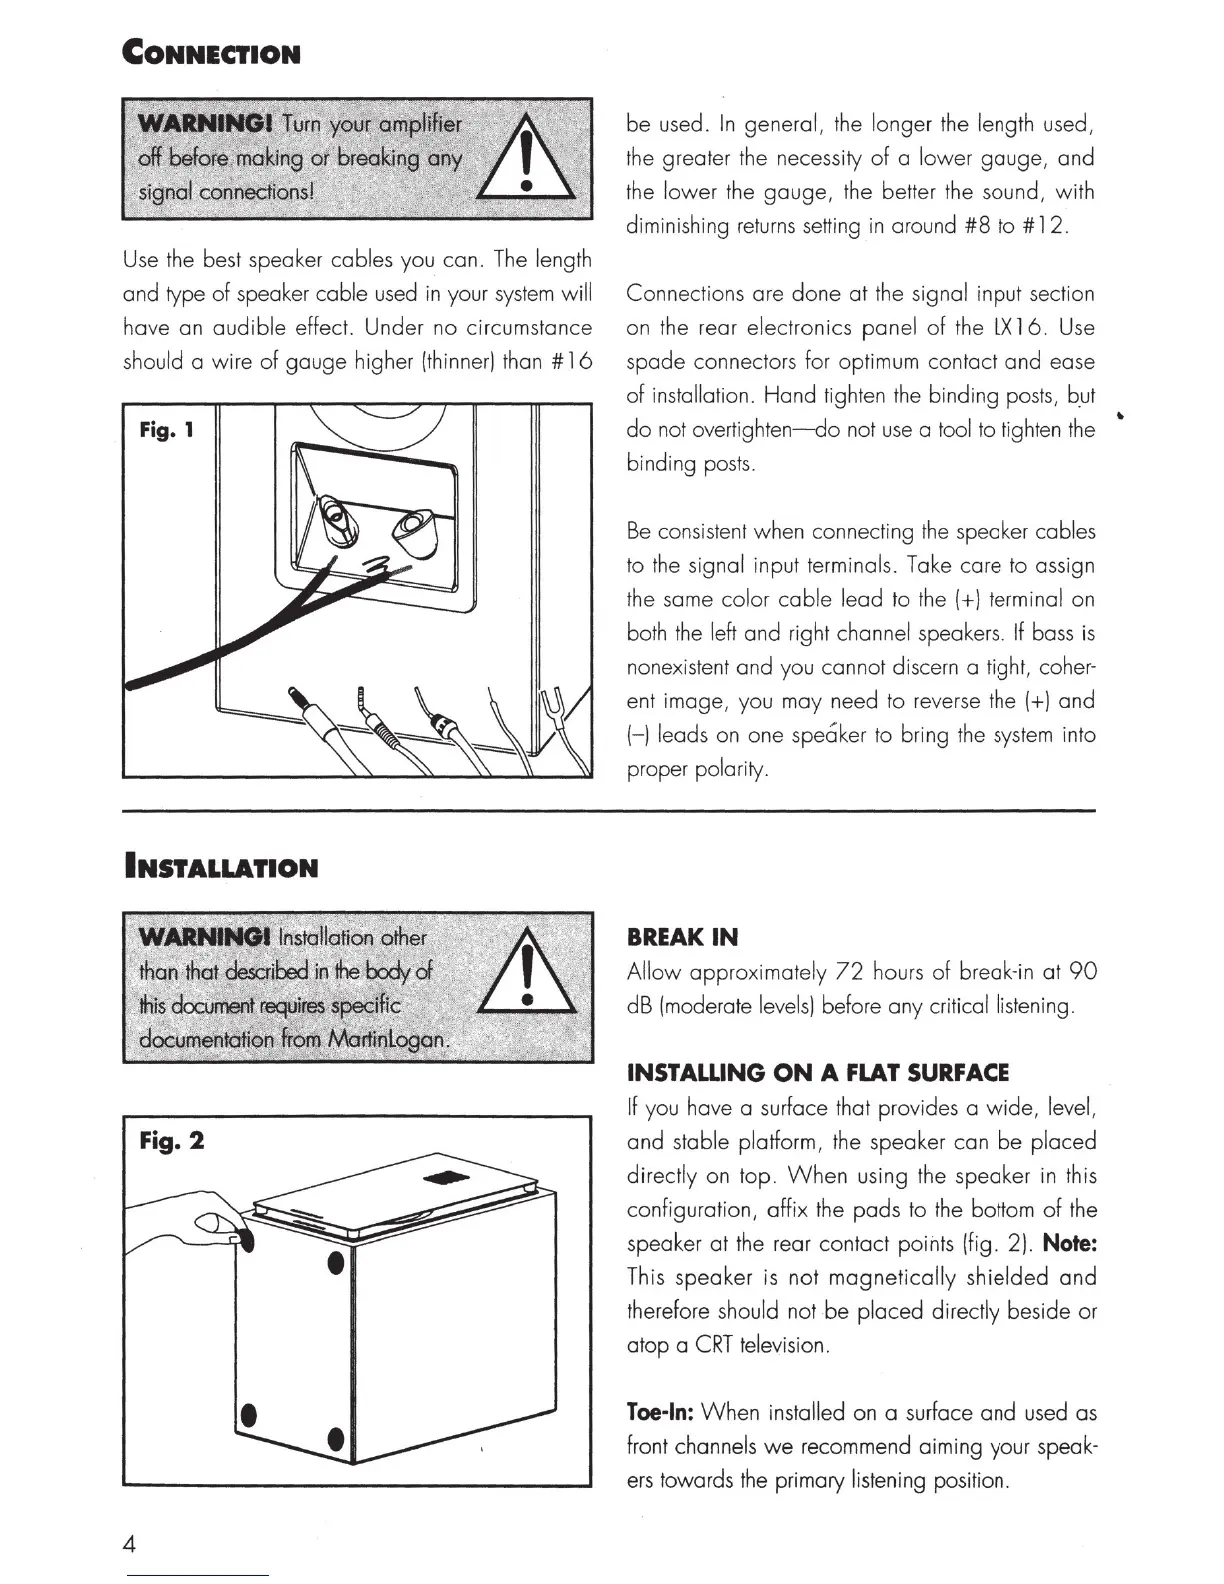
CONNECTION
WARNINGI
Turn
.
your.
amplifier
ili
'
off
before
mak
i
ng
o
~
breaki
~g
any
~
I
signal
connections!
. . . •
Use the
bes
t speaker cables you can.
The
length
and type of speaker cable
used
in
your
system
will
have an audible effect. Under no circumstance
should a w i
re
of
gauge higher (thinner) than #
16
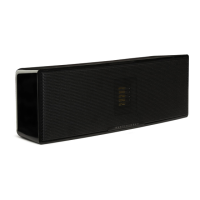
Fig. 1
INSTALLATION
WARNINGI
Fnstallation
orper
,.
than
that
desCribed
in
iM
bqdy
9f
!hi;
ch:
umenf
reguires
speoific
c~
.
~ocumentation
from
M9rtfh~an
..
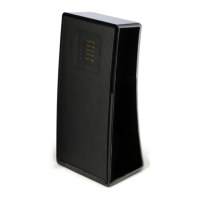
Fig. 2
4
be used. In general, the longer the length used,
the greater the necessity
of
a lower gauge, and
the
lower
the gauge, the better the sound, wi
th
diminishing
returns
sett
ing
in
around
#8
to#
12.
Connections are
done
at
the signal input section
on the rear electronics panel of the
LX
16.
Use
spade connectors for
op
t
imum
contact and ease
of
installation. Hand tighten
the
binding
posts
,
b.ut
do
not
overtight
en-do
not
use
a tool to tighten
the
binding
posts.
Be
consistent when connecting t
he
speaker
cab
l
es
to
the
signal input terminals. Take care to assign
the same
co
lor
cab
le lead to
the
(+)
terminal on
both the left and right channel speaker
s.
If
bass
is
nonexis
te
nt
and you cannot discern a tight, coher-
ent image, you may need to rever
se
the
(+)
and
(-) leads on one speaker to bring the
system
in
to
proper polarity.
BREAK
IN
Allow
approximately
72
hours
of
break-in at
90
dB (moderate l
evels)
before any critical listening .
INSTALLING
ON
A
FLAT
SURFACE
If
you have a surface that provides a
wide,
level,
and stable platform, the speaker can
be
placed
directly on
top
.
When
us
ing the speaker in this
configuration, affix the pads to the bottom
of
the
speaker
at
the rear contact points (fig. 2).
Note:
This speaker
is
not
magnetically
shielded
and
therefore should not
be
placed directly beside or
atop a
CRT
television.
Toe-In:
When
insta
ll
ed on a
sur
face and used as
front channe
ls
we
recommend aiming your speak-
ers
towards
the
primary listening position.
..
 Loading...