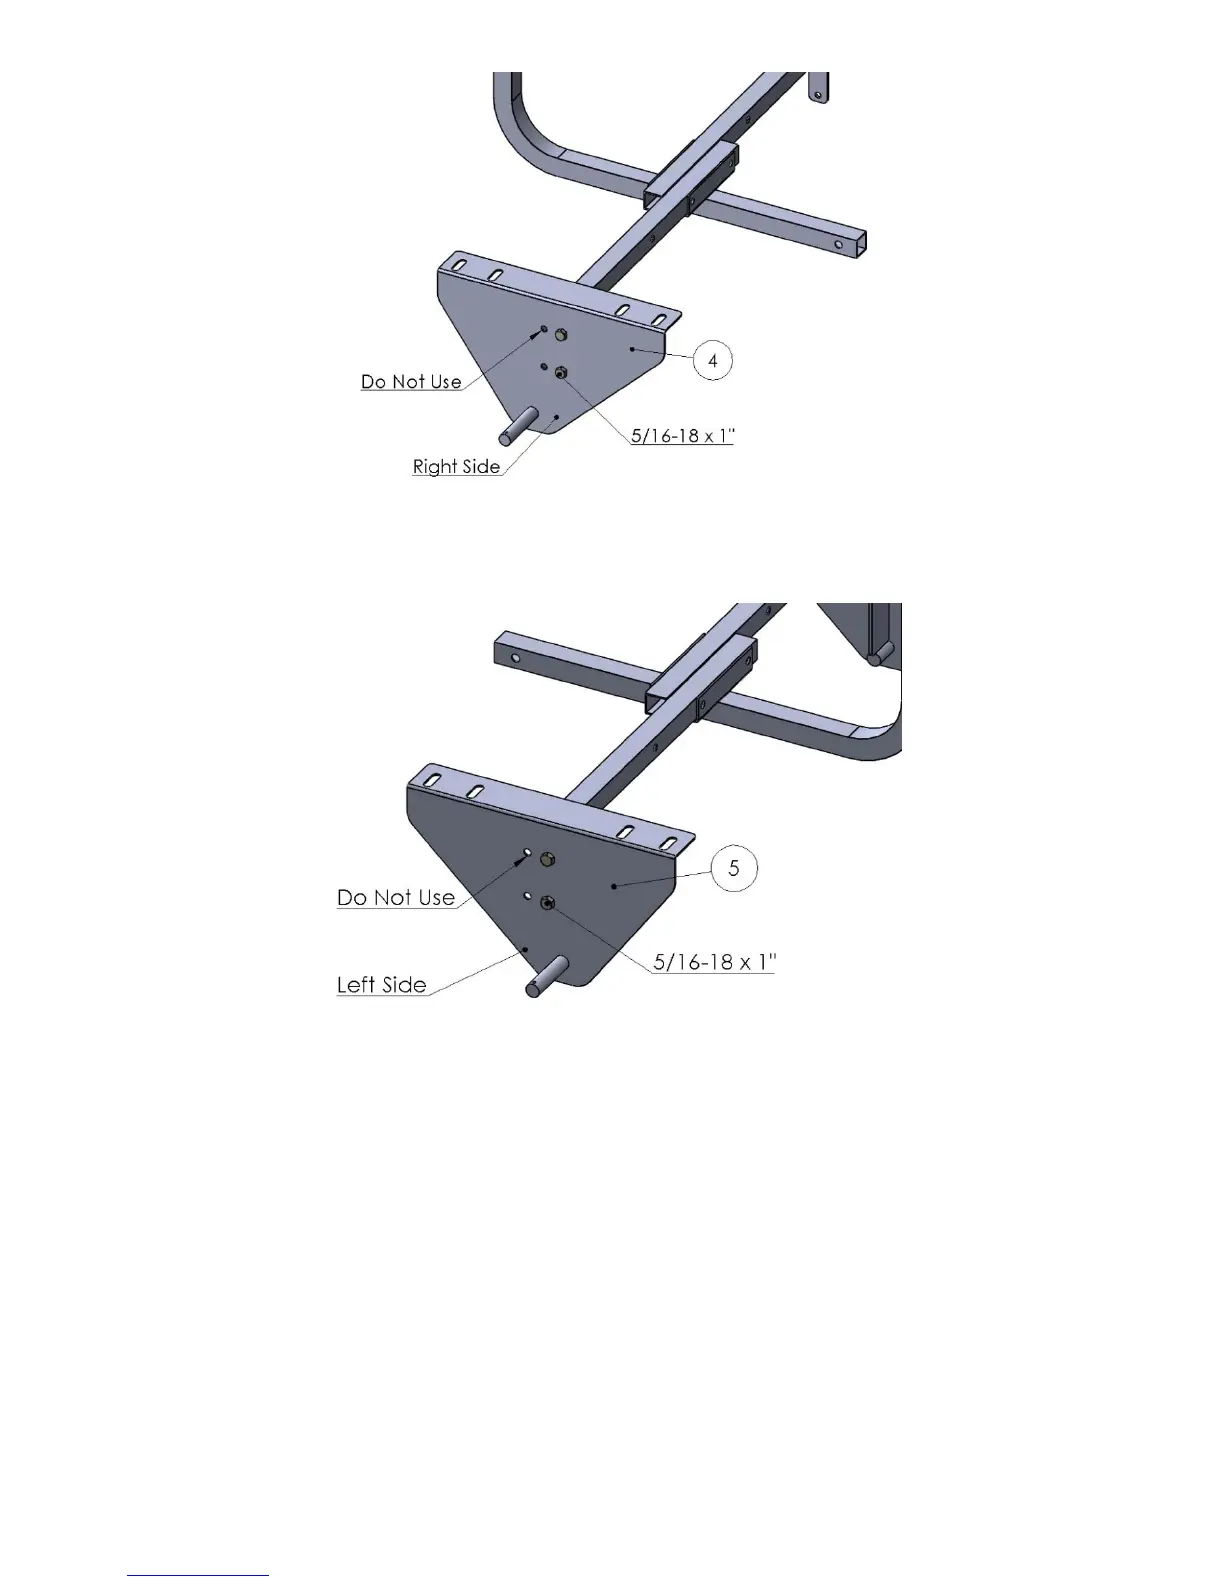
5.) Locate the left axel assembly item 4 (PN 32-100075) and fasten to the left cross bracket Item 2 with
two bolts item 13 (PN 33-100116) and nuts item 14 (PN 33-100113). Ensure the correct holes are
used in the left axel assembly. Refer to Figure 1 or figure 2 for reference. Tighten securely.
6.) Place wheel item 8 (PN TWA410/350-4) over axel. Locate washer item 15 (PN 33-100090) and
place over left axel item 4. Secure with cotter pin Item 10 (PN 33-100091). Repeat this step to
attach wheel item 8 to right axel item 5.