33
EN
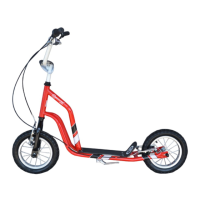
WHEEL INSTALLATION
A. WHEEL INSTALLATION
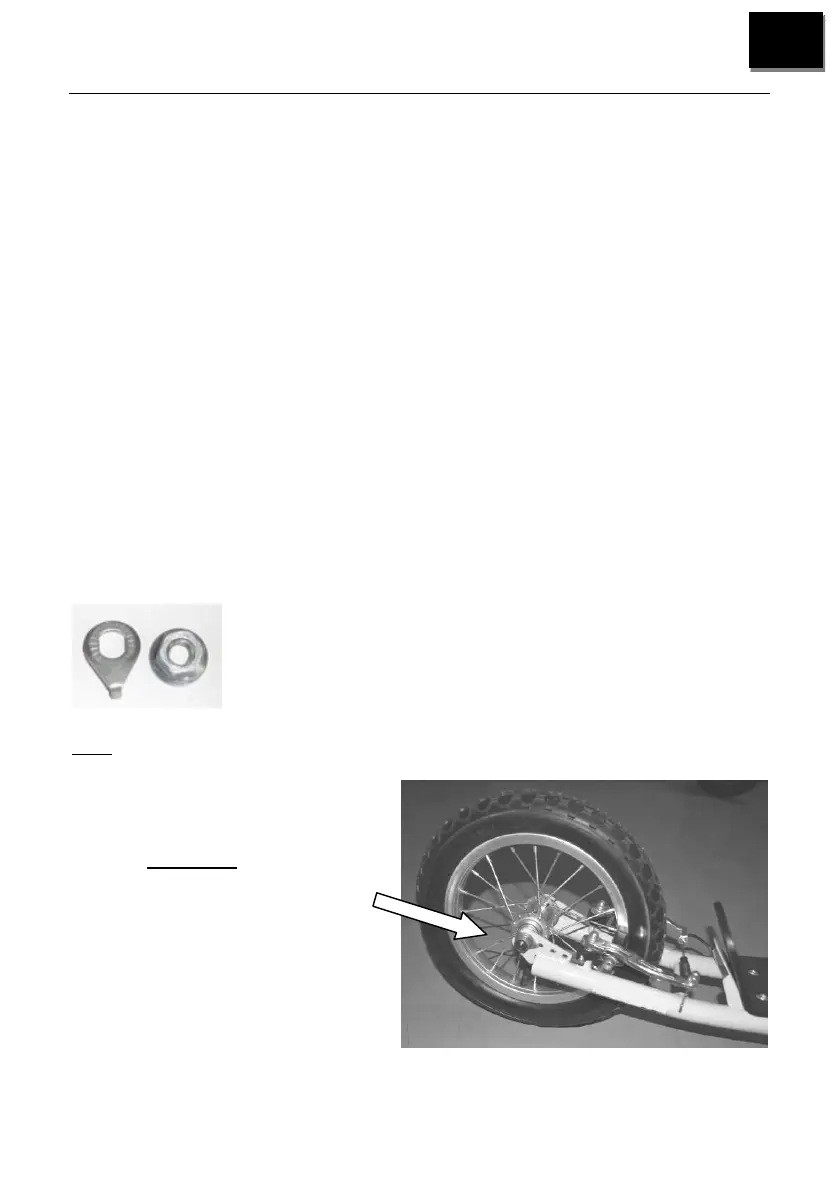
Install wheels with axles pushed fully into axle slots. Make sure to install tab
washers (a) so that the tab is inserted into the round hole in the frame. This
washer should be on the outside of the frame, between the frame and axle nut.
Make sure wheels are centered, and tighten the axle nuts (b) firmly with a wrench.
(See Fig I Next Page)
NOTE: The Rear Wheel may come pre-installed. Front and rear wheels are
installed the same way.
Note: During wheel installation make sure the brake rubber pad is parallel with the
wheel rim.
Turn the screw for the brake rubber counter-clockwise to make the rubber pad near the
rim or turn clockwise to make it away, keep the rubber pad pararrel with the rim with a
clearance of 1.5 – 2mm in between.
Fig4:a b
Rear wheel:
Insert into axle slots.
Install the tab washer (a).
Then install the axle nut (b).
Tighten the nut
wrench.
 Loading...