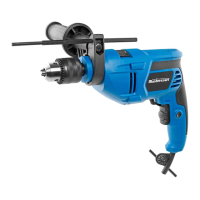
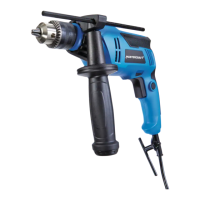
CORDED DRILL - 054-1213-0CORDED DRILL - 054-1213-0
9 10
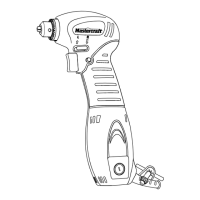
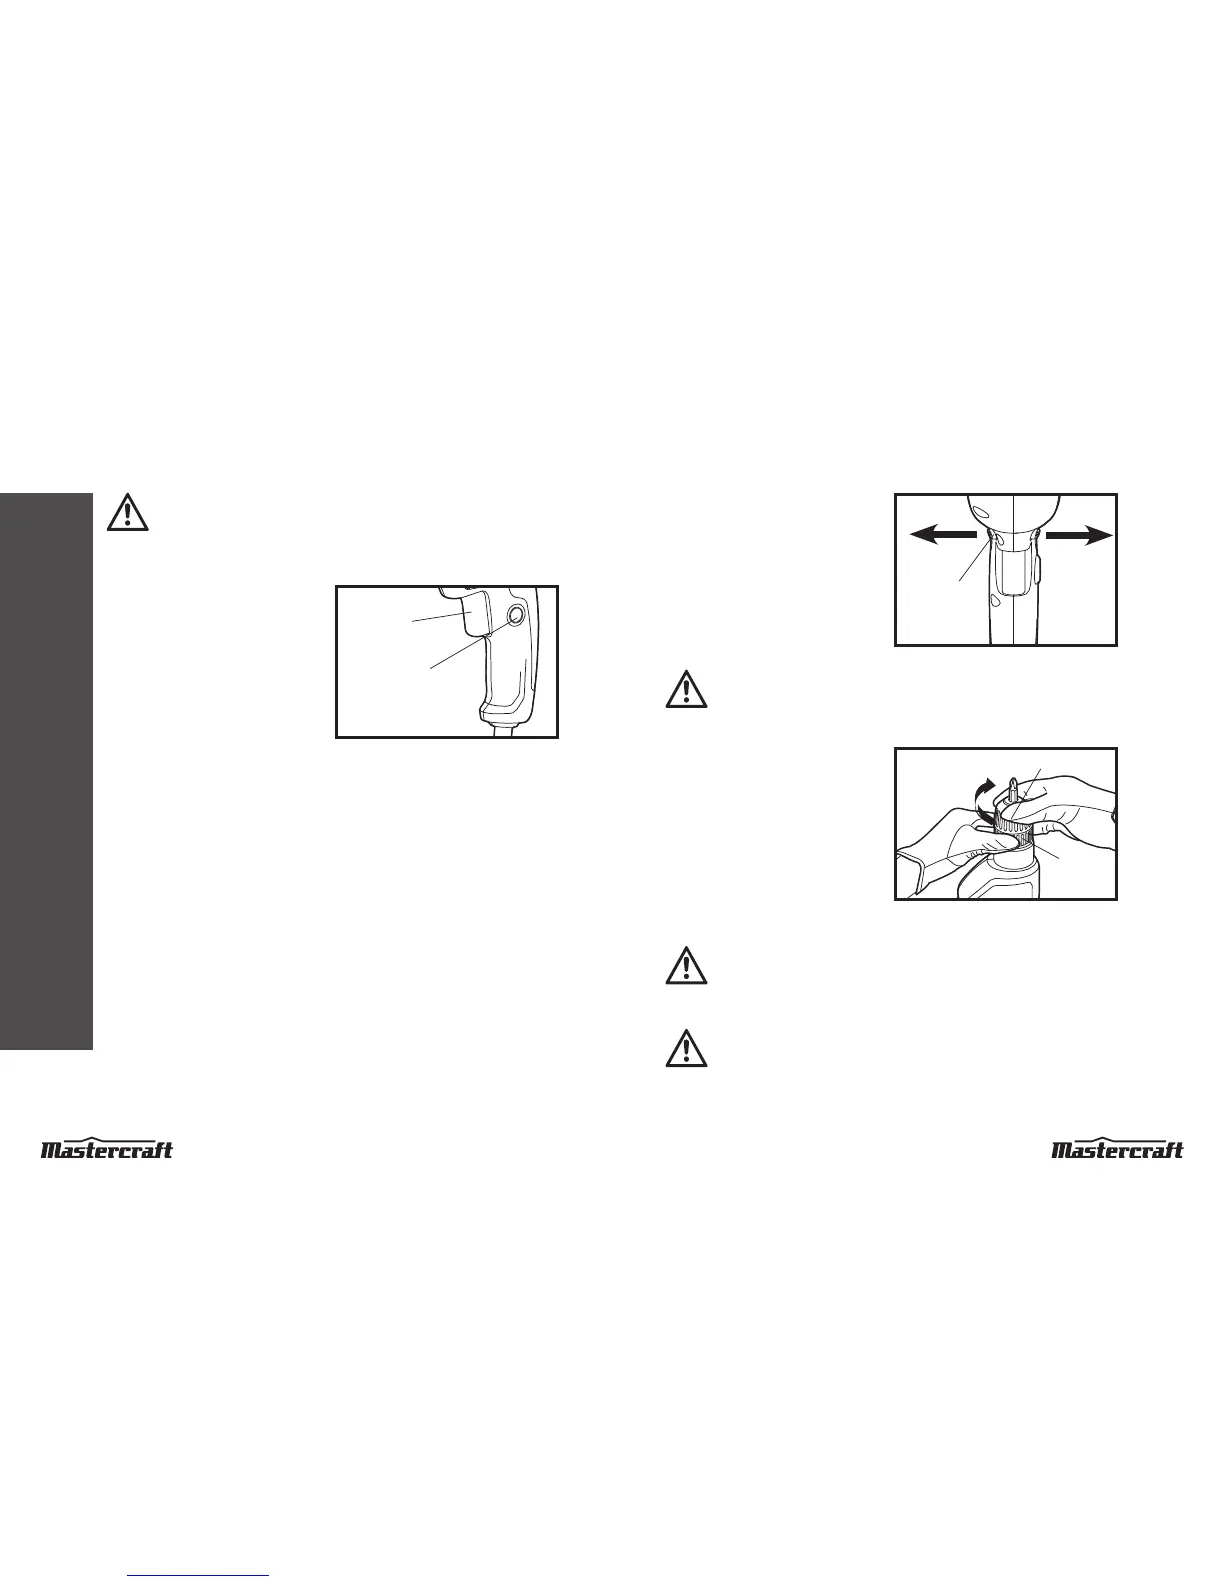
Direction-of-rotation selector
(fig 2)
The direction of bit rotation is reversible and is
controlled by a selector located above the trigger
switch. With the drill held toward you:
1. Position the direction-of-rotation selector to
the right of the tool for forward rotation.
2. Position the direction-of-rotation selector to
the left of the tool for reverse rotation.
WARNING!
To prevent gear damage, always allow the drill to come to a complete stop before changing
the direction of rotation.
Installing bits (fig 3)
1. Unplug the drill from the power source.
2. Hold the collar and turn the sleeve
counterclockwise to open the chuck jaws.
3. Open the chuck jaws until the opening is
slightly larger than the bit you intend to use,
and raise the front of the drill slightly to keep
the bit from falling out of the chuck jaws.
4. Insert the drill bit into the chuck.
5. Hold the collar firmly and turn the sleeve clockwise to tighten the chuck.
WARNING!
Insert the drill bit straight into the chuck jaws. Inserting the drill bit into the chuck jaws
at an angle and then tighten the chuck and using the drill could cause the drill bit to be
thrown from the drill, resulting in possible serious personal injury or damage to the chuck
WARNING!
Never hold the collar by one hand and press the trigger to release/tighten the chuck which
could cause serious personal injury.
WARNING!
Never connect the drill to the power source when you are assembling parts, making
adjustments, installing or removing bits, cleaning, or when it is not in use. Disconnecting
the drill will prevent accidental starting, which could cause serious personal injury.
Variable-speed trigger switch
(fig 1)
1. Connect the power cord of your drill to a
standard household power outlet.
2. To turn the drill ON, press the trigger switch.
3. To turn the drill OFF, release the trigger switch.
4. The variable-speed trigger switch delivers
higher speed with increased trigger pressure
and lower speed with decreased trigger
pressure.
Lock-on button (fig 1)
This drill is equipped with a lock-on button, which is convenient for continuous drilling for extended
periods of time.
1. To drill continuously, press and hold the trigger switch and then press the lock-on button. Release
the trigger switch.
2. To unlock the lock-on button and stop continuous drilling, press the trigger switch and the lock-on
button will release automatically.
OPERATING INSTRUCTIONS
OPERATING INSTRUCTIONS
fig 1
Variable-speed
trigger switch
Lock-on button
fig 2
Reverse
Forward
Direction-of-
rotation selector
fig 3
Clockwise
(tighten)
Sleeve
Collar

 Loading...