headline bars
continuation tabs
notes
warnings
11
headline bars
continuation tabs
notes
warnings
model no. 054-8392-0 | contact us 1-800-689-9928
10
ASSEMBLY INSTRUCTIONS
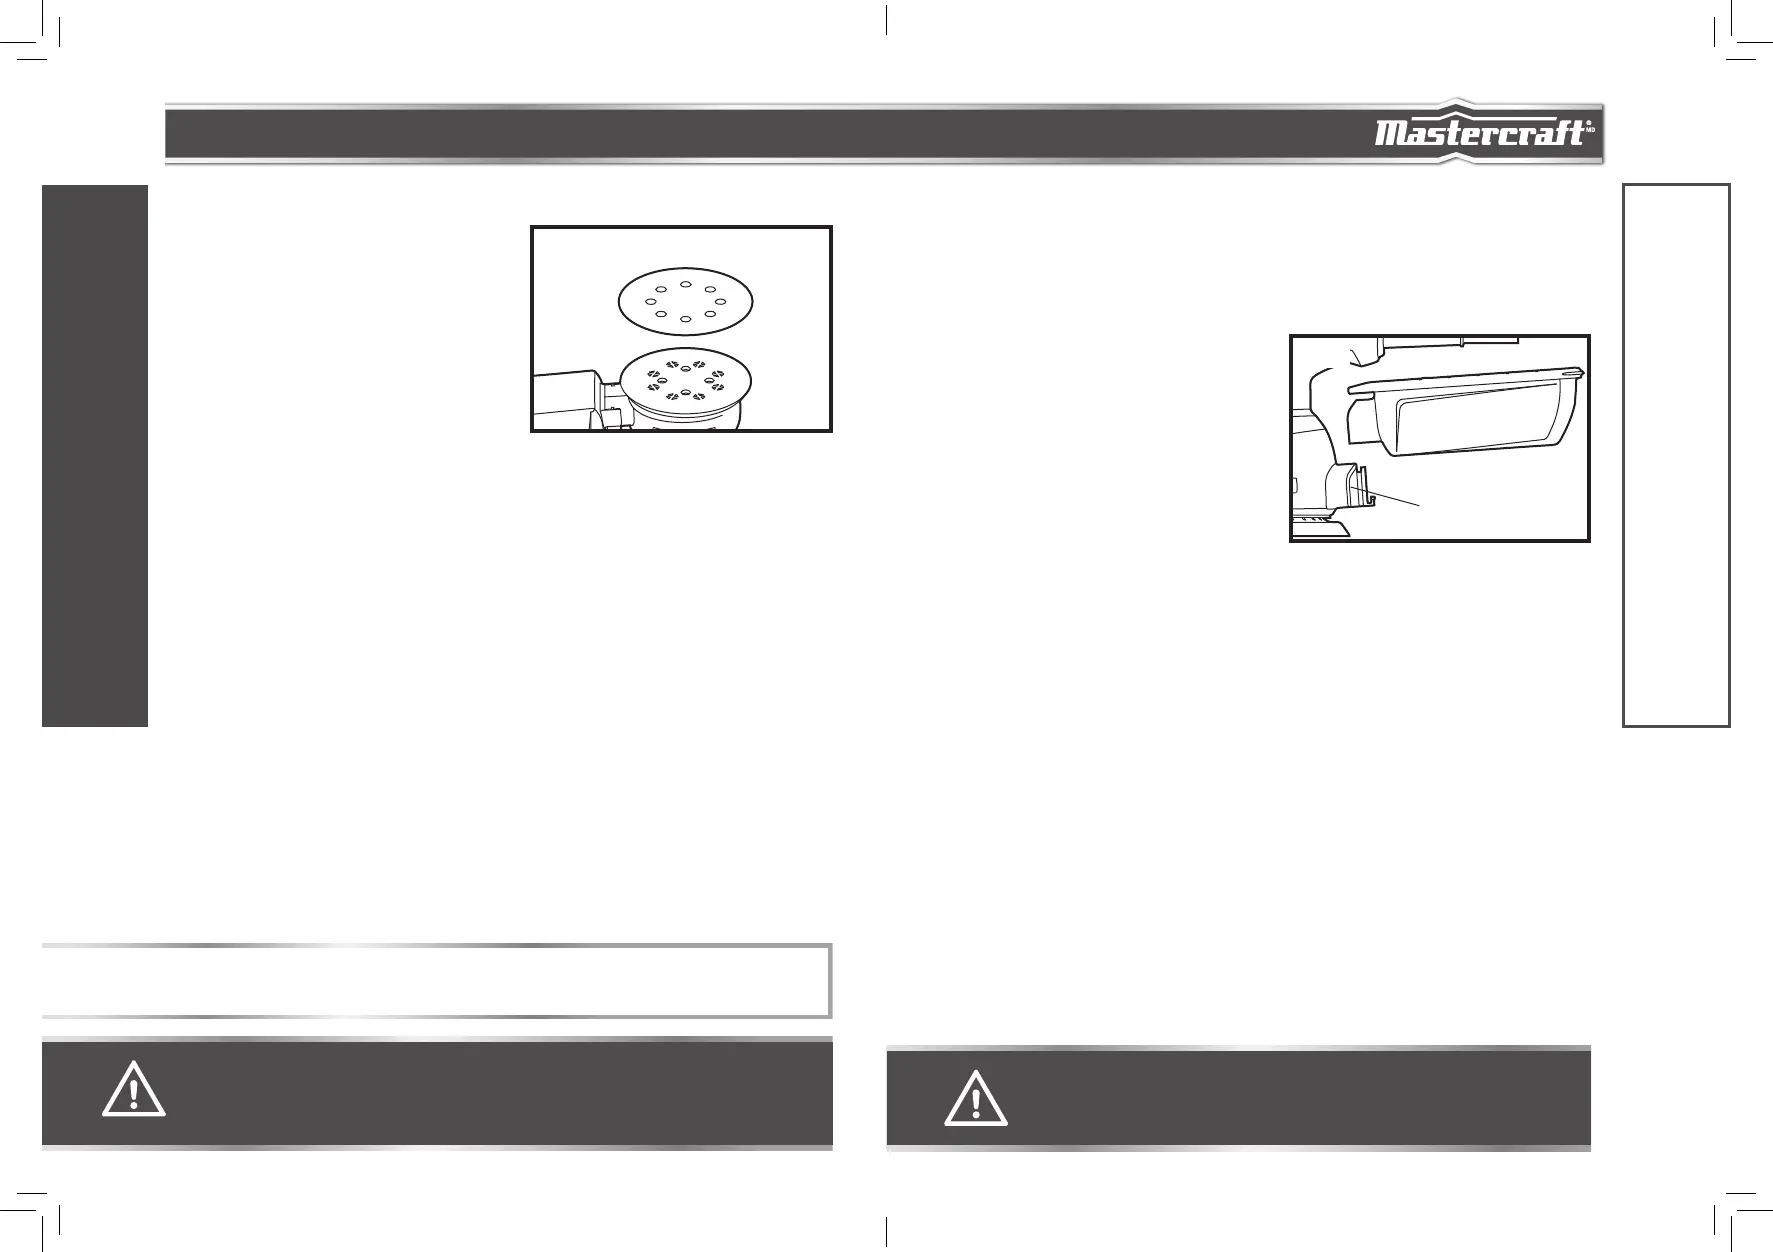
ATTACHING THE SANDPAPER
(fig 1)
1. Disconnect the sander from the power source.
2. Place the sander upside down on a flat surface.
3. Remove any dust or debris from the sanding pad.
4. Align the holes of the sandpaper with the holes in the
sanding pad and firmly press the sandpaper against
the sanding pad to ensure a good attachment.
DUST BOX
Your sander is supplied with a dust box to help you keep the working area clean. The dust box is ideal
for smaller jobs.
To install:
1. Disconnect the sander from the power source.
2. Press the dust box port down onto the slot in the
dust-exhaust port until the detent fully engages
with corresponding opening in the dust box (fig 2).
To remove:
1. Disconnect the sander from the power source.
2. Raise the dust box port and remove the box from the
sander.
SELECTING THE RIGHT GRADE OF
SANDPAPER
Different grades of sandpaper can be purchased from the store where you purchased the tool.
Available grades are: Coarse, Medium and Fine.
Use a coarse grit to sand down rough finishes, medium grit to smooth the work and fine grit to finish off.
It is best to make a trial run on a scrap piece of material to determine the optimum grades of
sandpaper for a particular job.
ASSEMBLY INSTRUCTIONS
WARNING!
• Do not use the dust box when sanding metal. Using the dust box when sanding metal
creates a fire hazard, which could damage the tool and lead to serious personal injury.
WARNING!
• Never connect the sander to the power source when you are assembling parts, making adjustments,
installing or removing sandpaper, cleaning, or when it is not in use. Disconnecting the sander will
prevent accidental starting, which could cause serious personal injury.
ASSEMBLY INSTRUCTIONS
fig 1
NOTICE: In order for the dust extraction system to operate properly, the holes in the pad must align with
holes in the sandpaper.
Dust-exhaust port
fig 2
 Loading...