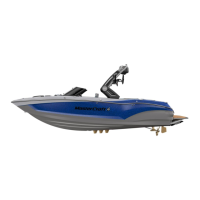
GPS and Chartplotter
AllGPSandchartplottersystemscomewithextensiveinstruction
manuals.Pleaserefertothesemanualsorthemanufacturer’swebsite
fordetailsandguidance.
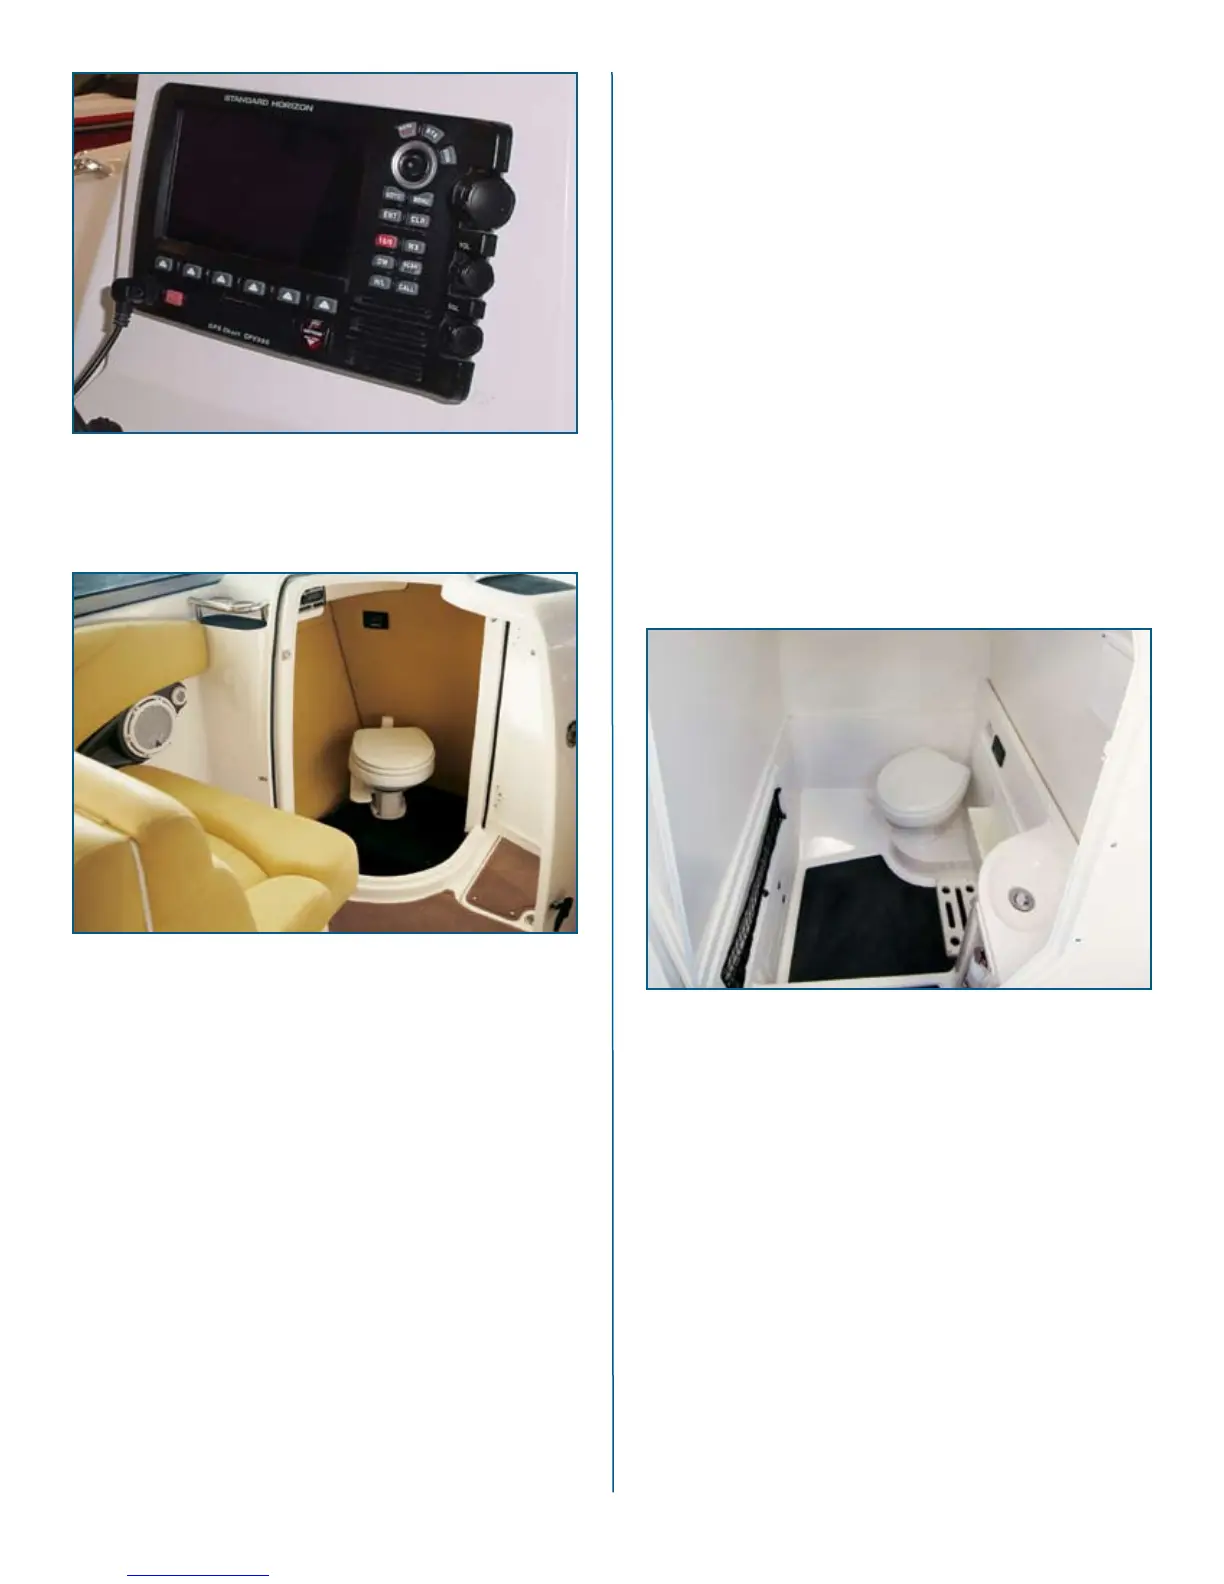
Head
The following information is provided for the head installed
in a MariStar 280 or X-80:
Preparing the head for use:
Step 1: Withtheseatlidclosed,pulltheushhandletoopenthe
slidevalve.Thenpushtoclose.Thisrelievesairpressurethat
maybecreatedinthelowerholdingtankduetochangesin
temperatureoraltitude.
Step 2: Removethewatercapandlltheuppertankuntilitreaches
about1inch(25mm)belowtheopening.Replacethecap.
Step 3: Pulltheushhandletoopenslidevalve.
Step 4: Pourdeodorantdirectlyintothelowertank,thenclosethe
slidevalve.Do NOT pour deodorantintothebowlwith
theslidevalveclosed.
Step 5: Stroke the air pump about 15 times or until air emits
through the relief valve on the water cap. Do not over-
pressurizetheuppertankbycoveringthereliefvalve.Do
notlettheuppertankpressurizewhenitisdisconnected
fromthelowertank.
In using the toilet:
Step 1: Beforeeachuse,withtheseatlidclosed,pulltheushhan-
dletoopentheslidevalve,thenpushtoclose.Thisrelieves
airpressurethatmaybecreatedinthelowerholdingtank
duetochangesintemperatureoraltitude.
Step 2: Pulltheushhandletoreleasewasteinthelowertank.
Step 3: Pushtheushbuttontorinsethebowl.Pushtheushhan-
dletoclosetheslidevalve.
To empty the holding tank:
Step 1: Whenthetanklevelindicatorshows“FULL,”orattheend
ofanouting,emptythelowertank.
Step 2: Pullupontherearlatchtoseparatetheuppertankfrom
thelowertank.Carrythelowertanktoanauthorizedwaste
disposal area or a normal toilet. (DO NOT DISPOSE
WASTE IN ANY LOCATION, INCLUDING NAVI-
GABLE BODIES OF WATER, WHERE SUCH DIS-
POSAL IS ILLEGAL OR CREATES AN ENVIRON-
MENTAL HAZARD.)
Step 3: Rotatethedischargespoutawayfromthetankandopenthe
ventontopoftheholdingtank.Emptythetank.
Step 4: Ifwater isavailable,rinsethe lowertank beforereassem-
blingtheportabletoilet.
On the CSX 265 head, the following instructions should be
followed:
Before operation:
Step 1: Fillthefreshwatertankandadddeodoranttotheholding
tankthroughthetoiletbowl.
Step 2: Turnontheinletwatersupply.
Step 3: Turnontheelectricalpowertothesystem. (Thebreaker
panelislocatedintheheadcompartment.)
Step 4: Flush waterinto thesystembydepressingthe ush lever
(near the deck) until water starts owing to the vacuum
pump, which requires approximately 15 seconds.The vac-
uum pump will run for approximately 60-to-90 seconds.
Whenthesystemreachesoperationatthevacuumlevel,it
willshutoff.
Step 5: Rememberthatthevacuumpumpstartsautomatically.Shutoff
thesystembeforeservicinganddonotleavetheboatwiththe
toiletsystembreakeron.(Thebreakerpanelislocatedinthe
headcompartment.)Neverusedrainopeners,alcohol,solvents,
etc.,inthesystemasthesearelikelytodamagethehead.
mastercraft 2010 ow n e r ’s m anual • page 6-3

 Loading...