Masterline 481
ENGLISH -
481
ATTENTION! Cut and replace straps with wrong seal/welds. Eventual break of the strap in the seal/welding area could cause serious damages.
Test, periodically, the effective seal/welding efficiency with adequate equipment (for example sending strapping samples to a specialized laboratory for a
tensile tests).
Setting the correct strap width.
This tool can be used with PP/PET strap with width between 3/8” and 5/8” (9 and 16 mm)
To set the correct strap width, proceed as shown in fig.14.
Special functions
Checking the total number of cycles. The total number of cycles is given as a 6 digit number shown in two different screen shots, 3 at a time, from left
to right. Hold the “+/-“ button for more than 3 seconds. The first 3 digits are shown on the display. To show the second 3 digits, press the button ”+/-“.
Press once again the button “+/-“ to exit. The total number of cycles could be used to plan an ordinary or extraordinary maintenance of the tool.
Checking the software version Remove the battery. Press and hold down the welding button and insert the battery. On the display appears the
software version composed by 3 digits. Release the welding button to exit.
Locking the control panel Remove the battery. Press and hold down both tensioning (1.1) and welding (1.2) buttons and insert the battery. An
acoustic signal indicates the lock of the control panel.
The same signal is emitted every time the control panel buttons are pressed with a locked panel.
To unlock the control panel repeat the same procedure.
Maintenance
ATTENTION! BEFORE ANY MAINTENANCE OPERATION, REMOVE THE POWER SUPPLY OF THE TOOL.
The maintenance and repair must be done exclusively by trained personnel. If necessary, send the tool, using the original packing, to the closest
maintenance center.
Daily cleaning. Remove strap residue from the feedwheel and the welding unit using compressed air. It is not necessary to open the tool. ATTENTION!
Use eye protection glasses.
Feedwheel replacement (fig. 10)
Remove the 2 fixing screws “A” of the carter “B” on the left side of the tool. Remove the carter “B”.
Remove the 3 screws ”C”, remove the external flange “D” and the bearing “E”. Replace the feedwheel “X” and if necessary, lubricate with lithium
grease with density 0. To assemble the tool, repeat the described operations in inverse order. Use Loctite 243 to fix the screws.
Cutter and seal/welding plate replacement (fig. 11)
Remove the 2 screws of the carter “B” on the left side of the tool. Remove the carter “B”.
Cutter replacement: Remove the screw ”C”, remove the bushing ”D” and replace the cutter “Z”. Don’t forget to insert the cutter spring ”E”.
Seal/Welding plate replacement: Remove the 2 screws ”F” remove the guide ”G”, remove the pin “H” and replace the seal/welding plate “W”.
Replacing of the grippers (fig. 12)
To replace the grippers, remove the screws ”A”, extract the old grippers and replace them with new ones ”Y”. Use Loctite 243 to fix the screws.
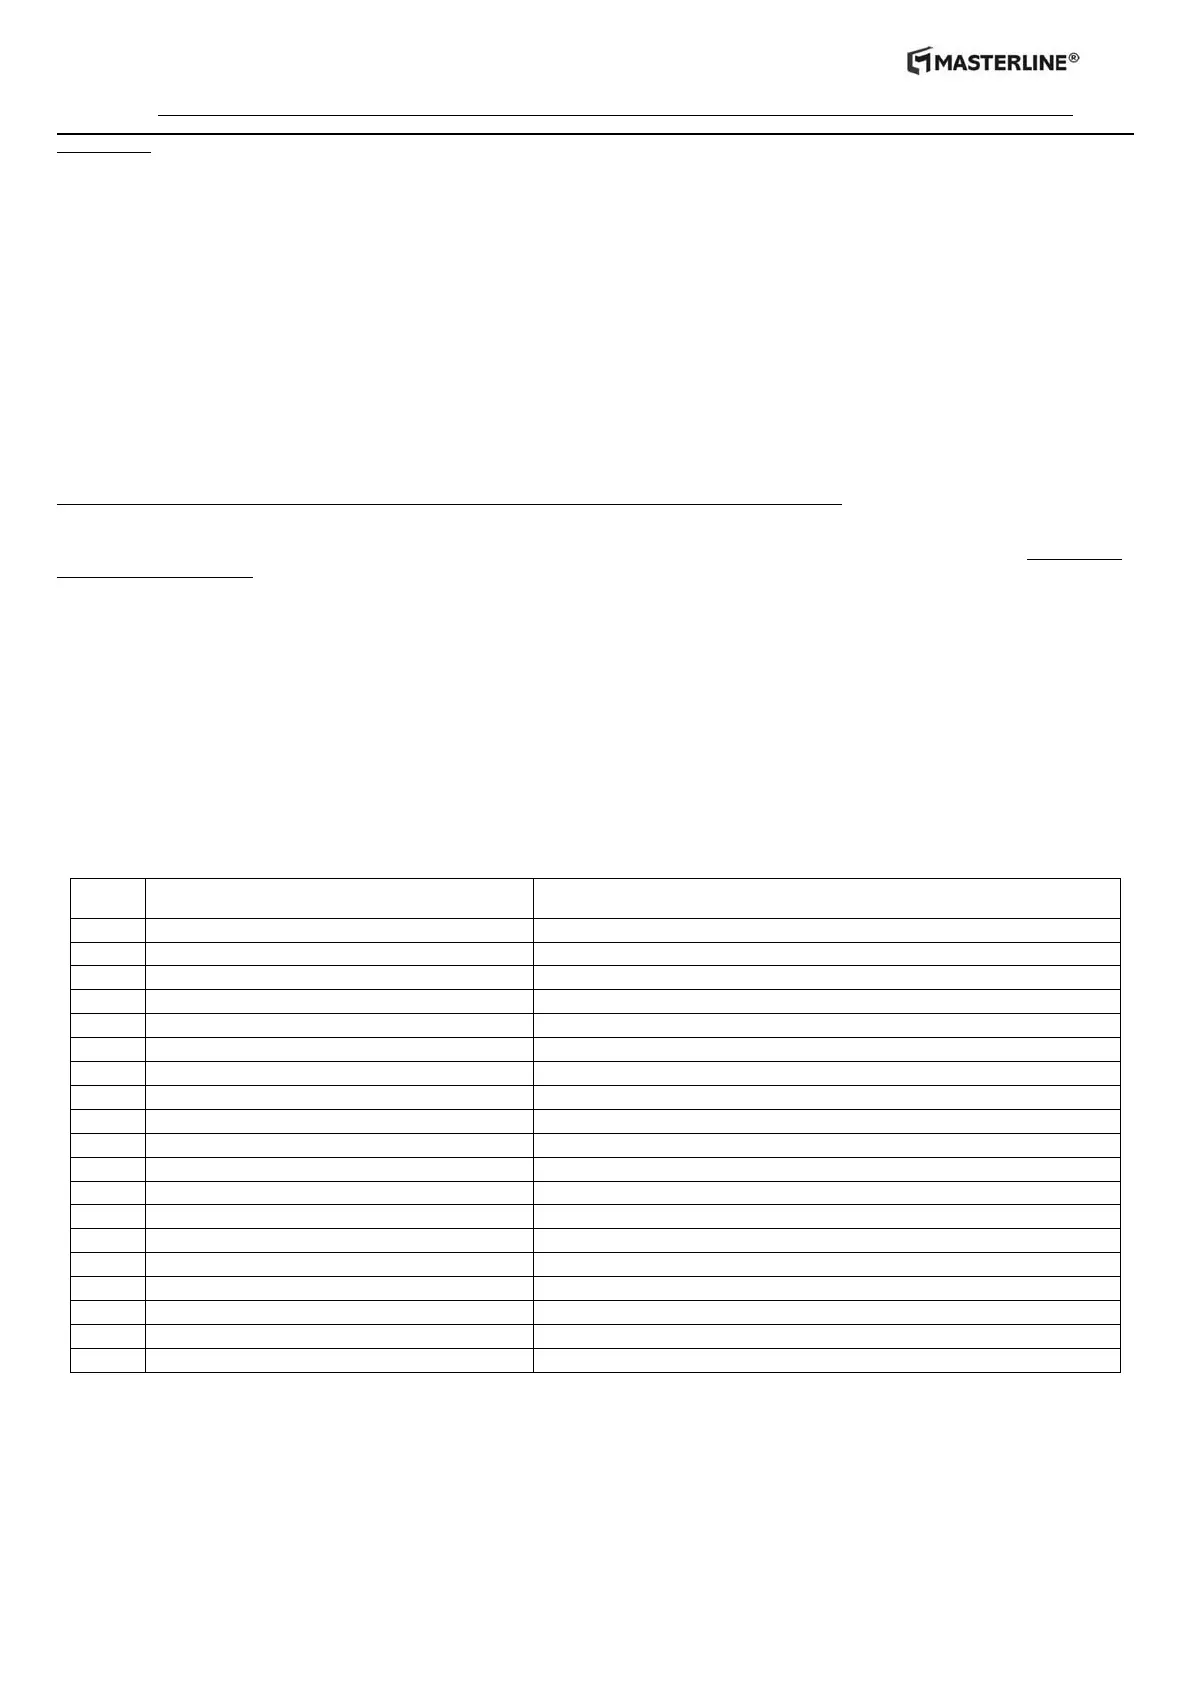
Error descriptions
Error
code
Description Remedy
E01 Current sensor error Contact the assistance office
E02 Tensioning error Contact the assistance office
E03 Not used -
E04 Not used -
E05 Stepper limit switch error Remove the carter, verify the blue spring and the limit switch of the stepper
E06 Stepper switch closed Rise the opening lever
E07 Emergency stop during the automatic cycle Rise the opening lever
E08 Welding error Check the motor wires connections
E09 Welding error Check the blue spring compression, charge the battery
E10 Irregular motor rotation Contact the assistance office
E11 Toggle mechanism opens during welding Check the strap thickness
E12 Opening lever raised during welding Raise the opening lever to clean the error code
E13 Memory error Contact the assistance office
E14 Opening lever switch closed Control the opening lever position
E15 Battery discharged Charge the battery
E16 Motor driver check error Contact the assistance office
E17 Motor driver check error Contact the assistance office
E18 Overheating error Let the tool cool down
E20 Overheating error Let the tool cool down