47
UK
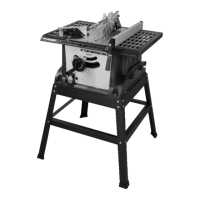
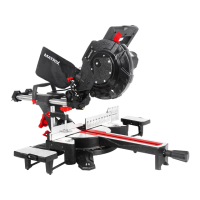
the side supports (35).
There are two side support positioning
holes (33) on each side of the table.
It is essential that the side-supports are fully
locked in place before placing a workpiece
on it.
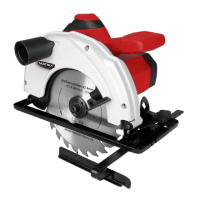
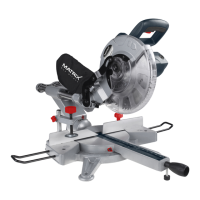
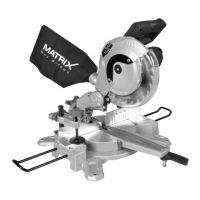
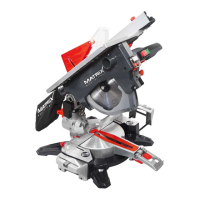
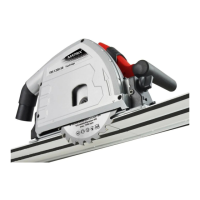
11. WORKING WITH SNIPPING SAW
AND MITRE SAW
WARNING INDICATIONS:
- Do not look directly into the laser beam.
Never point the laser beam at people or
objects, except for the workpiece.
- Do not aim the laser at people
intentionally.
- Point the laser beam only at non-sensitive
workpieces with a blunt surface. Wood
or rough-coated surfaces are suitable for
this. Glossy reflective surfaces are not
suitable for use with a laser because the
laser beam could point to the user due to
the reflective surfaces.
- Always switch off the laser with the laser
light on / off switch (2) after finishing
work. Switch on the laser beam only
when there is a workpiece on the mitre
saw table.
- Mark the cutting line on the workpiece.
- Adjust the mitre angle and tilt angle for
the cut as needed.
NOTE: To make a cut to the left of the saw
blade, align the left laser line at the pencil
mark. To make a cut to the right of the saw
blade, align the right laser line at the pencil
mark.
1. Ordinary sawing
1) Insert the mains plug into the socket.
Turn the on / off switch for the laser light
(2) (Fig.21)
2) Lift the stop positioning for workpieces
(32) to its raised position (32) and clamp
the workpiece with the clamping devices
(10) as in Fig. 13; while doing so, align the
saw blade with the help of the laser line
at the marking on the workpiece, and
turn on the engine.
3) Press the release button (34). (Fig.14)
4) Lower the saw arm.
5) Press the ON / OFF switch (23).
6) When the saw blade has reached its
maximum speed (after about 2 seconds),
lower it slowly through the workpiece.
Press the saw head up to the stop
position backwards away from yourself/
Turn the light on / off switch of the laser
light (2) after making the cut.
7) Lift the saw arm (5) and remove the
sawdust on the laser with a soft brush.
NOTE: Wear protective goggles and
respiratory protection when removing the
sawdust.
2. Cross-sections (without traction
function)
The traction function is not required when
sawing narrow pieces of wood. In such
cases, make sure that the tension lock (28)
is screwed tight so that the saw arm cannot
slide forward or backward.
1) A cross section is made across the grain
of the workpiece. A 90 ° cross section is
made by setting the mitre table to 0 °.
For mitre cuts, the table is set to an angle
other than zero. (Fig.15)
2) Release the tilt angle lock (24). Turn the
turntable (20) until the pointer points to
the desired angle. Tighten the tilt angle
lock (24) once again. (Fig.16)
WARNING: Before sawing, the inclination
angle lock must be tightened. Otherwise,
the table may move while sawing, which
could cause serious injury.
Place the workpiece flat on the table, with
one edge resting securely against the guide
 Loading...