8 Matrox C-Series – User Guide
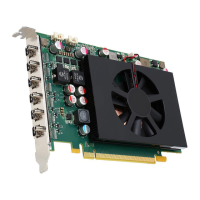
3 Insert your Matrox card
a
Position your Matrox card over the
expansion slot you’ve chosen.
b
Push the card in firmly and evenly until
it’s fully seated in the slot.
c
Secure the bracket of your Matrox card
to the computer frame.
Your Matrox card is now installed.
Before restarting your computer
, connect your monitor or
monitors (see “Connecting your monitors”, page 11).
After connecting
, restart your computer and
install your Matrox software (see “Installing your Matrox software”, page 13).
Replacing brackets on your graphics card
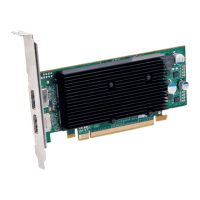
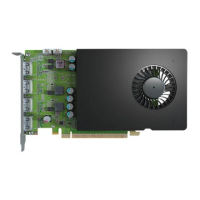
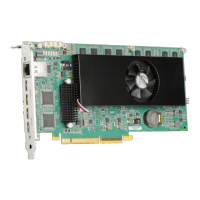
Most Matrox low-profile graphics cards ship with ATX brackets compatible with most systems.
Low-profile graphics cards
The following explains how to change brackets on your low-profile product.
1
Remove the current bracket from your
Matrox graphics card by removing the
two screws on top of the graphics card.
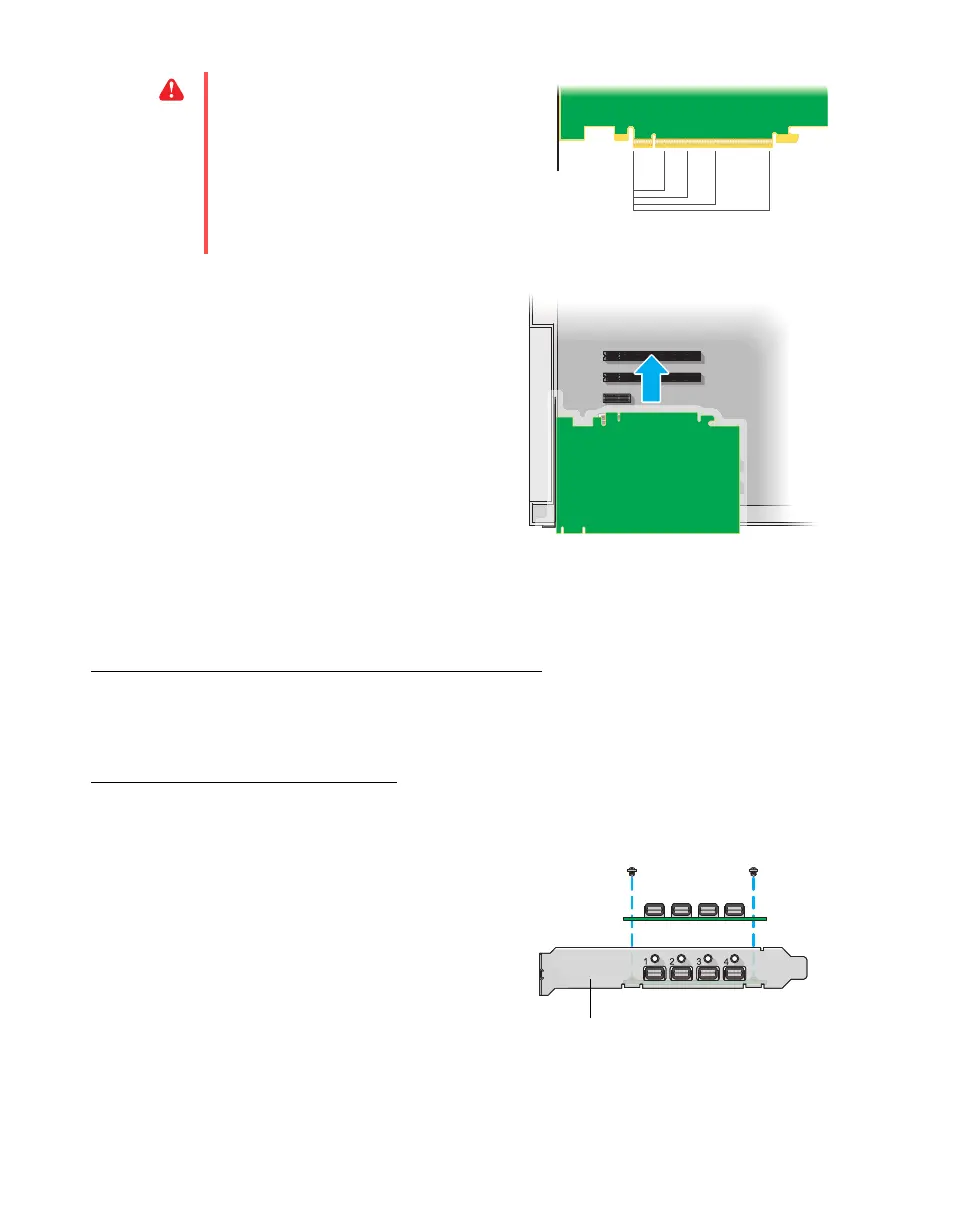
WA R N I NG :
Inserting your Matrox card
into the wrong type of slot could damage
your card, your computer, or both.
PCI Express card
×16
×1
×4
×8