EasyManua.ls Logo

MATTRESS FIRM 300 User Manual

MATTRESS FIRM 300
8 pages
To Next Page IconTo Next Page
Page #1 background imageLoading...
Page #1 background image
Adjustable Base
setup guide
n 300/600 n K/CK Sectional Base
x2 - T-Spacers
x4 - 3-Inch
Carriage Bolts
and Nuts
x1 - Remote
Control (varies
according to
base type)
x6 - Pin-adjustable
Legs
x1 - Mattress
Retainer
x3 - AAA
Batteries
x1 - WRENCH
x2 - Center
Support
Brackets
HEAD
FOOT
HEAD
FOOT
MEM
FLAT
300
600
FLAT
ZGRAV
SNORE
M2
M1 SET
ON/OFF
FOOTHEAD
FOOTHEAD
PILLOW
M3
M4
READ ALL INSTRUCTIONS BEFORE USING.
DUE TO RISK OF INJURY, TWO ADULTS ARE
REQUIRED TO HANDLE AND MOVE ADJUSTABLE
BASE.
WARNING
!
STEP 1
Remove top of shipping carton. Verify contents; inspect for
damage.
291-0070-b EDR15140 5/19
© 2019 Mattress Firm, Inc.

Other manuals for MATTRESS FIRM 300

Question and Answer IconNeed help?

Do you have a question about the MATTRESS FIRM 300 and is the answer not in the manual?

MATTRESS FIRM 300 Specifications

General IconGeneral
Product TypeMattress
BrandMattress Firm
Model300
CategoryIndoor Furnishing
SizeTwin, Twin XL, Full, Queen, King, California King

Summary

Adjustable Base Setup Guide

Step 1: Unpacking and Inspection

Remove shipping carton, verify contents, and inspect for damage.

Safety Warnings

Important safety instructions, including the need for two adults to handle the base.

Component Identification

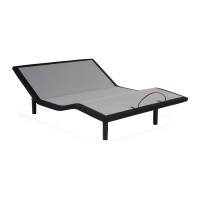
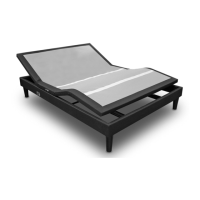
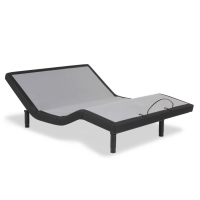
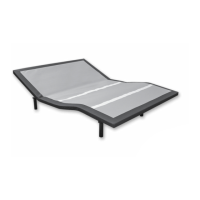
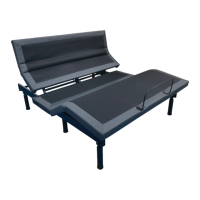
Lists and illustrates all parts included in the adjustable base kit.

Assembly Steps

Step 2: Power Supply and Retainer Removal

Cut zip-ties from power supply and remove mattress retainer.

Step 3: Joining Base Sections

Connect head and foot sections by aligning mounting holes.

Step 4: Installing Brackets and Spacers

Install T-Spacers and center support brackets using bolts and nuts.

Step 5: Routing Motor Cables

Route motor cables and extend the electrical power cord.

Step 6: Attaching Legs

Screw legs into base frame and center support brackets, adjust height.

Step 7: Inverting the Base

Carefully rotate the assembled base onto its legs.

Step 8: Remote Control and Power Connection

Install batteries, plug in power, and test remote control functions.

Step 9: Flat Position Adjustment

Lower the adjustable base to its flat position.

Step 10: Mattress Retainer Installation

Install the mattress retainer at the foot end of the base.

Step 11: Final Mattress Placement

Place the mattress onto the base to complete assembly.

Related product manuals