model no. 058-9317-8 | contact us 1-888-670-6682
14
BEFORE ASSEMBLY
• Unpack the carton and remove the compressor. Make sure all parts are present.
Inspect the unit for damage.
• If any part is missing or damaged, do not attempt to assemble the product.
Contact customer service for replacement parts.
• Claim for replacement parts immediately as there is time limitation.
• Check the compressor’s serial label to ensure that the correct model has been
received, and that it has the required pressure rating (160/200 PSI)
for its intended use.
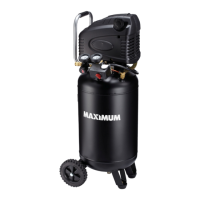
ASSEMBLY
1. Align the holes on the wheels (1) with
corresponding holes on both sides at
bottom of the tank (2). Insert bolts (3)
through the holes and tighten them
using washers (4) and nuts (5)
(FIG. A).
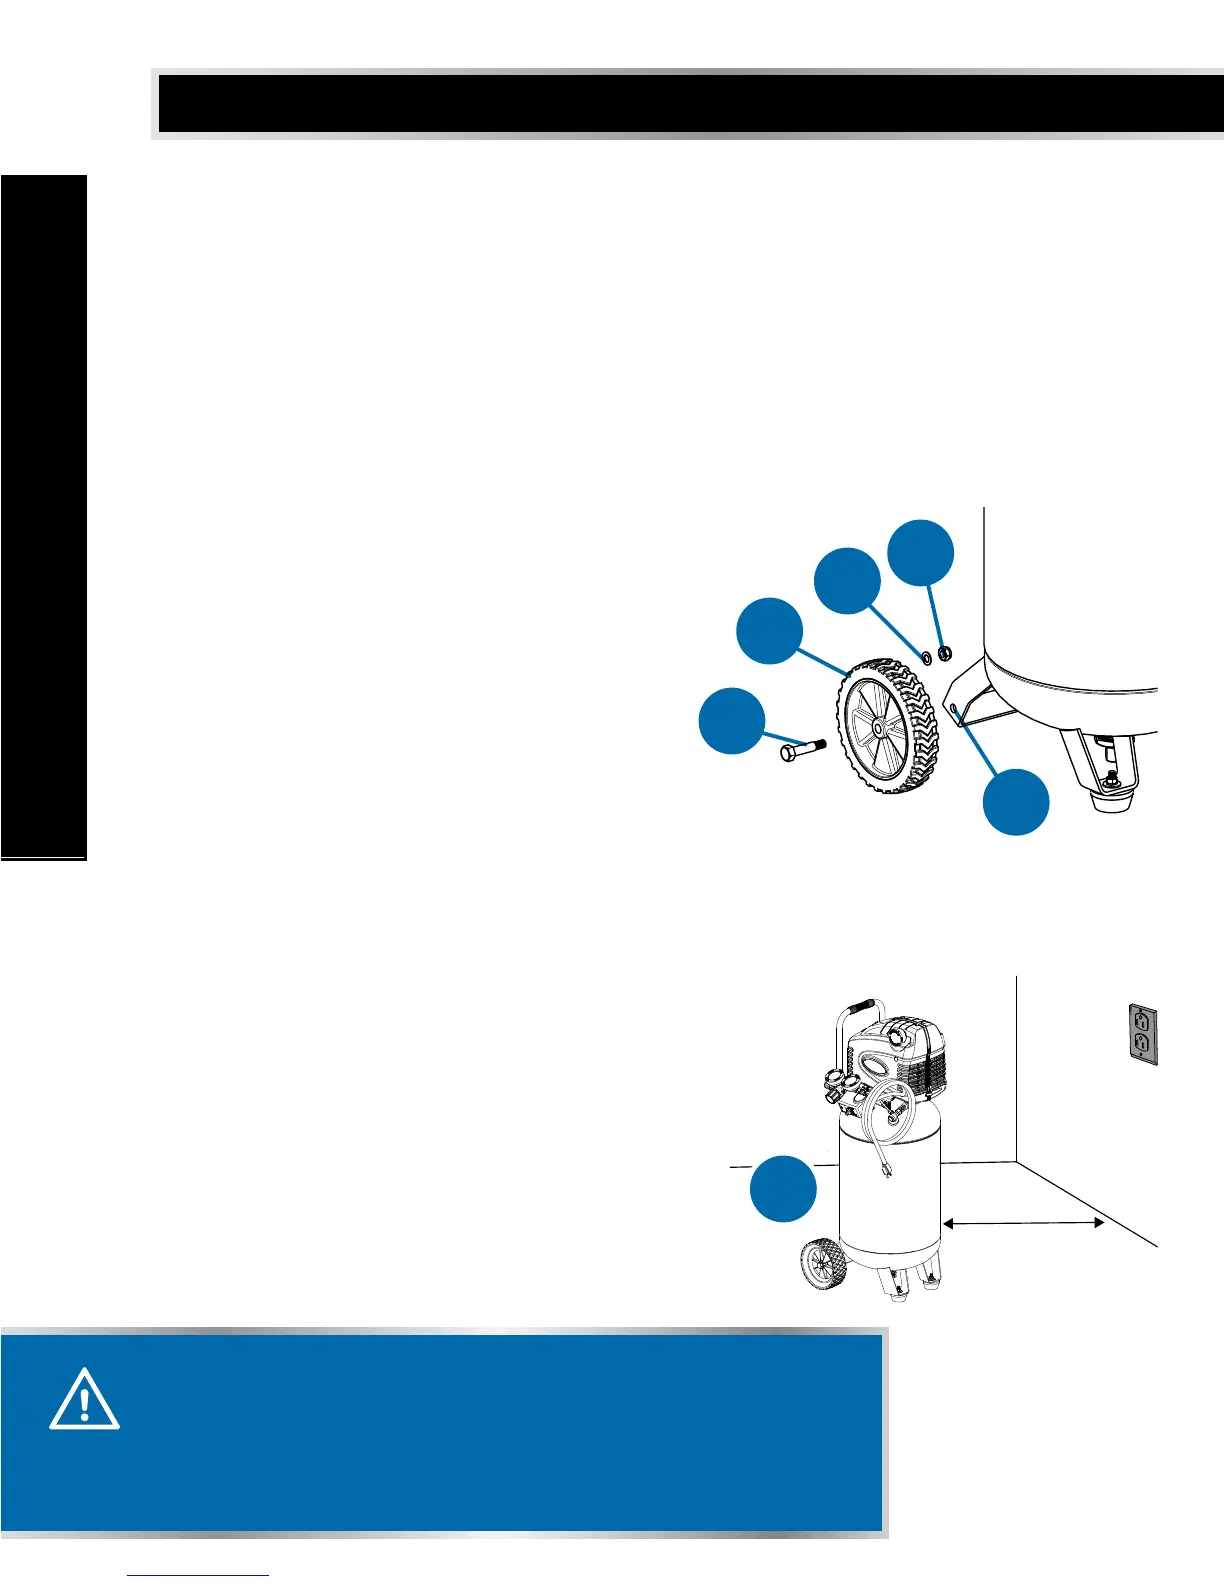
2. Place the compressor (1) on the floor
or a hard, level surface in a clean, well-
ventilated area to ensure sufficient
air flow and cooling. Make sure the
compressor is placed at least 12”
(30 cm) from any wall or obstruction
(FIG. B).
3
1
4
5
2
1
12”(30 cm)
CAUTION!
• Potential hazard that may result in moderate injury or
damage to equipment.
• Do not use compressor in areas containing dust particles
to avoid damage to the motor.