model no. 054-2312-8 | contact us 1-888-670-6682
14 15
VARIABLE SPEED
The variable speed trigger switch delivers higher speed with increased trigger pressure
and lower speed with decreased trigger pressure.
SPEED SELECTOR
The tool is equipped with a speed selector, which allows you to select one of three
speeds. Select the speed based on the application by pressing the “ ” button and
control the speed of the tool using the trigger switch. The wrench is pre-set to highest
speed mode setting when shipped from the manufacturer.
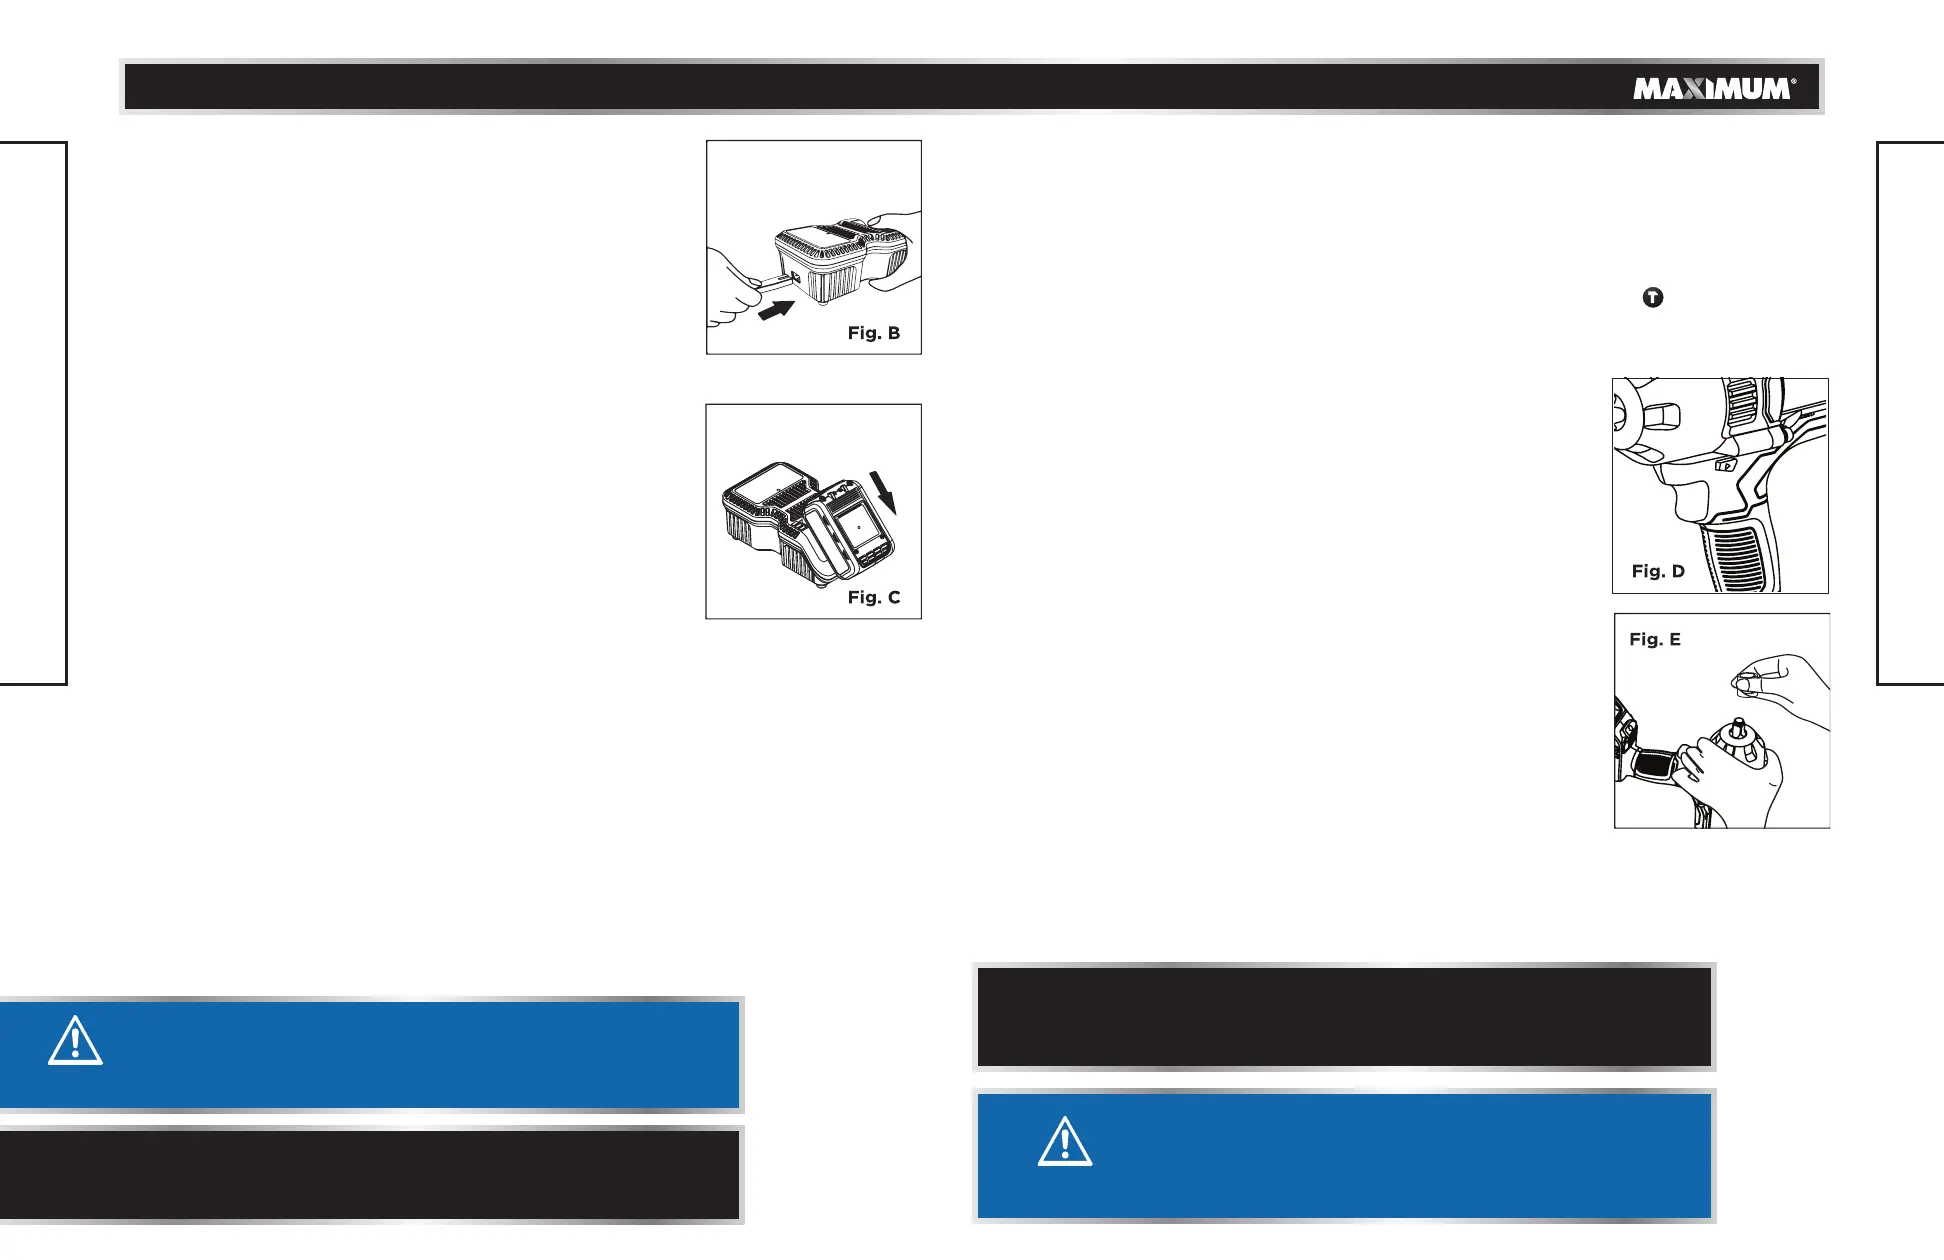
FORWARD AND REVERSE
The direction of bit rotation is reversible and is controlled by a
selector located above the trigger switch (Fig. D).
With the impact wrench held in normal operating positions:
• Position the forward/reverse selector to the left of the tool
for forward.
• Position the forward/reverse selector to the right of the
tool for reverse.
• Position the forward/reverse selector in the centre will
lock the switch trigger to help reduce the possibility of
accidental starting when not in use.
INSTALLING AND REMOVING A SOCKET
Always use the correct size socket for bolts and nuts. An
incorrect size socket will result in inaccurate and inconsistent
fastening torque and/or damage to the bolt or nut.
To install the socket, push it onto the anvil of the tool until it
locks into place (Fig. E). To remove the socket, simply pull it off.
- Less than 60% charged: one light will stay on, while the
other two lights will blink in sequence.
- Over 60% charged: two lights will stay on, while the
remaining light will blink continuously.
- Fully charged: all three lights will remain on
continuously.
• The charging process will last approximately 65 minutes
and continuous lighting of all three charging lights will
indicate charging is complete.
CHARGER DIAGNOSTICS
The charger is designed to detect certain problems that can
arise with battery packs.
• When the charger detects the battery pack is overheated,
all three charging lights will blink at the same time. Please
remove the battery and allow it to cool down for 15–30
minutes and re-insert.
• When the charger detects a malfunction in the battery, two
charging lights will blink at the same time. Please remove
the battery and allow it to cool down for 15–30 minutes.
Then re-insert the battery pack into the charger. If two
charging lights still flash, the battery may require service.
• When the charger detects a malfunction of the charger
itself, three charging lights will blink at the same time.
Please remove the battery pack and unplug the charger for
at least 2 minutes. After 2 minutes, plug charger back in
and re-insert the pack into the charger. If all three charging
lights still blink at the same time, the charger may require
service.
ON/OFF TRIGGER SWITCH
To turn the tool on, squeeze the trigger switch. To turn the tool
off, release the trigger switch.
OPERATING INSTRUCTIONS
CAUTION!
The working temperature of the charger is 4 to 40°C
(40 to 104°F).
NOTE: Charging times may be longer depending on the
surrounding temperature and battery condition.
OPERATING INSTRUCTIONS
CAUTION!
To prevent gear damage, always allow the chuck to come to a
complete stop before changing the direction of rotation.
NOTE: The impact wrench will not run unless the direction of
forward/reverse selector is engaged fully to the left or right.
 Loading...