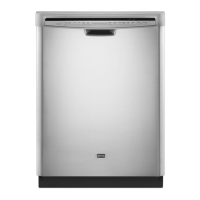
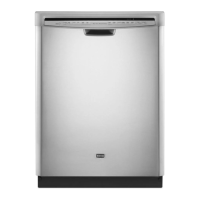
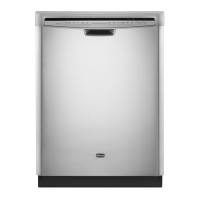
Do you have a question about the Maytag MDB7749AWB2 and is the answer not in the manual?
Disconnect electrical power at the fuse box or circuit breaker.
Shut off the water supply to the dishwasher.
Determine if existing utility hookups are present or if new ones are needed.
Instructions for preparing the cabinet when utilities are already present.
Instructions for preparing the cabinet when new utilities need to be run.
Choose between power supply cord or direct wire connection.
Drill a hole for the power supply cord in the cabinet.
Drill a hole for direct wiring in the cabinet.
Prepare the drilled hole for the direct wire connection.
Prepare and route the water supply line to the dishwasher.
Measure the required length for the water supply line.
Route the water supply line through the cabinet to the dishwasher.
Flush the water supply line to remove debris before connecting.
Slide compression fitting components onto the water supply tubing.
Attach a 90° elbow fitting to the water supply line.
Install the dishwasher drain hose, checking local codes for air gaps.
Route the drain hose through the cabinet to the drain connection.
Connect the drain hose to the waste tee or disposer.
Connect drain hose to disposer without an air gap.
Connect drain hose to waste tee without an air gap.
Connect drain hose to disposer with an air gap.
Connect drain hose to waste tee with an air gap.
Install a moisture barrier under the countertop if applicable.
General preparation steps for the dishwasher before moving.
Lay the dishwasher on its back to access panels.
Remove access and lower panels to access the terminal box.
Remove the cover of the electrical terminal box.
Install a strain relief for the power cord or direct wire connection.
Connect the power supply cord to the dishwasher's terminal box.
Route the power cord into the terminal box.
Connect the ground wire to the green ground connector.
Connect the black and white wires using twist-on connectors.
Secure the power cord using the conduit connector and strain relief.
Reinstall the terminal box cover after making electrical connections.
Measure the height of the cabinet opening for proper fit.
Adjust the dishwasher's wheels and leveling legs for height.
Add shims to account for built-up floors to achieve correct height.
Secure the dishwasher to the countertop using brackets.
Remove attachment brackets from the top of the dishwasher.
Attach the dishwasher door handle to the mounting studs.
Stand the dishwasher upright with assistance.
Carefully move the dishwasher into the cabinet opening.
Verify correct placement of water and drain hoses.
Open and close the door to check tension adjustment.
Adjust door spring tension if the door closes too quickly.
Adjust door spring tension if the door falls open.
Slowly slide the dishwasher completely into the cabinet opening.
Align the front of the dishwasher door with the cabinet doors.
Tighten the 90° elbow fitting to the water valve.
Turn on water supply and check for any leaks at the connection.
Connect the drain hose to the appropriate fitting.
Secure the drain hose connection with a clamp.
Ensure the drain hose clamp is in the correct final position.
Route the direct wire cable into the terminal box.
Connect the ground wire to the ground connector in the terminal box.
Connect the black and white wires for direct wiring.
Secure the direct wire cable using the strain relief.
Reinstall the terminal box cover after direct wiring.
Verify the dishwasher is properly aligned in the cabinet opening.
Remove rack and place towel to prevent screws from falling.
Secure the dishwasher to the countertop using screws.
Check that the top of the door does not interfere with anything.
Ensure even spacing between the cabinet and dishwasher tub.
Verify sides of the door do not rub when using side attachment.
Reinstall the dishwasher access and lower panels.
Ensure the lower panel edge contacts the floor.
Tighten screws securing the access panels.
Verify all installation steps are completed and tools are accounted for.
Run a short wash cycle to check proper operation.
Troubleshoot common problems like breaker, door latch, or water supply.
Understand that new dishwashers may have longer cycles for efficiency.
Use rinse aid for optimal drying performance and to manage hard water.
Address flashing Start/Resume light by closing door within 3 seconds.
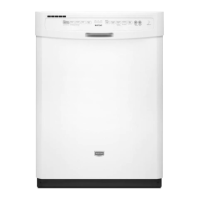
| Type | Built-In |
|---|---|
| Capacity | 14 Place Settings |
| Control Type | Electronic |
| Number of Wash Cycles | 5 |
| Decibel Rating | 49 dBA |
| Drying System | Heated Dry |
| Energy Star Certified | Yes |
| Color | White |
| Warranty | 1 Year Limited |
| Depth | 24.5 inches |
| Height | 34.5 inches |
| Cycle Options | Normal, Heavy, Light, Rinse Only |
| Width | 23 7/8 Inches |