•
Contact Information — (Optional) Type the contact information.
•
Location — (Optional) Type the location.
5 Click Save. The added Sensor is displayed on the Add and Remove Devices page.
Congure Sensor information
Congure the Sensor with the network information, a name, and the shared secret key that the Sensor uses to
establish secure communication with the Manager. Use the name and key values you set in Step 8- Add the
Sensor to the Manager.
The rst time you congure a Sensor, you must have physical access to the Sensor.
At any time during conguration, you can type a question mark (?) to get help on the Sensor CLI commands. For
a list of all commands, type commands.
Task
1
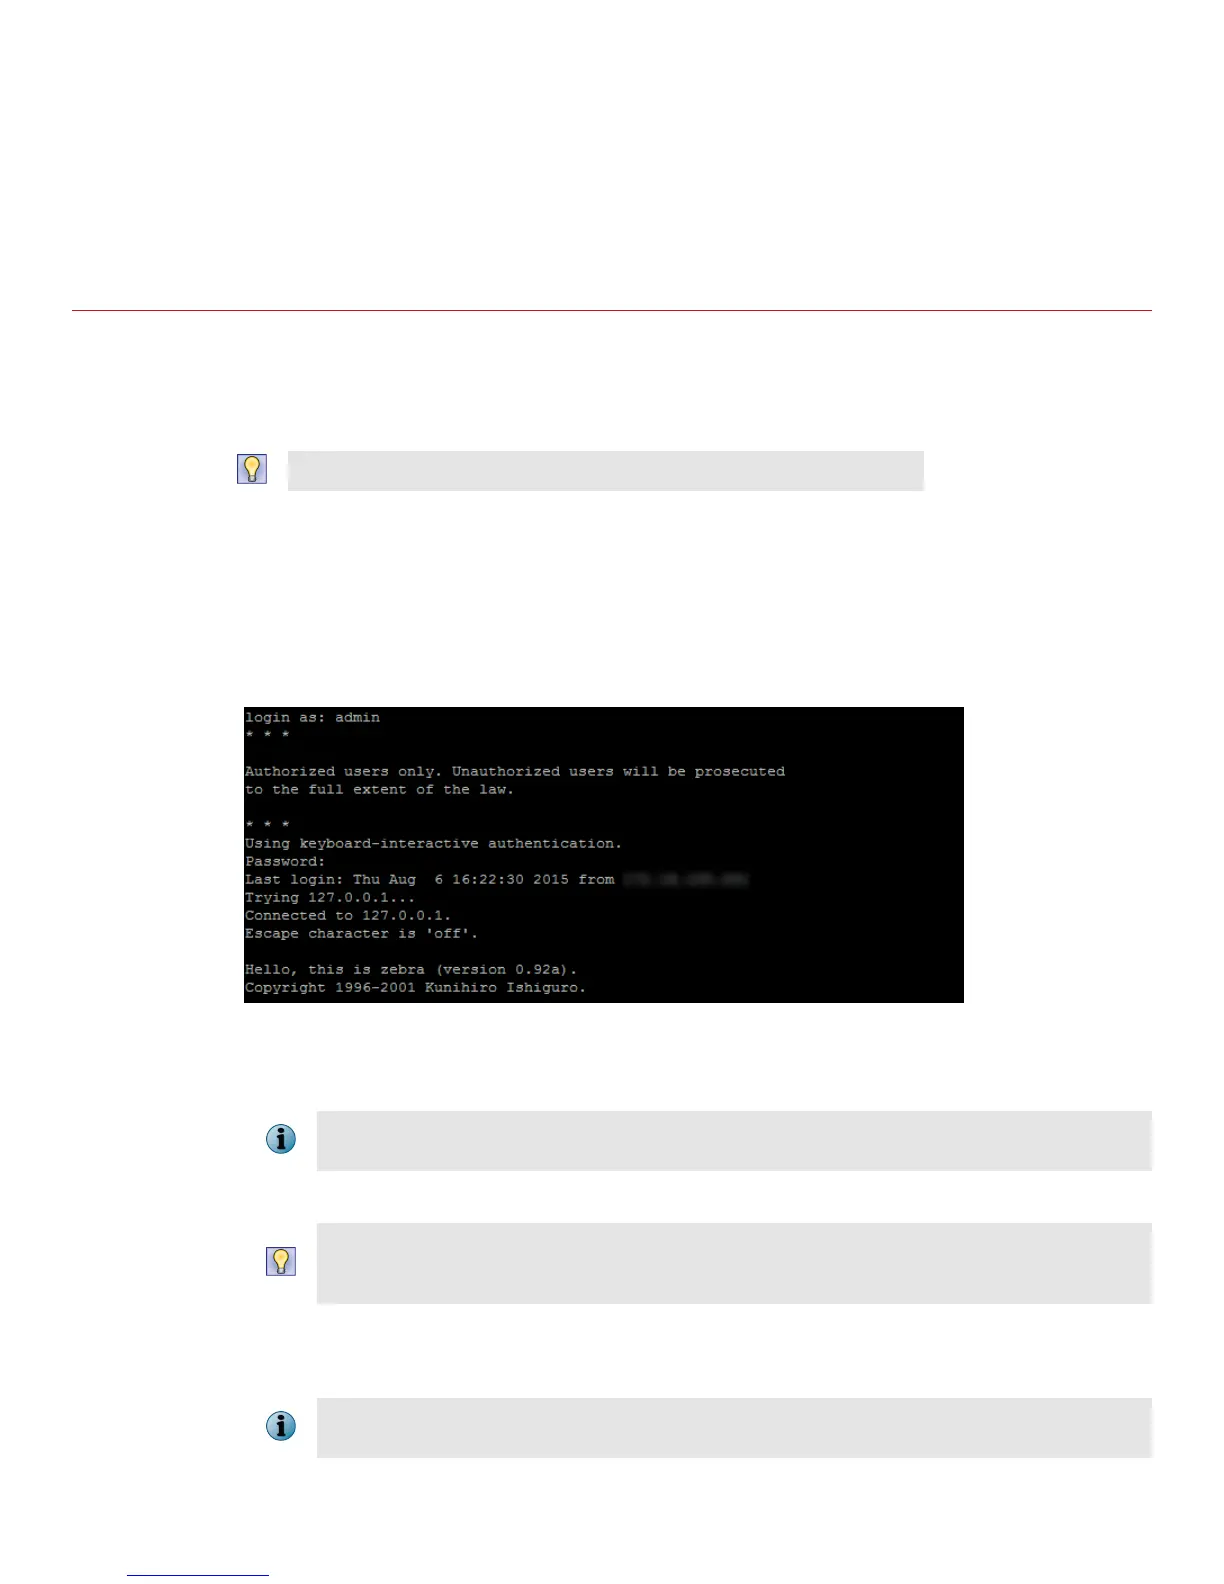
Log on to the Sensor using the terminal connected to the Console port.
2
At the prompt, log on using the default Sensor user name (admin) and password (admin123).
3
Optional, but recommended. Change the Sensor password. At the prompt, type: passwd.The Sensor prompts
you to enter the new password and prompts you for the old password.
A password must contain between 8–25 characters, is case sensitive, and can consist of any alphanumeric
character or symbol.
4
Set the name of the Sensor:
You can enter the setup command at the prompt. This automatically prompts you to provide the information
shown in items d through g and item j. Alternatively, you can use the set command. If you use the set
command, manually enter the complete command syntax as shown in items d through g and item j.
At the prompt, type: set sensor name <word>.
Example: set sensor name HR_sensor1
The Sensor name is a case-sensitive character string up to 25 characters. The string can include hyphens,
underscores, and periods, and must begin with a letter.
10
 Loading...