≥
300mm
≥
400mm
PULL PULL PULL PULL
≥
1000mm
≥
250mm
≥
5
0
0
m
m
Ceiling mounting
Floor standing mounting
1
0
m
m
1
6
6
m
m
10mm
1
0
m
m
10mm
1
0
3
0
0
3
0
0
6
2
1
1
0
Ceiling
Top panel
●
To check the accessories are ready
●
●●
● To choose the location for installation
●
●●
● To install the hook
●
●●
● To install the indoor unit
●
●●
● To install the refrigerant piping
If units expose to air more than 15 s, units shall be vacuumed firstly;
●
●●
● Duct working design
Well designed duct working can reduce noise level and efficiency; when doing this, please consider the internal air pressure drop shall equal
to internal static pressure, otherwise air flow may be too big or too small, and cause the unit failure; It could adjust the fan speed to make them in
balance;
●
●●
● Installation of drainage piping
a) Slope is required as 1/100 ;
b) To use suspending bolt to fix the long drainage piping;
c) After installation, to run the leakage test is necessary;
d) Only in cooling mode, there is a need to detect the status of drainage;
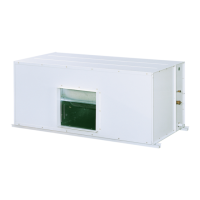
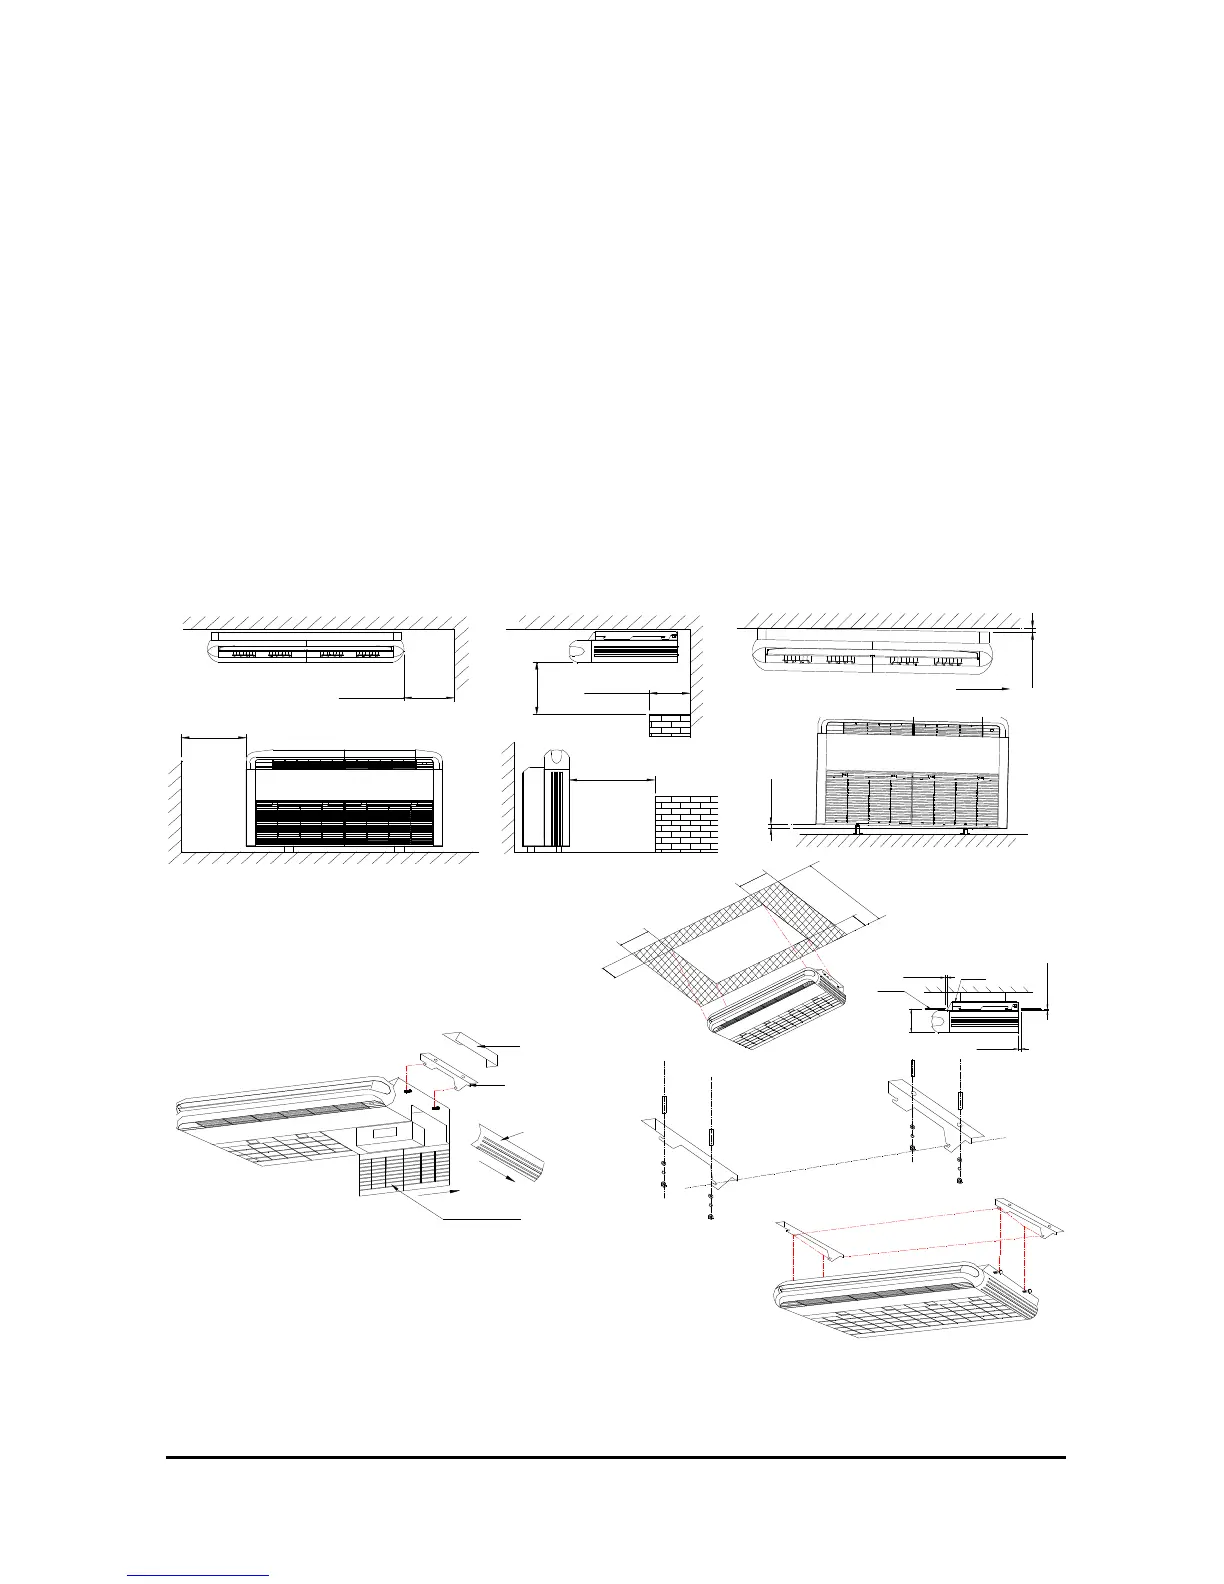
6.2.4 Installation of MCM-T series indoor unit
●
To check the accessories are ready
● To install the indoor unit
There are two type of installation : vertical floor standing or horizontal ceiling mounting:
If the indoor unit is installed as right below , ensure the space for service :
● Horizontal Ceiling mounted
(
1
)
To remove the air return grill , frame , side panel
and suspending panel as shown as below:
(
2
)
To fix the suspending panel with screw bolt as shown as right above figure;
(
3
)
To fix the panel and screw bolt and install the piping , install the air return grill and frame;
(
4
)
To install the MEX box, this series product need connect a MEX box out of the machine,
please refer to page 7 of this manual;
●
●●
● Vertical floor standing
(
1
)
Remove the air return grill , frame , side panel and suspending panel:
(
2
)
To install the unit supporter and wall suspending panel, as shown right:
1
0
m
m
Drainage direction
Air return grill
Frame
Suspending
panel
Panel side
 Loading...