GETTING STARTED
7
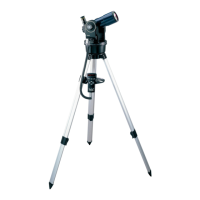
compartment and replace the lid.
CAUTION: Use care to install batteries as indicated
by the battery compartment. Follow battery
manufacturer’s precautions. Do not install batteries
backwards or mix new and used batteries. Do not mix
battery types. If these precautions are not followed,
EDWWHULHVPD\H[SORGHFDWFK¿UHRUOHDN,PSURSHUO\
installed batteries void your Meade warranty. Always
remove the batteries if they will not be used for a long
period of time.
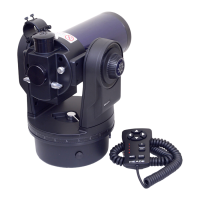
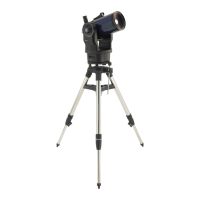
Secure Vertical and Horizontal Locks
67LJKWHQWKH YHUWLFDO DQG KRUL]RQWDO ORFNVWRD ³¿UP
feel” only, do not over-tighten. These locks engage the
telescope motors so the ETX can be moved using the
AudioStar hand controller.
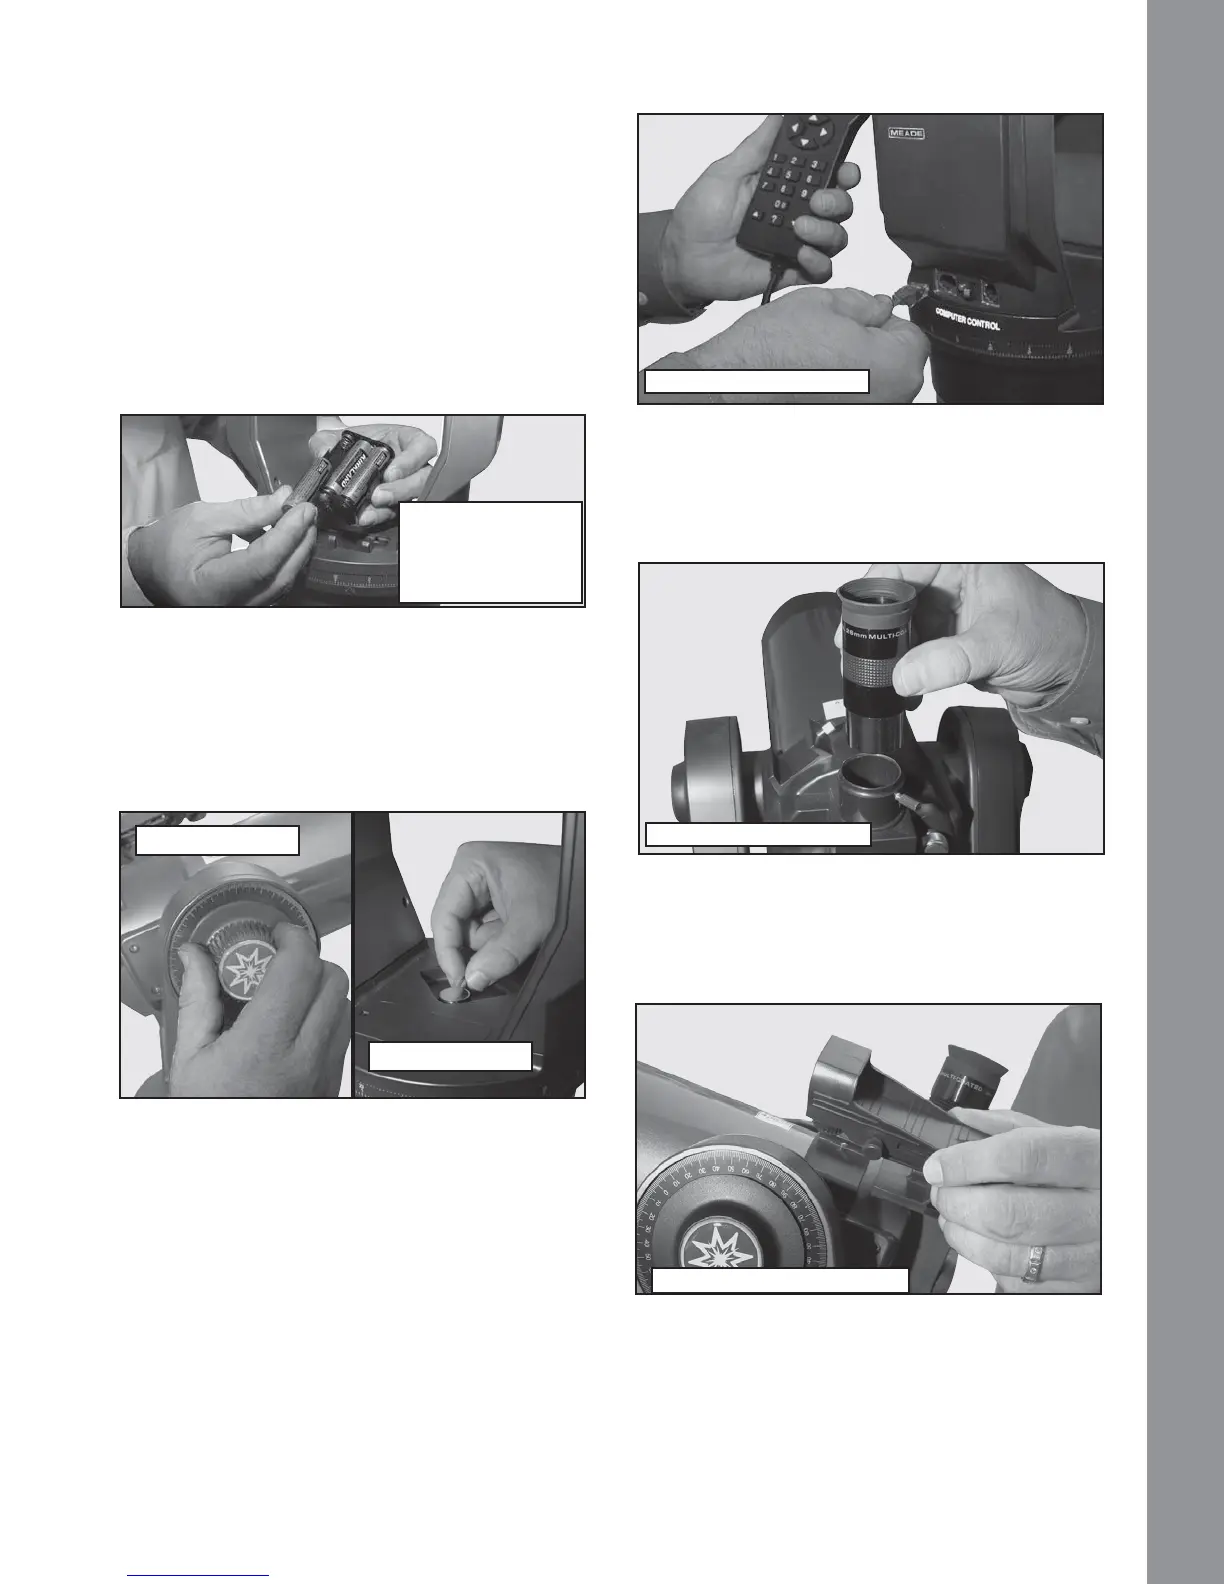
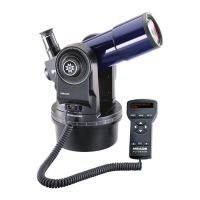
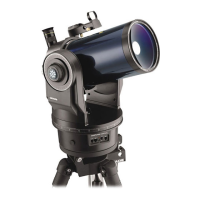
Attaching Accessories
7 Be sure the telescope master power switch is in
the off position. Remove the AudioStar handbox and
the coiled interface cable from the packing materials.
Plug one end into the HBX port of the control panel
and plug the other end into the Handbox port on the
AudioStar handbox.
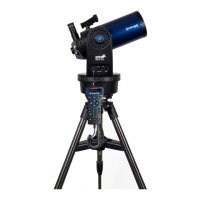
8 Place the 26mm eyepiece into the eyepiece
holder on the telescope and tighten the attachment
WKXPEVFUHZWRD³¿UPIHHO´RQO\
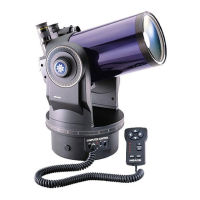
9 6OLGH WKH 5HG 'RW 9LHZ¿QGHU LQWR WKH VORWWHG
holder on the top surface telescope and tighten the
DWWDFKPHQWWKXPEVFUHZWRD³¿UPIHHO´RQO\
Your Telescope is now Fully Assembled.
Follow the battery
polarity (orientation)
as indicated by the
molded icons
Vertical Lock
Horizontal Lock
Connect the Audiostar
Insert the eyepiece
$WWDFKWKH5HG'RW¿QGHU