Align with AudioStar™
The handbox will show “Press 0 to Align, Mode for Menu”.
Press 0 to perform a night sky alignment.
Press MODE to navigate AudioStars menus to set date, me, and locaon
informaon. This will allow accurate go-to poinng and track-
ing.
Refer to the full LX85 instrucon manual for more informaon
about the usage of the AudioStar and its features.
hps://www.meade.com/content/lx85-support-resources
STEP
15
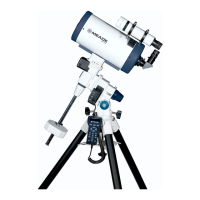
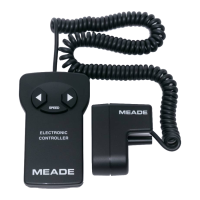
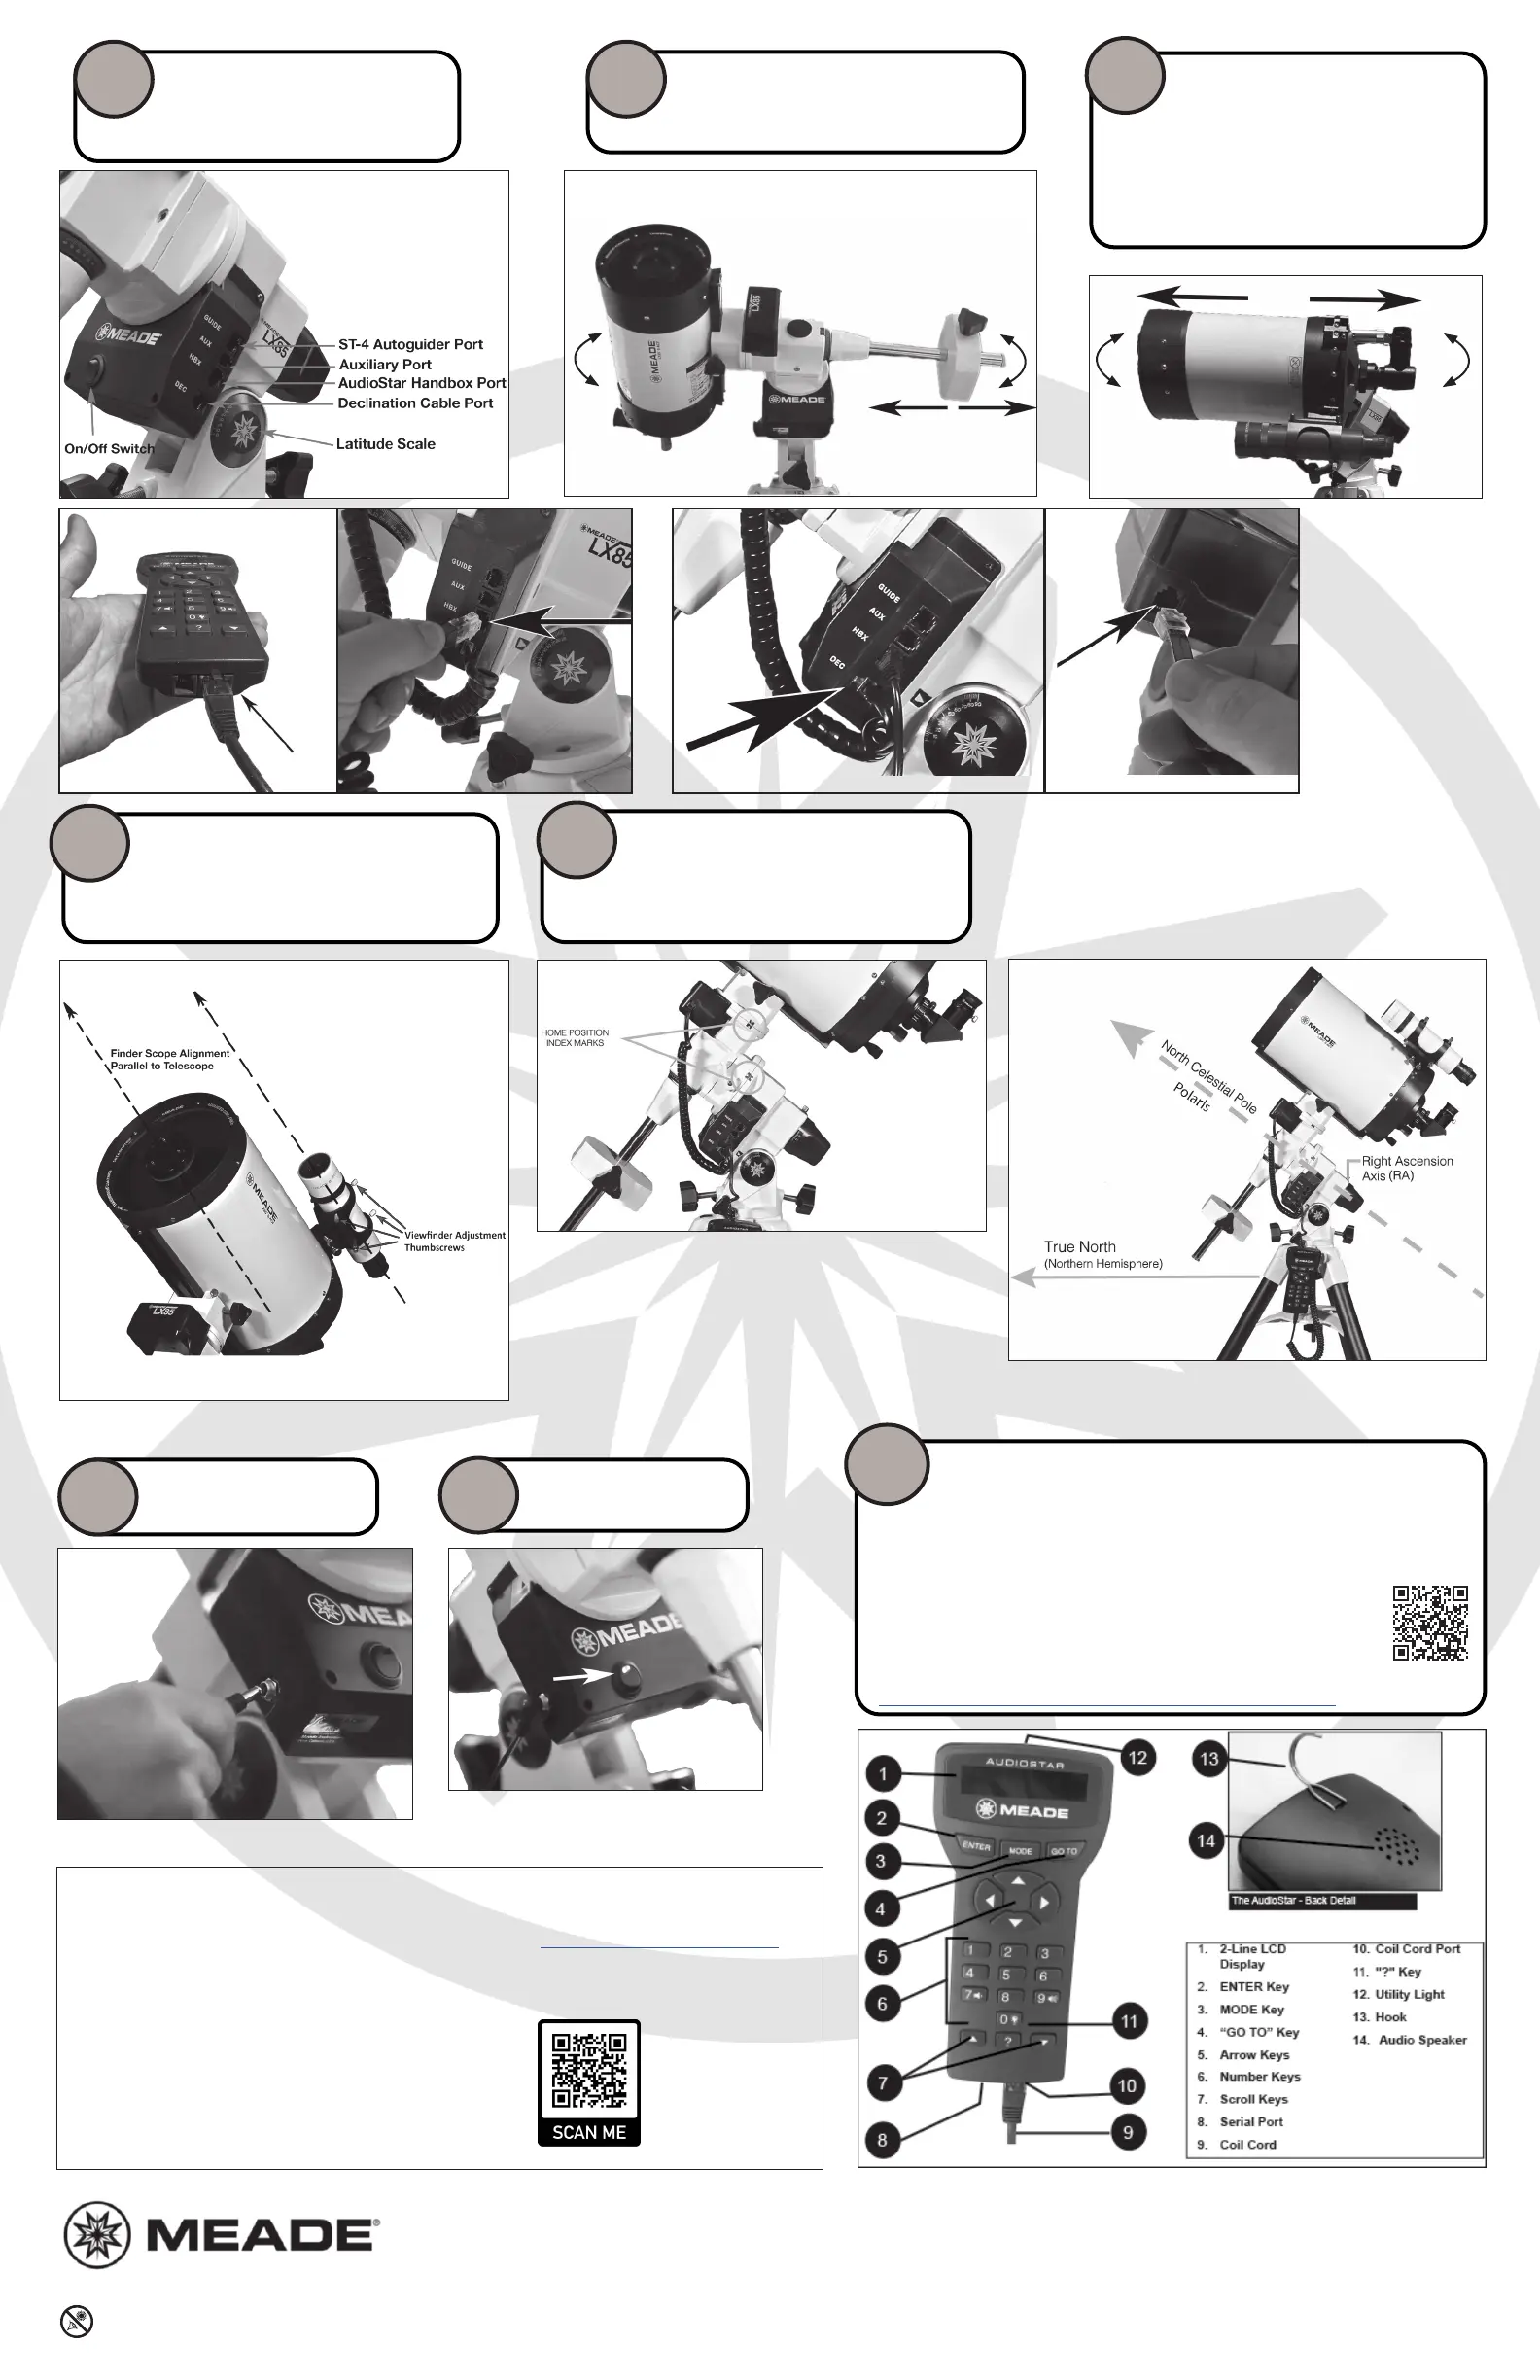
Connect the AudioStar and Cables:
AudioStar to ‘HBX’
Declinaon Cable to ‘Dec’.
See below images for reference.
STEP
8
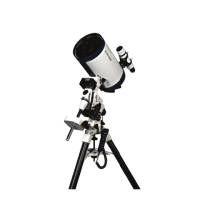
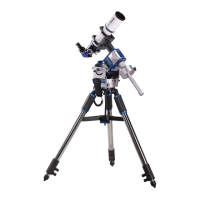
Balance the R.A. Axis
Unlock the R.A. Lock Lever and posion
horizontally. Reposion Counterweight as
needed to balance RA axis.
STEP
9
Balance the Dec Axis
Unlock the Dec Lock Lever, and
posion horizontally. Reposion the
opcal tube forward/backward as needed
unl opcal tube does not rotate when DEC
axis is unlocked.
NOTE: When making adjustments, always put
the scope into the Home posion, then adjust.
STEP
10
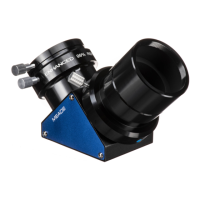
Align the Viewnder
Center a distance object in the eyepiece.
Don’t move the telescope and use the view-
nders adjustment screws to center the view-
nder on the same object.
STEP
11
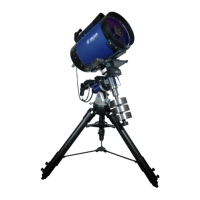
Looking at or near the Sun will cause irreversible damage to your eye. Do not point this telescope at or near the Sun.
Meade Instruments Warranty
The Meade Instruments Statement of Limited Warranty is published at: www.meade.com/supports/warranty/
A printed copy of the Meade Statement of Limited Warranty will be made available by Meade upon written
request. See below for Meade contact information.
Warranty Claim
Meade Instruments
89 Hangar Way
Watsonville, CA 95076 U.S.A • +1 (800) 626-3233
customerservice@meade.com • SUBJECT: Warranty Claim
89 Hangar Way, Watsonville, CA. 9507689 Hangar Way, Watsonville, CA. 95076
(800)626-3233 www.meade.com(800)626-3233 www.meade.com
Rough Polar Alignment
Align the Home Posion Index Marks.
Point tripod assembly North (for northen
hemisphere). This is the Home Posion and
the telescopes starng posion.
STEP
12
Connect to a 12V DC Power
Source.
STEP
13
Power the Mount On.
STEP
14
14-2721-00 REV0 8/2022
Starng Home Posion
Dec CableDec CableHBX CableHBX Cable
SCAN ME
 Loading...