MediaStar 782-DS Digital Media Player
Quick Start Guide
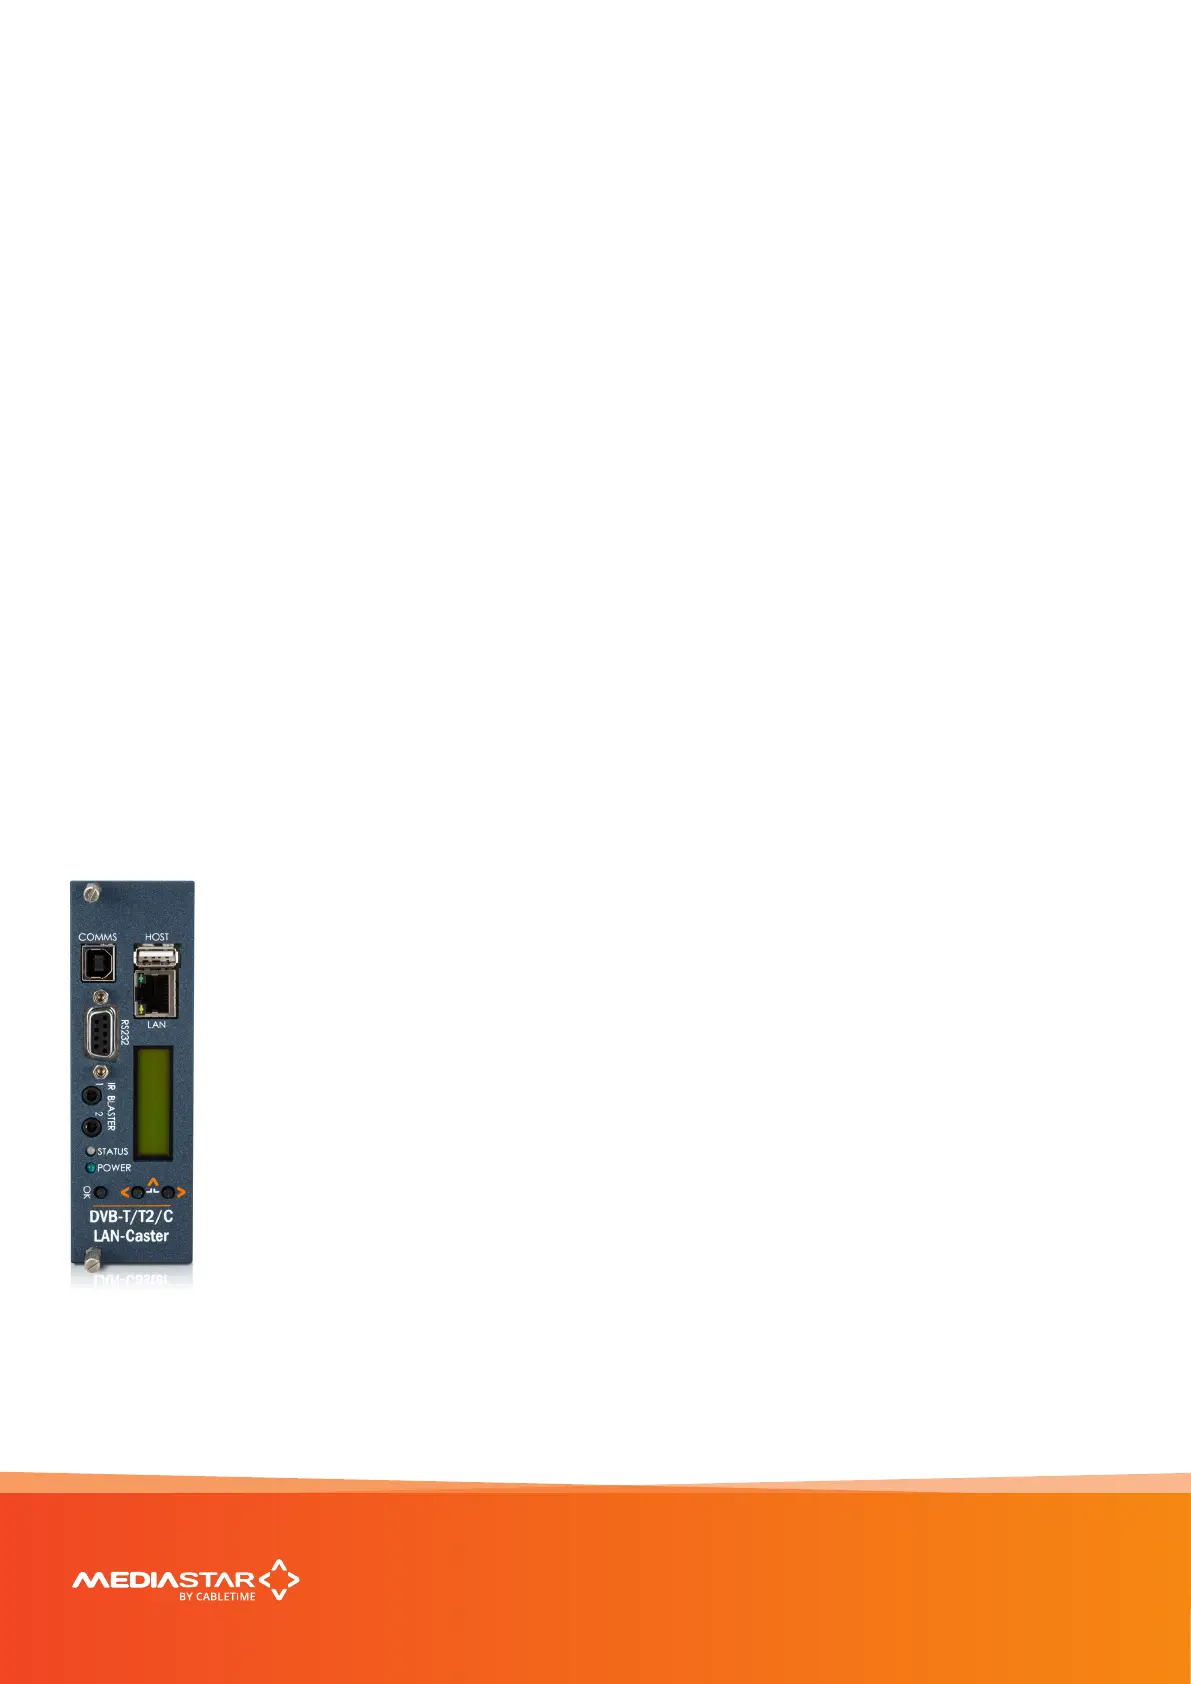
783 DVB Lan-Caster Unit
200-2342_v2
3/12
Connecting Terrestrial RF
Connection of the MediaStar 783 LAN-Caster directly or indirectly to a roof top antenna without suitable protection
devices can leave the unit vulnerable to lightning strike/ atmospheric electrical discharge that may result in damage
and void the manufacturer’s warranty.
To minimise the possibility of damage from atmospheric electricity always: -
Follow best practice as dictated by your local electrical code and/or trade association.
• Use coaxial over voltage protection units.
• Bond all masts and antennas to the building protective earth and where available, the lightening protection system.
• Ensure that the screensd of all coaxial cables entering and leaving the headend and/or ampliers are bonded to the
protective earth.
• Unplug this apparatus during lightning storms or when unused for long periods of time
Connect your RF source into the RF IN F-connector on the rear of the unit, and ensure it is tightened up. The RF OUT
F-connector outputs the received signals so the RF can be looped through and passed on to other 783 units.
For terrestrial RF, the RF OUT F -connector outputs the received signals so the RF can be looped through and passed
on to other 783 units.
For Cable TV, it recommended that RF loop through is not used, and that a separate Cable TV feed is provided for each
DVB-C unit using external splitters.
Note: Reliance upon the MediaStar 770 rack safety earth provided by the AC power cord alone is insucient to
protect the unit from atmospheric voltage discharges.
Conguring the LAN-Caster’s IP Address
A suitable IP address should be selected before connection to a network. The LAN-Caster unit is precongured with
a static IP address of 191.53.51.209. This will need to be recongured if it is not suitable for your network.
Use the front panel LCD and push buttons to set the IP address settings.
Press the front panel < (LEFT) and > (RIGHT) buttons to move through the LCD menu options.
Press the OK button to select a menu or conrm a change. Press the < (LEFT) and > (RIGHT) buttons
together to move back up a menu level.
1. Press the < (LEFT) to show the IP Settings menu and press OK to enter the menu.
2. Press < (LEFT) and OK to select the static IP address settings.
3. Press OK to edit the current static IP address; Use the < (LEFT) and > (RIGHT) buttons to select
the appropriate digit and press OK to conrm it. The next digit can then be edited in the same
way. Once the last digit is entered, the IP address is checked and then applied.
4. The IP netmask, gateway and DNS server can be set in the same way.
Note: The MAC address of the unit can be found under the Unit Details/MAC Address menu,
or on the label on the bottom face of the unit.
 Loading...