33
IMPORTANT:
Do not charge the battery immediately
after use. Allow the battery to cool before
charging.
If the battery does not charge
4. Test the power point with a lamp or other
product.
5. Move the charger and battery to an area
where the temperature is 18–24°C.
6. If you still have charging problems,
hand in the product and charger to an
authorised service centre.
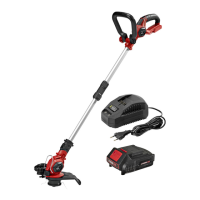
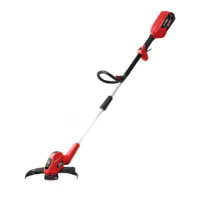
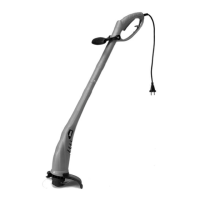
INSERTING
/
REMOVING THE
BATTERY
NOTE:
Remove the battery before maintenance,
replacing accessories and/or cleaning.
1. Check that the power switch is in the
OFF position.
2. Press the battery lock on the end of
the battery and remove the battery
from the product.
3. Align the battery ridges to the slots in
the casing, and press the battery in
place. Press in the battery all the way
until it clicks into place.
4. Never attempt to force the battery
in place. If it is not easy to press it in
place, it is not properly aligned.
STARTING
/
STOPPING
1. Press the start lock and then press the
power switch to start.
2. Release the power switch on the
handle to stop.
ADJUSTING THE ANGLE OF THE
TRIMMER HEAD
The angle of the trimmer head can be adjusted
from 0° to 90°. The 90° angle is intended for
edge trimming.
1. To change the angle, rst push up the
control to adjust the trimming angle.
2. Keep the control pressed in while
turning the trimmer head.
3. Release the control when the trimmer
head is in the required position.
4. Make sure the control goes back to the
original position so that the trimmer
head locks.
FIG. 2
EDGE TRIMMING
1. Set the trimmer head to an angle of
90°.
2. Make sure that both wheels (see
arrows) rest on the ground during the
work.
FIG. 3
MAINTENANCE
NOTE:
Remove the battery before cleaning.
• Clean the product with a cloth moistened
with a mild detergent.
• Do not immerse the product in water or
any other liquid, and do not splash with
water or any other liquid.
• Make sure no liquid gets into the product.
• Do not use a high-pressure jet to clean the
product.