5
Assembling the Freedom Flyer
Safety Warnings
The spinning propeller on this aircraft can be dangerous
and should be treated with respect and caution! Use
extreme care when operating your airplane. Keep your hands,
fi ngers and any article of clothing away from the propeller.
This model is designed to be fl own only in calm conditions (wind
speeds of 10 mph or less). Attempting to fl y your aircraft in winds
above 10 mph will result in a crash!
Assembling Your New Freedom Flyer
Items Required to Complete Your Freedom Flyer:
• 8 AA alkaline batteries
• Transparent tape
• Felt-tip marker
• Small Phillip’s Head screwdriver
Step 1: Assemble the Landing Gear
Grasp the legs of the main landing gear. Gently squeeze the legs
together, and then push the gear into the slot on the bottom of the
fuselage. See Figure 2.
Press fi rmly, but gently,
until it is in all the way.
Then release the pressure
on the gear legs and give
them a gentle tug to make
sure they are secure. To
remove the main gear,
simply squeeze the gear
legs together to release the
gear from the housing and
pull it out of the slot.
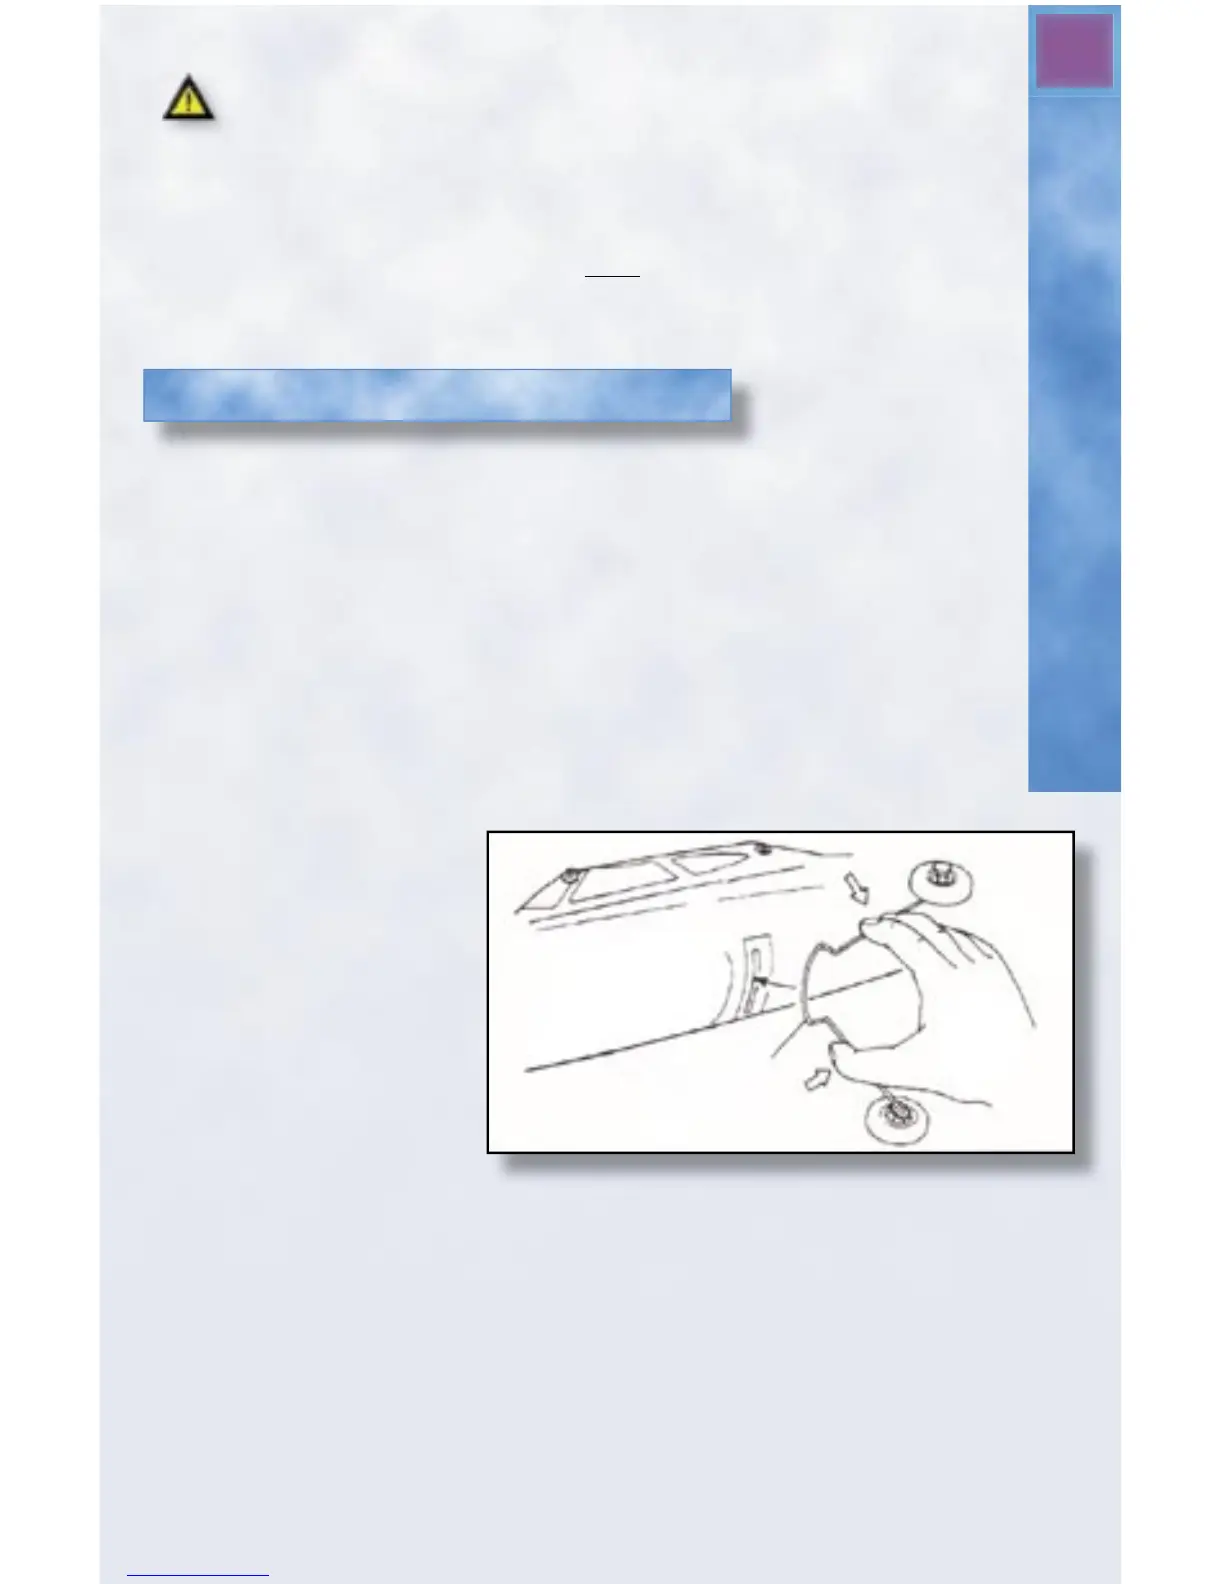
Step 2: Assemble the Tail Surfaces
Locate the horizontal stabilizer from your kit. Remove the tape backing
and carefully slide the horizontal stabilizer into the slot located at the rear
of the fuselage as shown in Figure 3. The elevator control horn should be
pointing upward. Route the antenna under the horizontal stabilizer, so it
exits from the indentation in the rear of the fuselage. Make certain that the
stabilizer is perfectly level and 90 degrees to the vertical fi n as indicated in
the picture. When the horizontal stabilizer is properly aligned, use a small
Figure 2 - Squeeze legs until gear fi ts into slot.
 Loading...