3. To avoid the possibility of electric shock, do not press the TEST button or touch the fuse when
changing batteries.
4. To remove the rear cover, release the screw at the bottom of the cover and lift the cover upwards.
5. Remove the exhausted cells and dispose of in an appropriate manner.
6. Refit new batteries of the correct type observing the correct polarity as marked on the battery
compartment.
7. Replace the instrument back cover and secure by tightening the retaining screw.
Re-enabling the battery charging circuit on the DET4TR2 and DET4TCR2
If the DET4TR2 and DET4TCR2’s rechargeable batteries are replaced with alkaline batteries the instrument
may automatically disable its charging circuit to prevent inadvertent charging of non-rechargeable cells.
Follow the instructions below to switch the charger back on when the NiMH cells are re-inserted.
1. Switch the instrument on in to the 4P position while holding down the TEST button. The display
will carry out a self test then briefly display the software version number.
2. The screen will show the letters ‘tst’ – release the TEST button.
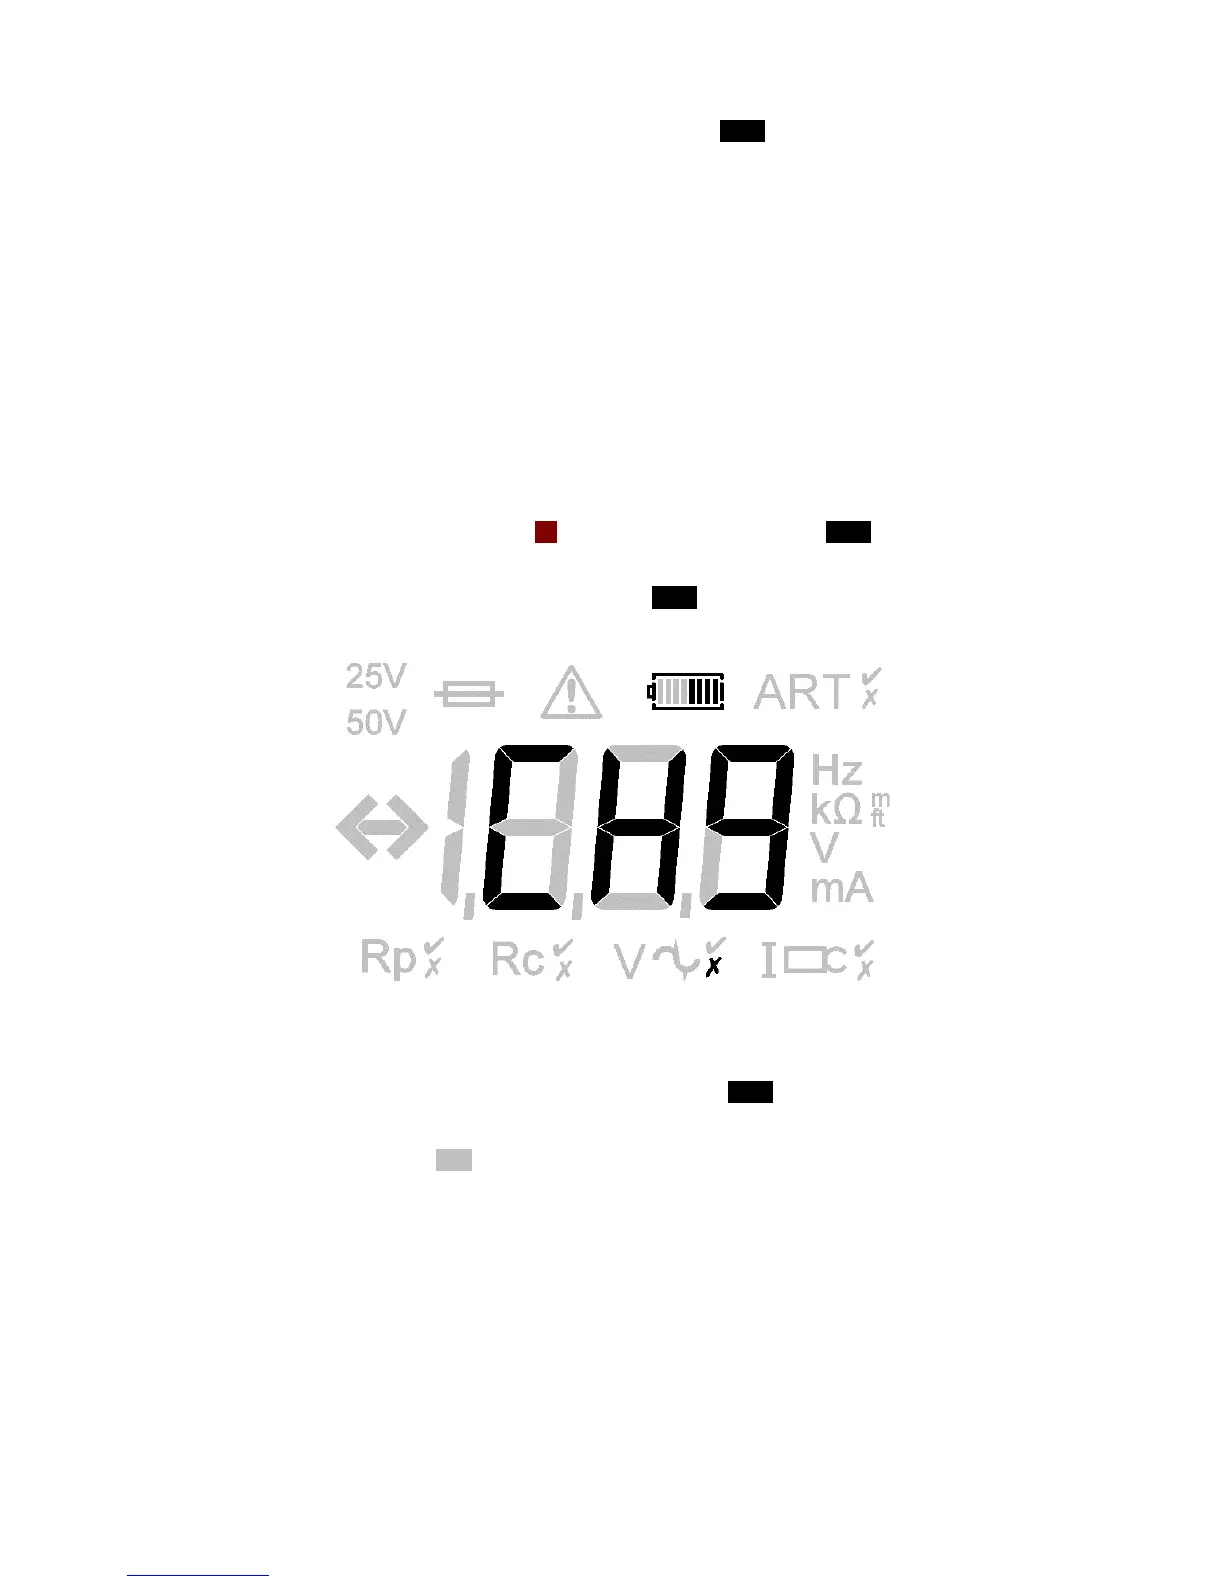
3. The Charger Enable Screen will be shown (see below)
4. The state of the charger circuit is shown by either a cross or a tick being shown below the letters
‘CHg’. A cross indicates that the charger circuit is disabled.
5. If the cross is shown, re-enable the charger by pressing the TEST button once (the cross should
change to a tick).
6. Switch the instrument OFF to save the new setting.