6 7
EN
LIMITED WARRANTY
In addition to the legal warranty claims, to which
the end user is entitled relative to the seller, for
the device, if it was purchased from a dealer
authorized by Wabilogic Inc. due to his consulting
competence, we grant a manufacturer’s warranty
under the following conditions:
1 year limited warranty from the date of original
purchase.
1. This warranty extends only to the original
retail purchaser or gift recipient.
Keep the original sales receipt, as proof of
purchase is required to make a warranty
claim.
2. Defects that occur due to improper
connection, improper handling or repair
attempts by non-authorized persons are
not covered by the warranty. The same
applies for failure to comply with the use of
consumables (e.g. cleaning and descaling
agents) that do not correspond to the original
specications. Wear parts (e.g. seals and
valves) and fragile parts are excluded from
the warranty.
3. This device was designed and built for
household use only. It is not suitable for other
uses.
4. Warranty does not cover damages that are
not the responsibility of the manufacturer.
This is valid especially for claims arising from
improper use (e.g. operation with insucient
current or improper voltage).
Note: Carafe can be taken out for coee serving
during the brewing. However, carafe needs to be
placed back to the appliance not longer than 20
seconds to avoid coee overow.
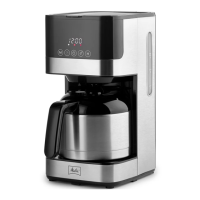
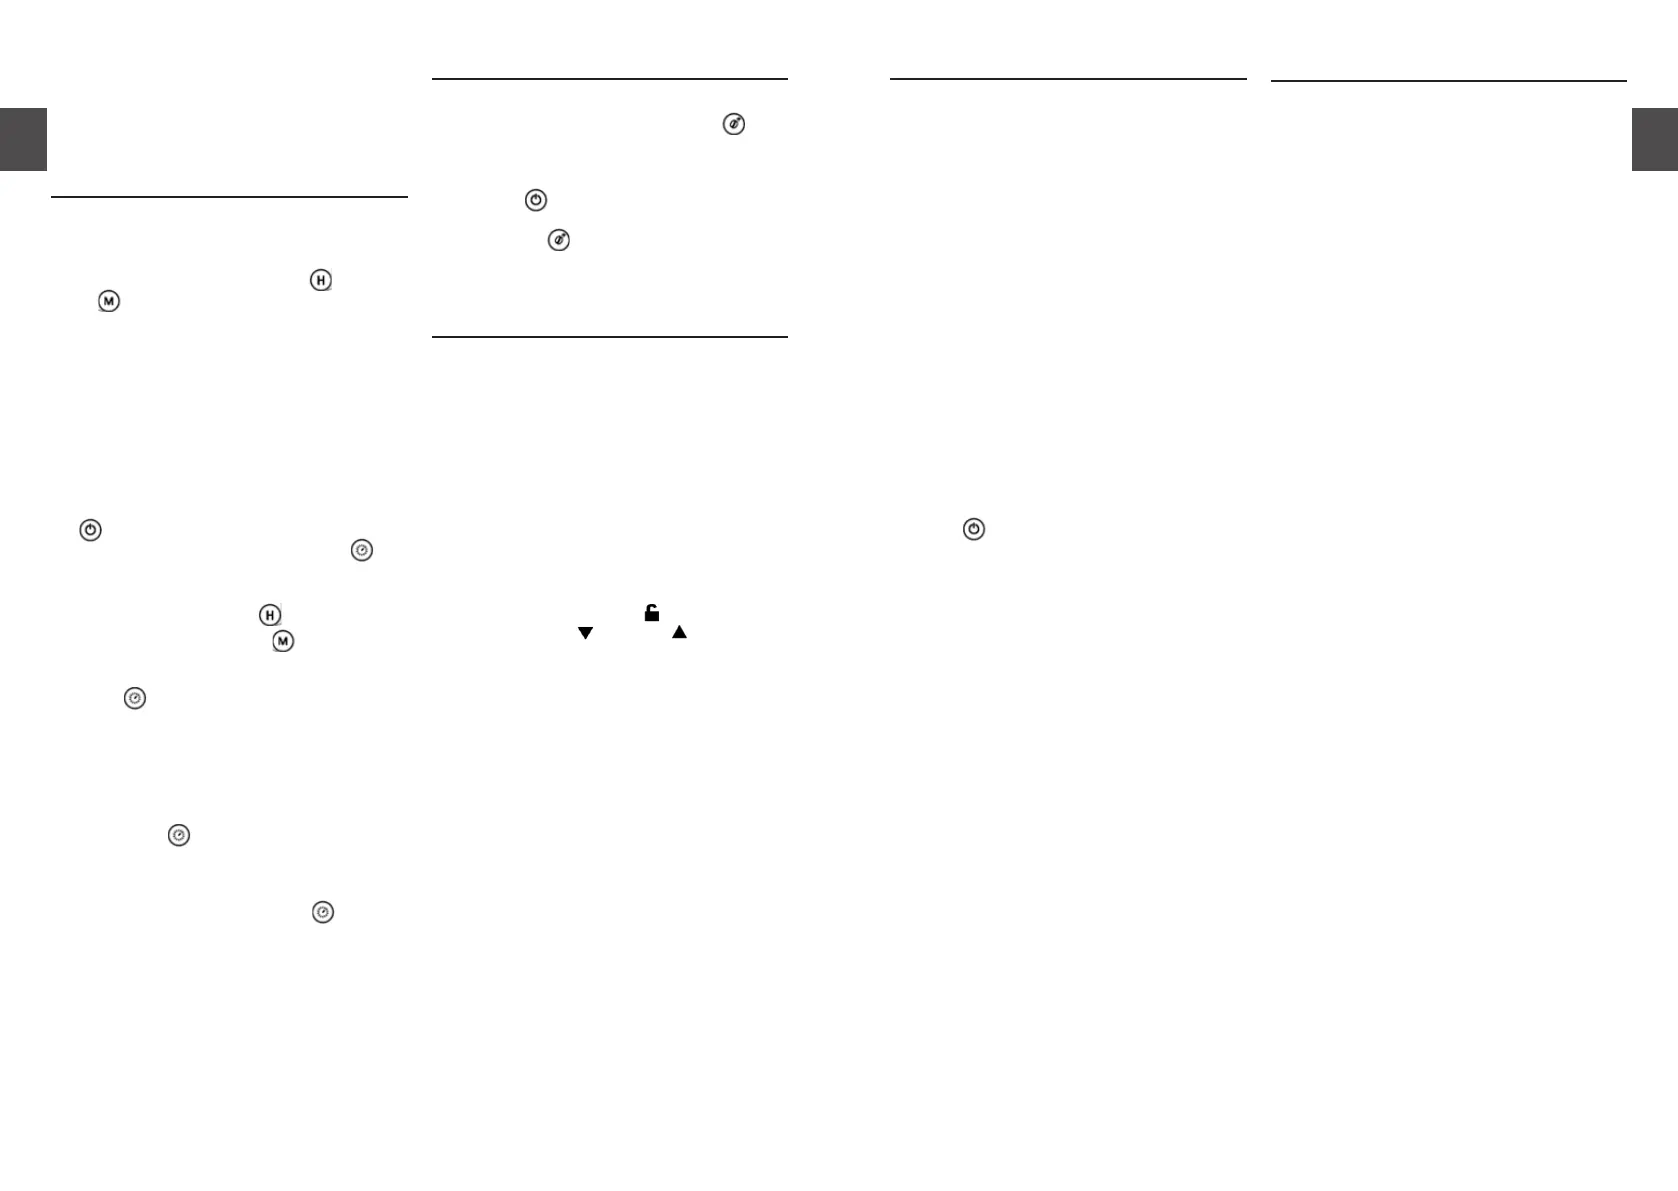
3. CLOCK AND TIMER FEATURE
SETTING THE CLOCK
When the coee maker is plugged in, the display
will show 12:00 ashing.
y Set the clock by pressing either button (R)
or button (N) repeatedly until the desired
time is reached. Or hold the icons down to
scroll through the digits quickly.
The time is only displayed in 24-hour format.
(Fig.7)
SETTING THE TIMER
The appliance is equipped with a TIMER feature.
This allows you to start brewing coee
automatically at the time you set.
y Prepare the appliance as described in Section
2 ‘COFFEE PREPARATION’ without pressing
button (P) for brewing.
y Set the desired start time by pressing
button (O) and PROG indicator (K) will ash in
white. (Fig.8)
y Set the hour by pressing button (R) and
set the minute by pressing button (N)
repeatedly. Or hold the icons down to scroll
through the digits quickly. (Fig.8)
y Press button (O) again, the PROG
indicator (K) will turn white.
y After a while, the display will show the current
time.
y The appliance will automatically start to make
coee at the time you have set. ON/OFF
indicator (L) will turn red.
y By pressing button (O), PROG indicator
light (K) will go o and the timer feature will
be deactivated.
y If you want to change the timer feature, follow
the above steps by pressing the
button
(O). The PROG indicator (K) will ash in white
and you can start to set a new brewing time.
Note: The programmed start time is saved until a
new start time is set or the appliance is being
removed or unplugged from the power source.
6. CLEANING AND MAINTENANCE
EXTERNAL CLEANING
y Before cleaning always remove the plug from
the socket.
y Never immerse appliance or cord in water.
y The housing can be cleaned with a soft damp
cloth.
y The lter basket are dishwasher safe.
DESCALING
The mineral content of the tap water in your area
and the frequency of use aect the rate of the
calcium buildup, which can aect the functioning
of your coee maker and the avor of your coee.
For best performance from your coee machine,
we recommend cleaning it periodically.
y Follow the manufacturer instructions
regarding amounts and pour the descaling
agent into the water tank. We recommend
using Melitta
®
Anti Calc Filter Café Machines
or half a tank of white vinegar and top it o
with clean water. Please do not exceed the
MAX level.
y Press button (P) and let the appliance
brew the descaling solution.
y After brewing, the appliance will turn o
automatically.
y At the end of the descaling process, the
appliance should be rinsed through twice,
using the maximum amount of water without
coee. This will remove any remaining
limescale deposits.
4. COFFEE STRENGTH
The default factory setting is regular coee.
y To select bold avored coee, press
button (Q) and COFFEE STRENGTH indicator
(M) will turn RED. (Fig.5) The appliance will
start brewing bold avored coee after
pressing button (P) (Fig.6) .
y The bold avored coee can be deactivated
by pressing button (Q) again.
y COFFEE STRENGTH indicator light (M) will
go o and back to default setting.
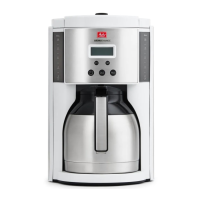
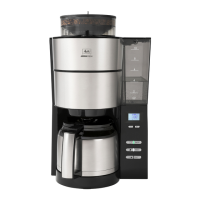
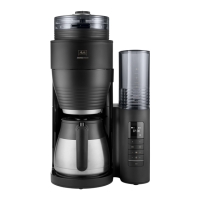
5. THERMAL CARAFE
• Never immerse carafe in water of clean it in
dishwasher. Rinse with hot water only after
each use.
• Clean tenacious staining with special
cleaner.
• Use a soft damp cloth to clean the exterior.
• Not lay down the lled carafe, liquid may
come out.
• Do not place the carafe on a hotplate.
• Do not use the carafe in microwave oven.
• Do not use the carafe for storage of milk
products or baby food, bacteria may de-
velop.
• To remove the carafe lid , turn the lid anti-
clockwise until align with .
• Make sure the carafe lid is closed properly
when pour the coee.
EN
 Loading...