EN
may be detected. After a short
time, this smoke will disappear.
To eliminate the smell given o by
the appliance when used for the
rst time, it is recommended to
have it on at full power for 2 hours
in a well-ventilated room.
USE
Extend the cable completely
before plugging it in.
Connect the appliance to
the mains.
Turn the appliance on, by using the
on/o switch (D).
Turn the appliance on, by using the
on/o button (7).
SET CURRENT DAY / TIME
The rst thing to do is to con gure
the day and time you are in.
Press the button for 3 seconds.
The display will show “d”. Press +/-
to select the day of the week (1-7):
- Monday (1)
- Tuesday (2)
- Wednesday (3)
- Thursday (4)
- Friday (5)
- Saturday (6)
- Sunday (7)
Press to con rm the day of the
week. Then, will appear on
the screen.
Press +/- to select the hour.
Press to con rm the time. Then,
will appear on the screen.
Press +/- to select the minutes.
Press to con rm the minutes
and nish the con guration.
–
–
–
–
–
–
–
–
–
–
–
–
–
–
–
–
–
–
–
–
–
–
–
–
NOTE: If the appliance is
unplugged, the clock and calendar
will be reset to factory defaults.
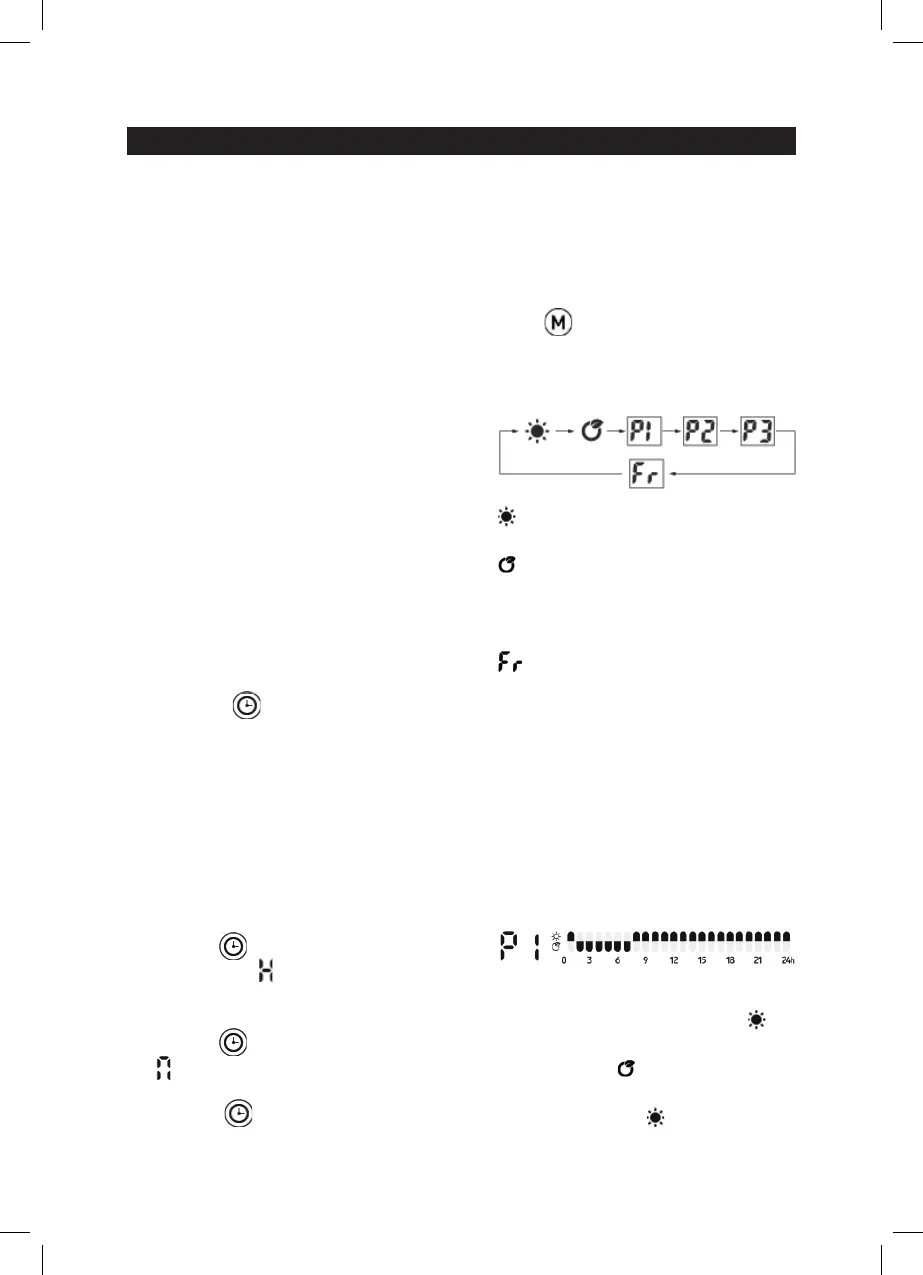
HEATING MODE
Press to select the desired
heating mode. By pressing
repeatedly, the device will change
mode in this order:
Comfort mode: press +/- to set
the temperature between 5-35˚C.
ECO mode: press +/- to set the
temperature between 1-31˚C.
P1 / P2 / P3: prede ned weekly
programs.
Anti-freeze mode: the
temperature cannot be adjusted
and it is by default 7˚C.
WEEKLY SETTING
NOTE: before starting the weekly
setting, the day and current time
must be set.
P1 (Monday – Sunday):
This program is default and cannot
be modi ed.
00:00 am - 01:00 am, the
appliance is in comfort mode
01:00 am - 07:00 am, the device is
in ECO mode
07:00 am - 00:00 am, the device is
in comfort mode
the day and time you are in.
Press +/- to select the minutes.