PAGE 14
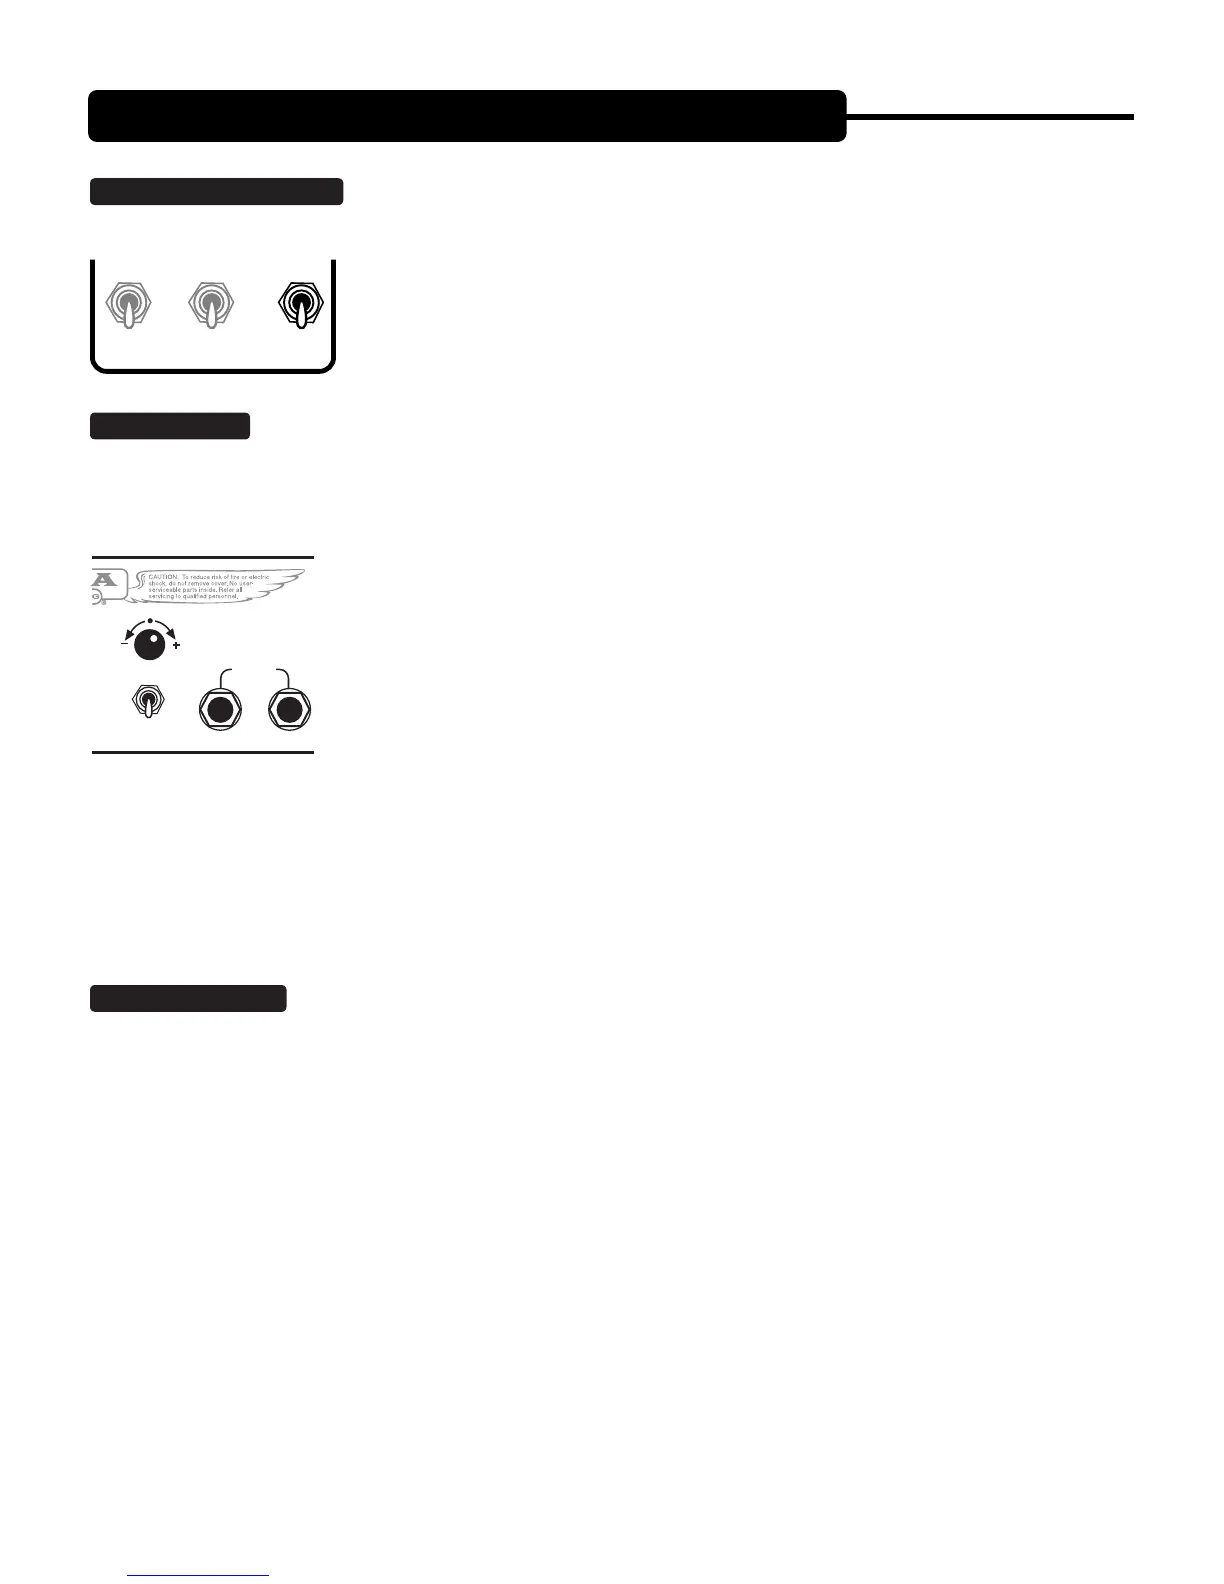
FX ON / FX OFF SWITCH:
This mini toggle switch in each Channel Strip assigns the Series EFFECTS LOOP and determines
its status in the signal path. Once the LOOP has been engaged, its Channel specific status is sent to the Front Panel FX LOOP LED
indicator that sits between the pairs of Channels for at-a-glance monitoring of its status. See the
EFFECTS LOOP section for more information on the LOOP.
NOTE: Remember that the FX LOOP must be engaged in the FX LOOP section of the Rear
Panel for signal to be routed via these switches.
EFFECTS LOOP:
Your Roadster is fitted with a Series Effects Loop for interfacing outboard processing. The Loop is placed at
the junction between the preamp and the power amp and is optimized for levels that will match up with most good quality processing
devices. A SEND LEVEL Control is provided to fine tune the signal strength coming from the preamp and allows for some compensa-
tion for extreme Channel MASTER settings.
Each of the four Channel Strips contain an Effects Loop Control switch labeled FX ON/FX OFF.
This mini toggle controls the status of the Effects Loop in each Channel once the LOOP has been
engaged via the master LOOP SYSTEM IN/LOOP BYPASS switch that is located adjacent to the
LOOP SEND and RETURN jacks. Selecting FX ON in a given Channel will engage the LOOP auto-
matically when that Channel is selected with either the Footcontroller or the Channel Select Rotary
switch. As mentioned earlier, the Front Panel OUTPUT (and SOLO) Control is part of the Effects
Loop Return stage and therefore these are not active when the Loop is switched out of the circuit.
The Loop may be switched out of the signal path completely using the LOOP SYSTEM IN/HARD
BYPASS switch located adjacent to the loop. This switch engages the Loop SEND and RETURN jacks, SEND LEVEL Control, OUT-
PUT and SOLO Control and all associated circuitry. When LOOP BYPASS is selected (switch up) the entire Loop is removed from
the signal path and the individual Channel MASTER Controls become your final output level controls. This HARD BYPASS feature
allows you to use your Roadster in all its raw glory in the studio where processing will be added later on a separate channel and you
need every ounce of pure, unfiltered, Tone for a magical performance.
NOTE: The FX LOOP switch must be set to LOOP SYSTEM IN for the TUNER MUTE function of the Footcontroller to work properly.
PATCHING EFFECTS:
1.) Connect the SEND to your processor’s INPUT.
2.) Connect the RETURN to your processor’s OUTPUT.
3.) Set the Four Channels to you dedicated sounds and levels using the Channel MASTER Controls.
4.) Select the individual Channels’ Loop Status in the corresponding Channel Strip
5.) Select LOOP SYSTEM IN on the LOOP Select switch.
6.) Set your processor’s INPUT Level control for unity gain.
7.) After playing in each channel, Adjust the Rear Panel SEND LEVEL to achieve a good unity gain peak level (remember that clean
sounds will peak a bit higher because of their more dynamic, less compressed nature).
8.) Adjust the Front Panel OUTPUT Control to the desired playing volume.
9.) Connect the Footswitch (to the Rear Panel FOOT CONTROLLER jack, select SOLO and adjust the SOLO Control for the desired
amount of volume boost.
REAR PANEL CONTROLS & FEATURES
(Continued)
DIODE
RECTO
TRACKING
100 WATTS
50
WATTS
FX ON
FX
OFF
FX LOOP
LOOP SYSTEM
ACTIVE
HARD BYPASS
LOOP, OUTPUT &
SOLO CONTROLS
NORMAL
SEND
LEVEL
SEND RETURN
 Loading...