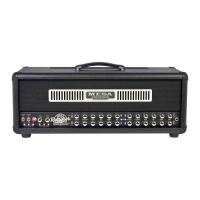
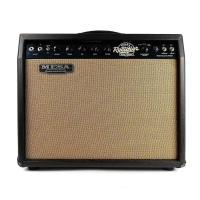
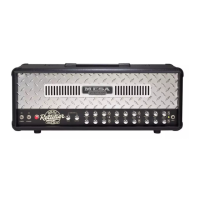
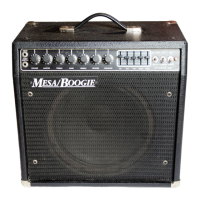
Do you have a question about the Mesa/Boogie Dual Rectifier Road King II Amp and is the answer not in the manual?
Describes the lowest gain circuit for balanced pristine clean sounds.
Emphasizes low mid and bottom end for girth and warmth.
A variation on CLEAN with an elastic, bouncy character for vintage feel.
Inspired by 50s/60s British amps, offers thicker, throatier tone.
Lowest gain lead channel for wide spectrum, from blues to crunch.
Famous liquid Recto voice with lush harmonic content and fat creamy feel.
Aggressive tone with menacing power, top-end cut, and fast response.
Adjusts the predominant gain stage, shaping tone and character.
Dominant tone control, shapes overall frequency response and balances tone controls.
Blends midrange frequencies, affecting feel and focus.
Determines low frequencies, varying in style and frequency from channel to channel.
High frequency attenuator affecting voicing, crucial for channel tone.
Master feed from preamp to driver stage and effects loop, matching channel volumes.
Overall output level control for the amplifier, active when Effects Loop is active.
Additional output control for a footswitchable boost for solos.
Standby switch for warming tubes before powering up.
Delivers AC power to the amplifier, requires proper grounding.
Provides a signal derived from speaker jack for pre-amp or FX Send.
Assignable speaker outputs for different cabinets and impedance loads.
Controls dry/wet mix ratio for analog reverb, dedicated per channel.
Clusters of switches and controls for pre-assigning features per channel.
Assigns different power amplifiers to preamps for sonic versatility.
Discusses the characteristics and sounds of different power tube configurations.
Feature allowing rectifier circuit to track progressive linkage power for correct rectification.
Mini toggle assigning signal to speaker output jacks.
Mini toggles assigning status for Series Effects Loops.
Rear panel output for connecting a tuner, maintains direct instrument signal.
Jack for Tuner Mute function with external switching systems.
Selects between two AC power voltages via built-in Variac for tone shaping.
AC main fuse protecting against fluctuations and power tube damage.
Location of the amplifier's serial number for warranty registration.
Sample settings for a clean tone on Channel 1.
Sample settings for a bright, punchy tone on Channel 1.
Sample settings for a vintage, elastic tweed tone on Channel 1.
Sample settings for a fat, sustained solo tone on Channel 1.
Sample settings for a bright, articulate tone on Channel 2.
Sample settings for a balanced rhythm tone on Channel 2.
Sample settings for a powerful rhythm tone on Channel 2.
Sample settings for a classic British grind tone on Channel 2.
Sample settings for a smooth blues tone on Channel 3.
Sample settings for a smooth, gritty tone on Channel 3.
Sample settings for a liquid, vintage solo tone on Channel 3.
Sample settings for a thick, powerful tone on Channel 3.
Sample settings for a bluesy tone on Channel 4.
Sample settings for a sharp, grinding tone on Channel 4.
Sample settings for a hot, liquid solo tone on Channel 4.
Sample settings for a modern, aggressive tone on Channel 4.
Proper wiring and loading of speakers for optimal sound and amplifier protection.
Effects of running higher resistance loads and slight mismatches.
Calculating speaker load and wiring methods like Series and Parallel.
| Brand | Mesa/Boogie |
|---|---|
| Model | Dual Rectifier Road King II Amp |
| Category | Musical Instrument Amplifier |
| Language | English |
