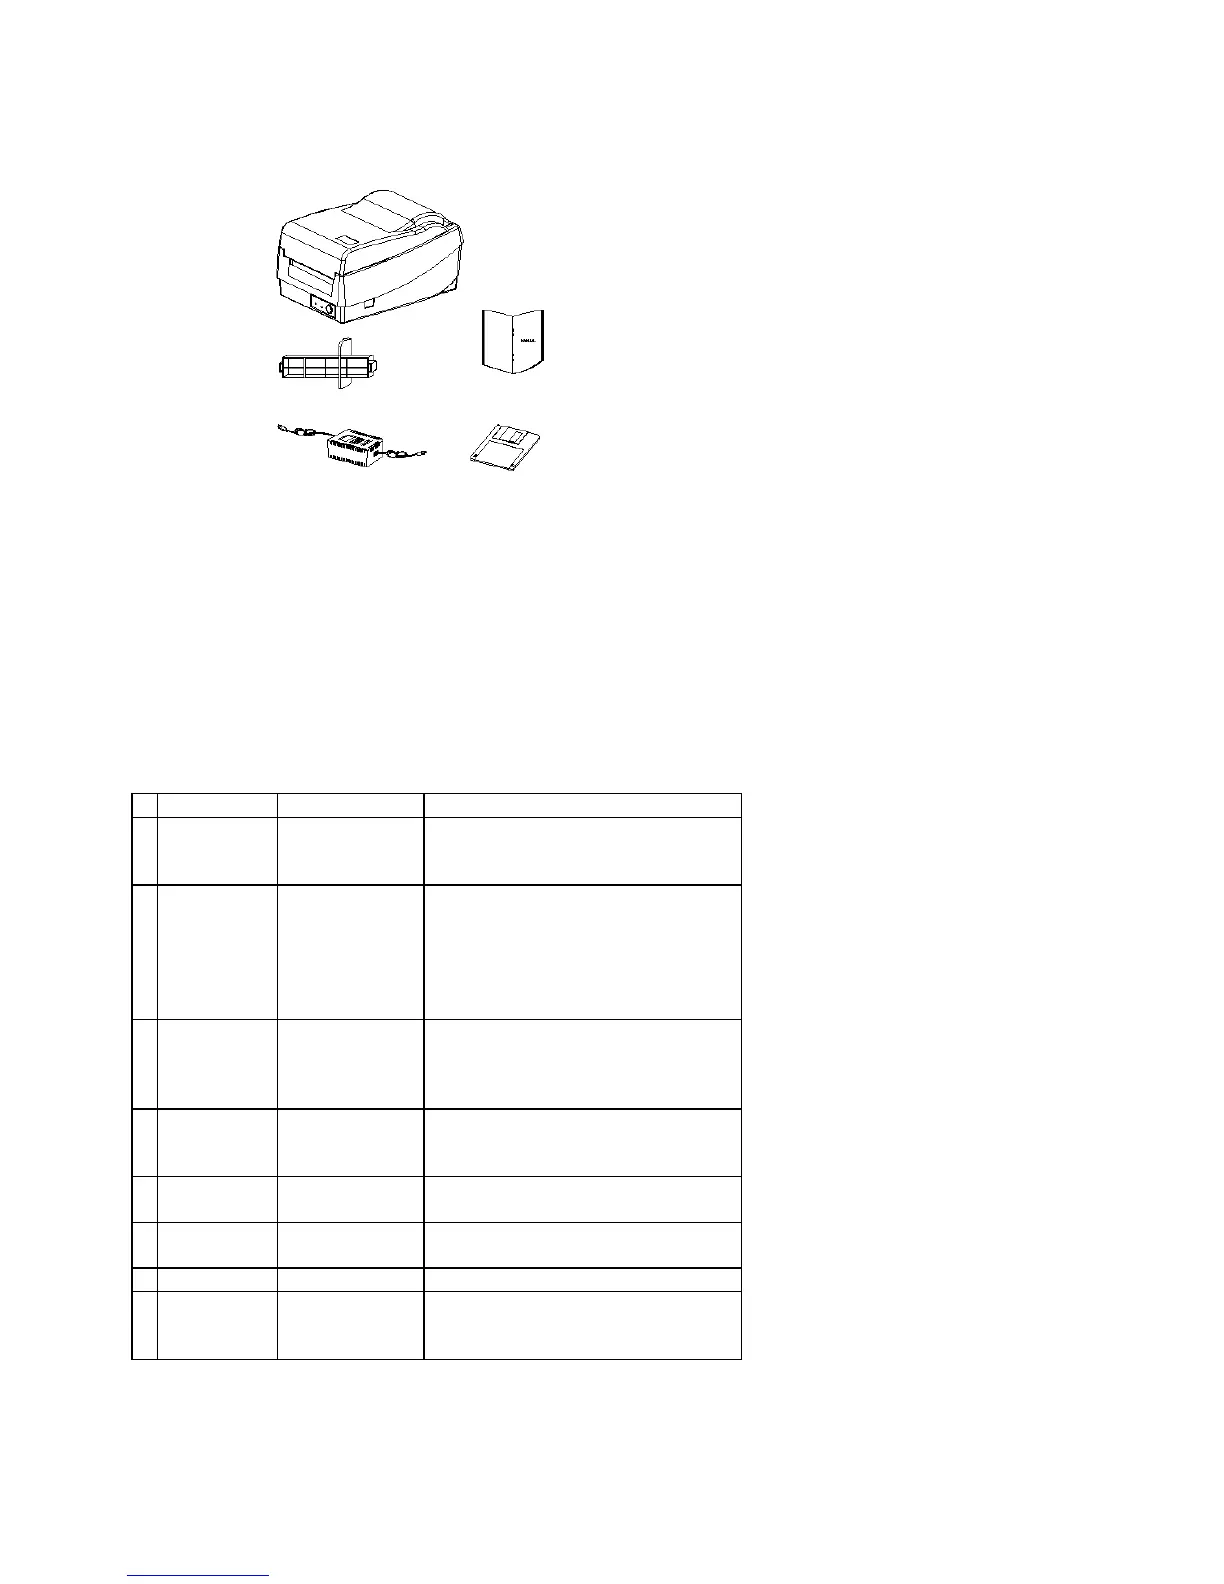
-5-
2. OPERATING INSTRUCTIONS
Switch, Indicators and Connections
Table 1 summarizes the functions of the various printer switches(buttons), indicators and connections.
Table 1. Switches, Indicators and Connections
Device name Function Usage
On/Off switch
(power
switch)
Controls printer
power
On – normal operation
Off – loading paper and ribbon
FEED button
Advances the
media stock to
first printing
position of next
label
Press - to advance a label
Press and hold while turning on power
- to print out the self test pattern
Press -
to continue printing when READY
LED is blinking
Press - to resume printing
READY
indicator
Shows the printer
status
Green - printer is ready to operate
Blinking - printer is paused; press
“FEED” button to continue
operation
POWER
indicator
Shows the power
and error status
Off - printer power off
Green - printer power on
Blinking - error has occurred
Power jack Connected to
power adapter
Connected with power supply transformer
RS232 serial
port
Communication Connected to host (either 9 or 25 pin
RS232 COM port), terminal or KDU
Parallel port Communication Connected to host (Centronics )
Top cover Protects the
printer media and
ribbon
Lift and reach the media/ribbon
compartment