EasyManua.ls Logo

Metra Electronics 99-7329 User Manual

Metra Electronics 99-7329
16 pages
To Next Page IconTo Next Page
Page #1 background imageLoading...
Page #1 background image
METRA. THE WORLD’S BEST KITS.™
© COPYRIGHT 2004-2011 METRA ELECTRONICS CORPORATION
APPLICATIONS
1-800-221-0932
metraonline.com
INSTALLATION INSTRUCTIONS FOR PART 99-7329
REV. 3/23/12
WIRING & ANTENNA CONNECTIONS (sold separately)
Wiring Harness:
70-1004 Hyundai/Kia harness 2004-up
• 70-7303 Hyundai/Kia harness 2009-up
Antenna Adapter:
• 40-KI11 Hyundai/Kia antenna adapter
• Small flat blade screwdriver • Panel removal tool • Phillips screwdriver
TOOLS REQUIRED
Kia Rondo 2007-2010
99-7329
A) Radio housing • B) ISO brackets • C) ISO trim plate
KIT FEATURES
KIT COMPONENTS
BA
• Recessed DIN mount radio provision with pocket
• ISO mount radio provision with pocket
C
Question and Answer IconNeed help?

Do you have a question about the Metra Electronics 99-7329 and is the answer not in the manual?

Metra Electronics 99-7329 Specifications

General IconGeneral
ColorBlack
MaterialPlastic
Installation TypeDash Kit
ISO DDIN radio provisionYes
Product TypeInstallation Kit

Summary

Dash Disassembly

Panel Removal Around Shifter

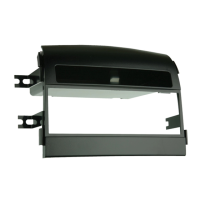
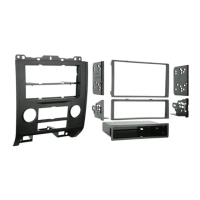
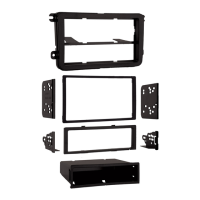
Unclip and remove the panel surrounding the shifter for dash disassembly.

Radio Trim Panel Removal

Remove Phillips screws securing the radio trim panel, then unplug and remove it.

Radio Unit Removal

Remove Phillips screws securing the radio, then unplug and remove the radio unit.

Kit Assembly: Recessed DIN Mount

Secure DIN Cage

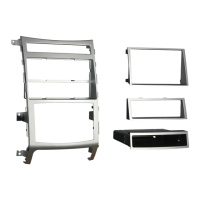
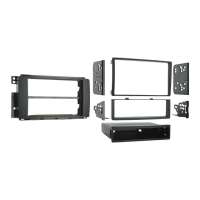
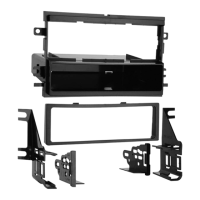
Slide DIN cage into radio housing and secure by bending metal locking tabs outward.

Install Radio into Cage

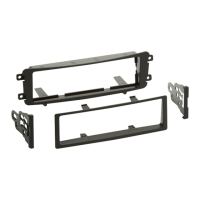
Slide the radio into the DIN cage/housing assembly until it snaps into place.

Wiring and Testing

Locate factory harness, use adapter, reconnect battery, and test the unit.

Kit Assembly: Stacked ISO Mount

Mount Brackets to Radio

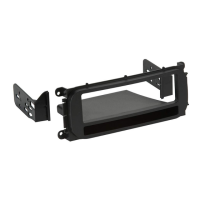
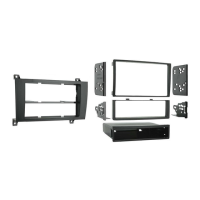
Align bracket holes with radio holes and mount using supplied screws.

Install Radio/Bracket Assembly

Slide the radio/bracket assembly into the housing until it snaps into place.

Attach ISO Trim Plate

Snap the ISO Trim-plate onto the Radio and housing assembly.

Final Wiring and Testing

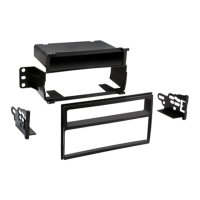
Locate harness, use adapter, reconnect battery, and test unit operation.
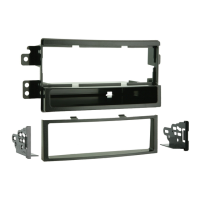
Related product manuals